Installing TFTP Server:
TFTP server package is available in the official package repository of CentOS 8. So, you can easily install it on CentOS 8.
First, update the CentOS 8 package repository cache with the following command:
$ sudo dnf makecache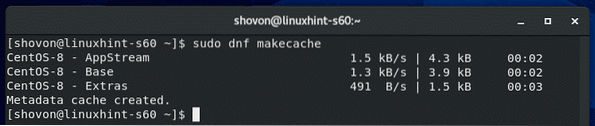
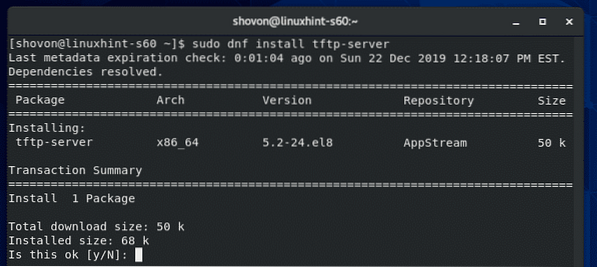
Now, install TFTP server package with the following command:
$ sudo dnf install tftp-server
To confirm the installation, press Y and then press
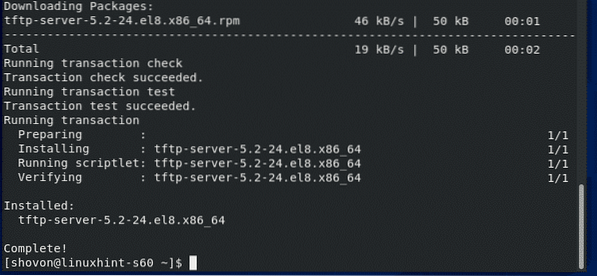
TFTP server package should be installed.
Configuring TFTP Server Service:
The default systemd service configuration of TFTP does not work correctly on CentOS 8. So, you have to create your own version of systemd service for TFTP server.
First, copy the default /usr/lib/systemd/system/tftp.service file to /etc/systemd/system/tftp-server.service with the following command:
$ sudo cp -v /usr/lib/systemd/system/tftp.service/etc/systemd/system/tftp-server.service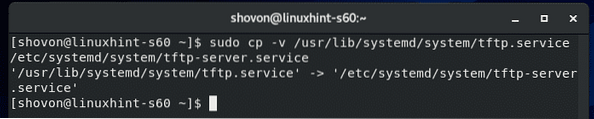
Then, copy the default /usr/lib/systemd/system/tftp.socket file to /etc/systemd/system/tftp-server.socket with the following command:
$ sudo cp -v /usr/lib/systemd/system/tftp.socket/etc/systemd/system/tftp-server.socket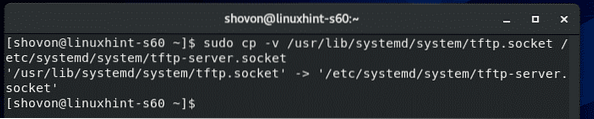
Now, edit the /etc/systemd/system/tftp-server.service file with the following command:
$ sudo vi /etc/systemd/system/tftp-server.service
The default content of the tftp-server.service file is as follows. You have to change the lines as marked in the screenshot below.
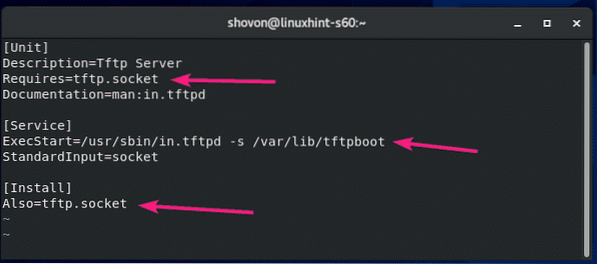
Change Requires=tftp.socket to Requires=tftp-server.socket, change ExecStart=/usr/sbin/in.tftpd -s /var/lib/tftpboot to ExecStart=/usr/sbin/in.tftpd -c -p -s /var/lib/tftpboot and change Also=tftp.socket to Also=tftp-server.socket.
Here, ExecStart=/usr/sbin/in.tftpd -c -p -s /var/lib/tftpboot is used to run the TFTP server daemon. Here, the -c option is used to allow new files to be created in the TFTP server. The -p option is used to solve many of the file and directory permission issues. The -s option is used to set the TFTP server's root directory. In this article, the TFTP root directory is /var/lib/tftpboot.
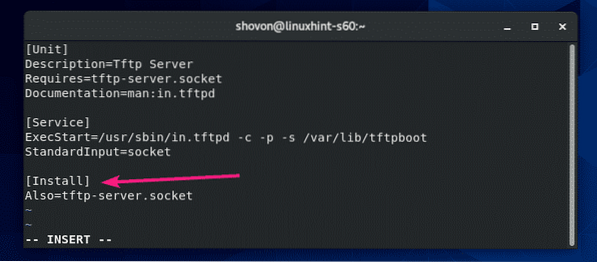
Once you change these lines, the tftp-server.service file should look as shown in the screenshot below.
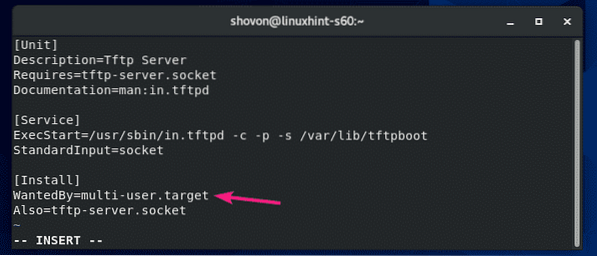
You also have to add a new line WantedBy=multi-user.target after the [Install] line.
The final tftp-server.service file should look as shown in the screenshot below.
Now, edit the /etc/systemd/system/tftp-server.socket file with the following command:
$ sudo vi /etc/systemd/system/tftp-server.socket
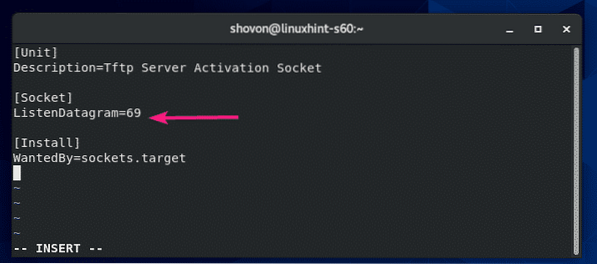
The default tftp-server.socket file should look as shown in the screenshot below.
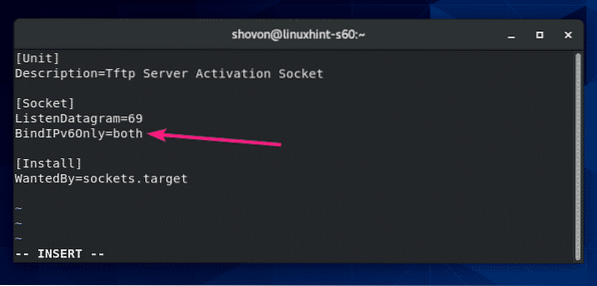
You have to add a new line BindIPv6Only=both after the ListenDatagram=69 line.
The final tftp-server.socket file should look as shown in the screenshot below.
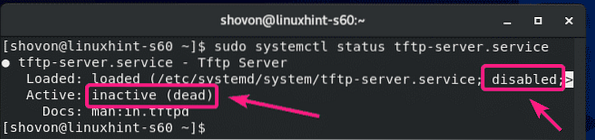
Now, check the status of the tftp-server service that you've just created with the following command:
$ sudo systemctl status tftp-server.serviceAs you can see, the tftp-server service is inactive (not running) and disabled (won't automatically start on system boot).
Now, start the tftp-server service with the following command:
$ sudo systemctl start tftp-server.service
Also, add the tftp-server service to the system startup of your CentOS 8 machine with the following command:
$ sudo systemctl enable tftp-server.service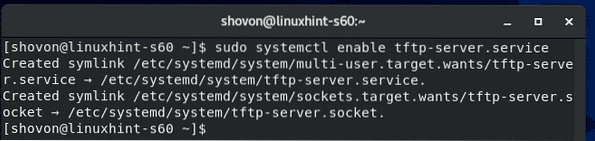
The tftp-server service should be active (running) and enabled (will automatically start on system boot).
$ sudo systemctl status tftp-server.service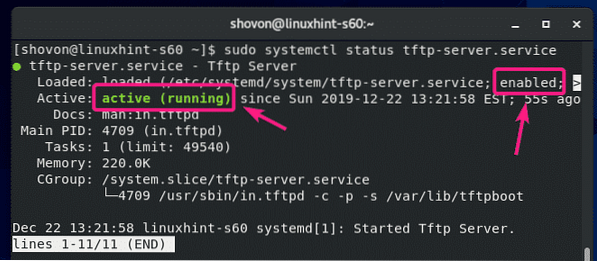
If you have SELinux enabled, allow anonymous write access to the TFTP server with the following command:
$ sudo setsebool -P tftp_anon_write 1
NOTE: setsebool command may not be available on your CentOS 8 machine. If that's the case, install the policycoreutils-python package with the following command:
$ sudo yum install -y policycoreutils-pythonNow, allow read, write and execute permission to the TFTP root directory /var/lib/tftpboot from any user with the following command:
$ sudo chmod 777 /var/lib/tftpboot
Configuring the Firewall:
TFTP server runs on the UDP port 69.
If you have firewall configured on your CentOS 8 machine (which is very likely), you have to allow access to the UDP port 69 with the following command:
$ sudo firewall-cmd --add-service=tftp --permanent
For the changes to take effect, run the following command:
$ sudo firewall-cmd --reload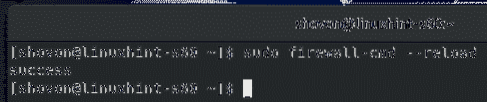
Using the TFTP Server:
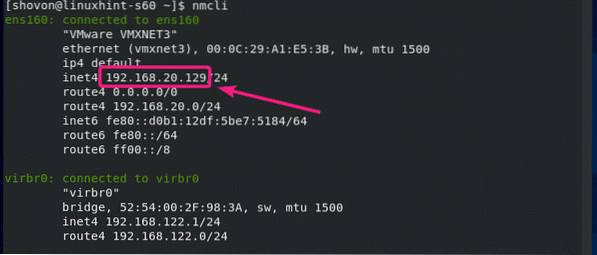
In order to access the TFTP server, you must know the IP address of your CentOS 8 machine.
You can find the IP address of your CentOS 8 machine with the following command:
$ nmcliIn my case, the IP address is 192.168.20.129. It will be different for you. So, make sure to replace it with yours from now on.
In order to access the TFTP server, you must have a TFTP client program installed on the computer from where you want to access it.
On CentOS 8/RHEL 8, you can install the TFTP client program with the following command:
$ sudo dnf install -y tftp
On Ubuntu/Debian and other Ubuntu/Debian based Linux distributions, you can install the TFTP client program with the following command:
$ sudo apt install -y tftp
In order to upload files to your TFTP server or download files from your TFTP server, you have to navigate to the directory where the file/files you want to upload to the TFTP server is available, or where you want to store the downloaded file/files from the TFTP server.
Let's say, you want to upload some file/files from the /etc directory and also download and store some file/files to the /etc directory. So, navigate to the /etc directory with the following command:
$ cd /etc
To connect to the TFTP server, run the following command:
$ tftp 192.168.20.129
You should be connected.

You can check the status of your connection with the following command:
tftp> status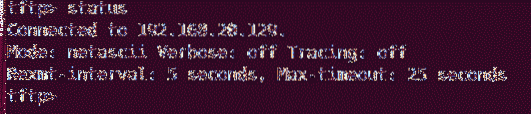
You can enable verbose mode with the following command:
tftp> verbose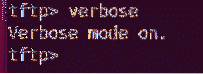
To upload a file fstab (let's say), run the following command:
tftp> put fstab
If you want to download and store file/files to your /etc directory, you will have to run the tftp client program with sudo privileges.
$ sudo tftp 192.168.20.129
To download the hosts file and store it to the /etc directory, run the following command:
tftp> get hosts
This is how you configure TFTP server on CentOS 8 and use it. Thanks for reading this article.


