Network administrators need to scan for connected devices on the network as a security measure. With the rise of the Internet of Things(IoT), more devices are being connected to the internet. This raises the concern of organizations to protect their network and online resources from any potential security breaches. Any negligence, in this case, can lead to the loss of potential assets and the reputation of the organization. This is true as even big players like Github, FireEye, Capitol One, etc., have become the victims of cyberattacks in recent times.
Maintaining a stable and secure network by preventing unauthorized access and keeping an eye on the activity of legitimate users is very important. Organizations spend millions of dollars on securing themselves from any threat exposure.
In case of any awful event, knowing who is connected to the network is the first and most fundamental step towards the threat analysis. This helps the administrators to narrow the investigation process, and it also makes trouble tracking easier.
What will we cover?
In this guide, we will explore different ways to discover different devices connected to our network. First, we will see the command line tools natively available on Ubuntu 20.04 for scanning a network; then, we will see a gui program build for this purpose.
Using the Nmap command-line tool for scanning a network.
Nmap or Network Mapper is undoubtedly one of the most used programs for discovering hosts connected to a network. It is used by Network Administrators, Security Auditors, Penetration Testers, Ethical Hackers, etc. It is open-source and freely available for use.
To install nmap on Ubuntu 20.04, use the command:
$ sudo apt install nmap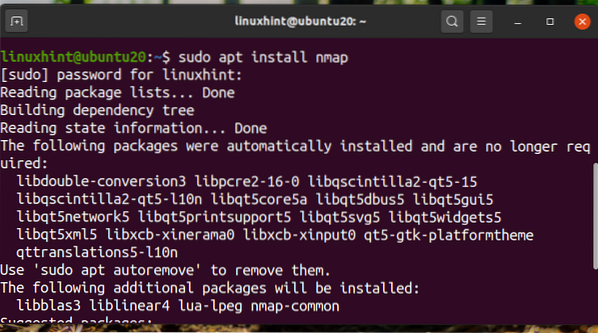
Once Nmap is installed, we can use it for many purposes like Port scanning, OS detection, Host discovery, etc.
To find which devices are connected to our network, first, find your Network address using the 'ip a' or 'ifconfig' command. Below we have shown the output for the 'ip a' command:
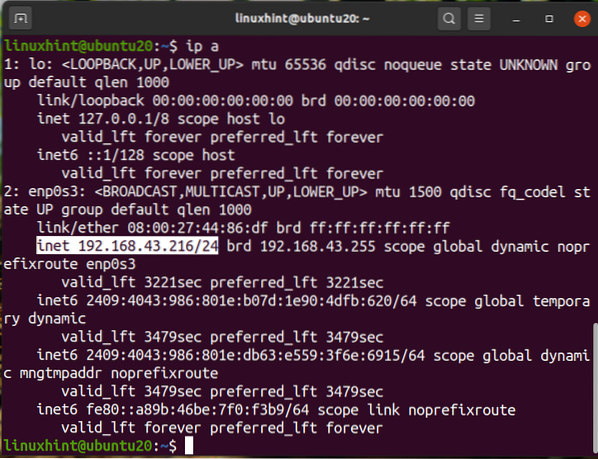
We can see that our IP is '192.168.43.216' on a /24 network. So our network address will be '192.168.43.0/24'. Now search for the connected devices by running the command:
$ sudo nmap -sn 192.168.43.*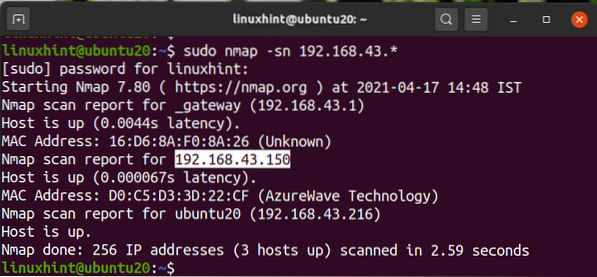
The above output shows the IPs of the connected device with their status and MAC addresses. We can also use the command:
$ sudo nmap -sP 192.168.43.*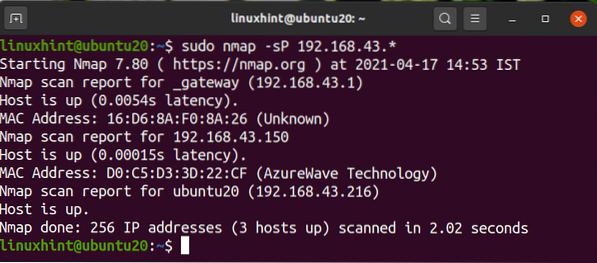
Alternatively, we can use the network address instead of the wild card notation as here:
$ sudo nmap -sn 192.168.43.0/24$ sudo nmap -sP 192.168.43.0/24
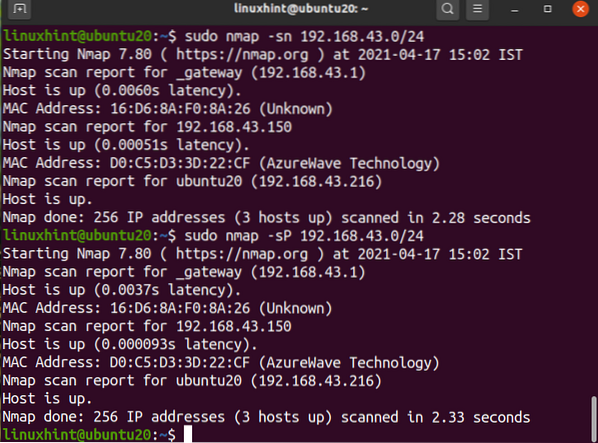
All the outputs are identically the same.
Using the ARP-SCAN command for discovering network devices.
The arp command comes built-in on most Linux distributions. ARP is an acronym for Address Resolution Protocol. It is used for displaying and modifying the arp cache. ARP cache translates an IP address into a physical address or to a MAC address of a machine in simple terms. For making the subsequent ARP lookup faster, it stores the ARP mapping.
The ARP-SCAN command is an arp-scanner tool that transmits ARP packets to identify devices connected to your local network or LAN. To install ARP-SCAN on your Ubuntu system, use the command:
$ sudo apt install arp-scan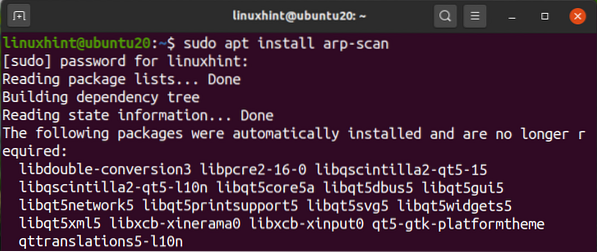
To scan your network using arp-scan, run the command with the sudo privileges:
$ sudo arp-scan --interface=enp0s3 --localnetHere enp0s3 is the name of the interface we are using for sending the arp packets. It can be different in your case. Again, use the 'ip a' or 'ifconfig' command to determine the name of the interface on your system.
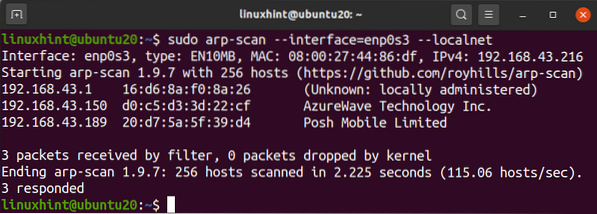
We can see that arp-scan has shown all the connected devices on our network. This is really a good tool for scanning your local network. To see more usage of this command, you can use the -help or -h parameter as here:
$ arp-scan -helpOr
$ arp-scan -hUsing Network Scanner Tools for scanning network devices.
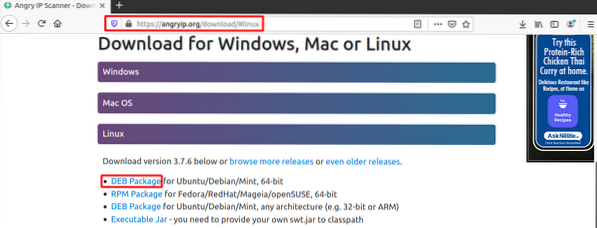
Besides command-line-based tools, there are many GUI-based IP scanner tools available for Linux. The capabilities and functionality of these tools may vary. One of the popular IP scanning tools is Angry IP Scanner.
Angry IP Scanner is a freely available network scanner. It sends ping requests to a host to determine if it is Up. It will then look for the MAC address, hostname, etc. It can be downloaded from the AngryIP website as shown here:
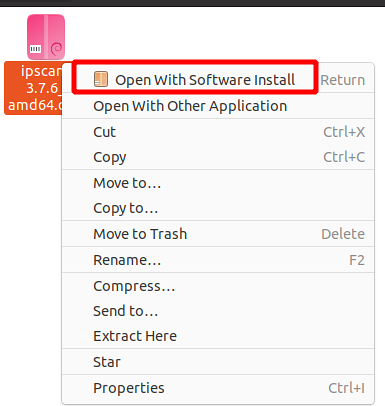
After downloading the file, open it with Software Install. AngryIp requires java to be installed on your system. If java is not already installed on your system, it will be automatically installed with the software installation process.
After installation is complete, the AngryIP scanner can be launched from the application menu as:

By default, it will automatically fetch the IP range for your network. Just press the start button to start the scan. Sample output after scanning a LAN is shown here:
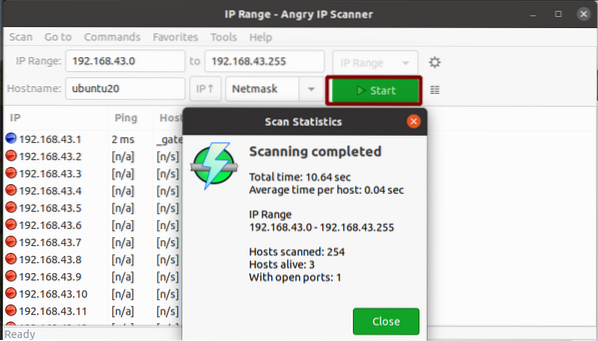
Yes, it is this simple to use AngryIP for network scanning. It will show the number of hosts alive and open ports.
Conclusion
In this guide, we have seen different ways to scan a network. In case you have a large network of devices, like an IT department of an organization, we would suggest you use a Firewall product from some reputable vendors. An enterprise firewall has more capability and control over a network. With a firewall, besides scanning a large network with multiple subnets, we can limit bandwidth usage, block users and services, prevent network attacks, and so on.


