What PPA is
A PPA (Personal Package Archive) is a special software repository that allows the APT (Advanced Packaging Tool) to automatically grab a specific software from that repository. PPA offers an easier method of getting the latest software without any delay. All you have to do is command “apt” to upgrade your system. Most of the world's PPAs are hosted on Launchpad. However, there are a number of private PPAs hosted on different sites.
How to add a PPA
At first, find out what PPA you need to add. For adding a PPA, it's the easiest to use the terminal command. The command uses the following structure -
sudo add-apt-repository ppa:abc/xyzLet's have a quick breakdown of each part of the command.
- sudo - Running the command with “root” privilege.
- add-apt-repository - The tool for adding the PPA.
- ppa:abc/xyz - The repository code.
For this example, we'll be using the uGet official PPA.
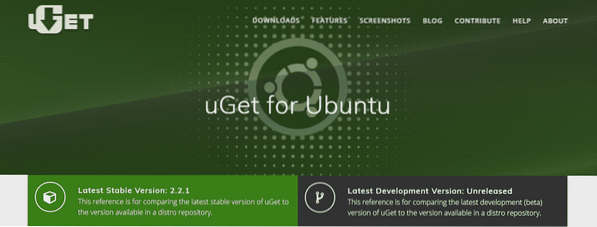
Run the following command -
sudo add-apt-repository ppa:plushuang-tw/uget-stable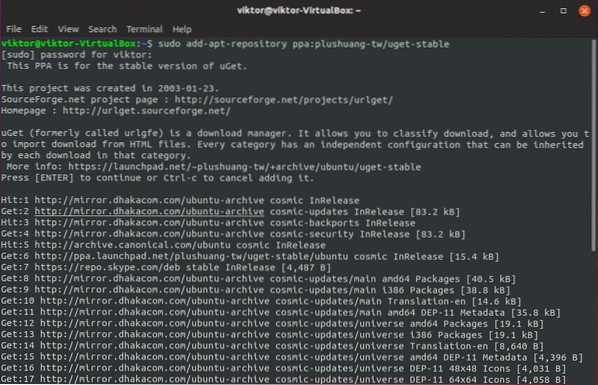
Installing the software
Now, your system is ready to get your target software. However, make sure that your “apt” repository database is up-to-date with the latest addition of the above PPA.
sudo apt update
Install uGet -
sudo apt install uget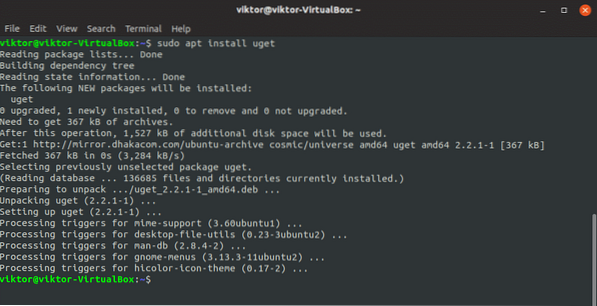
Voila! uGet is installed!
Removing the PPA
If you don't need a PPA anymore, it's best to remove it from your system.
- Method 1
The best way of removing a PPA is through the command.
Run the following command -
sudo add-apt-repository --remove ppa:plushuang-tw/uget-stable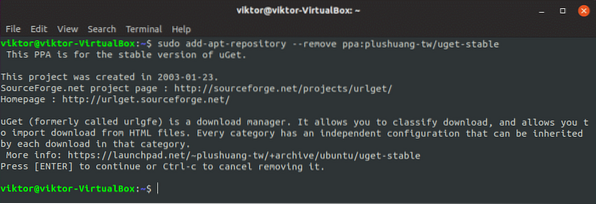
Don't forget to update your “apt” database cache -
sudo apt update
- Method 2
You can also remove the PPA using the GUI method.
From the menu, search for “software”.
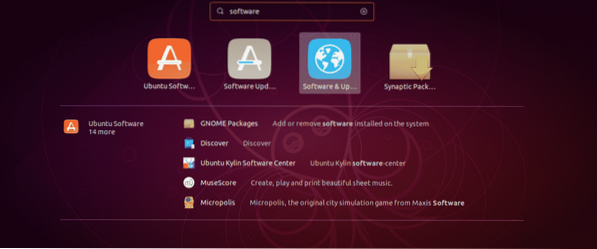
Open Software & Updates.
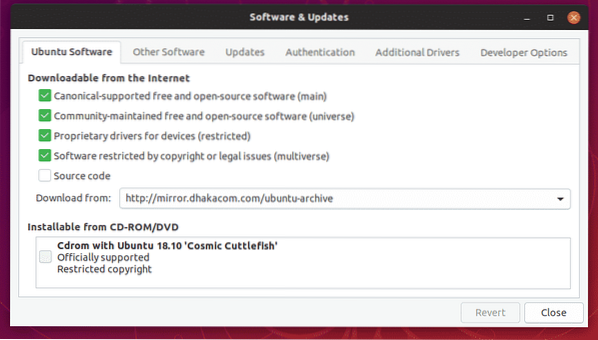
Open the “Other Software” tab.
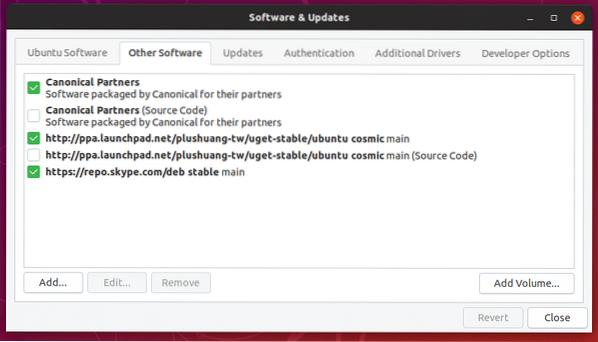
Here, you'll find out all the PPAs you added in your system over the lifetime.
Select the unwanted PPA(s) and hit “Remove”.
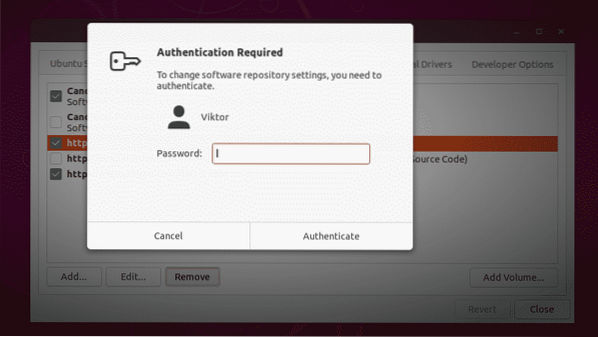
When closing, make sure that you reload the software repository database of “apt”.
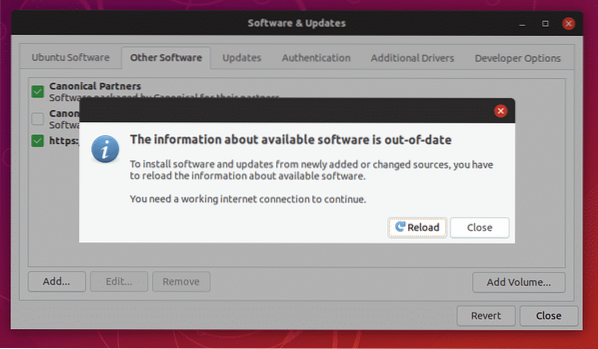
Voila! PPA is removed!
Enjoy!
 Phenquestions

