- The minimalist design allows you to fit more code on the screen.
- Extremely convenient when it comes to editing large code; just clicking on an element will highlight all related items.
- Comes with a real-time preview; there is no need to press the F5 key to refresh.
- Built with web technologies that make it lightweight and less resource-hungry.
- To boost functionality Brackets supports many third-party plugins.
Bracket Editor can be installed in Ubuntu using various methods. This article shows you how to use various methods to install the Brackets Editor on your Ubuntu system.
Method 1: Install Brackets Editor via the Snap
The first and recommended method of installing Brackets is using snap. Execute the following command to download and install Brackets:
$ sudo snap install brackets --classic
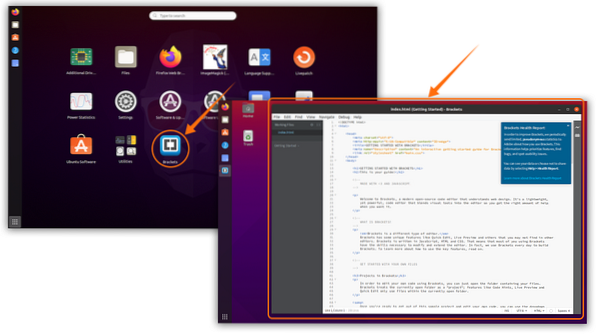
The Brackets program can be viewed in Applications:
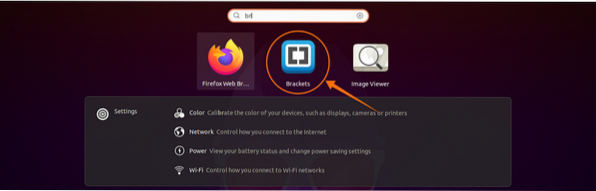
Open Brackets by clicking on the icon:
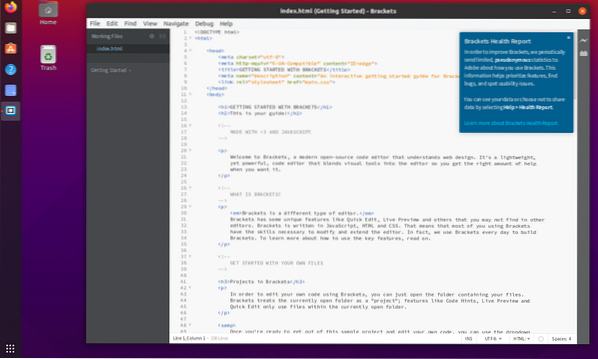
And, that is all there is to it! Brackets Editor has now been installed on your Ubuntu machine.
Method 2: Install Brackets Editor via the Ubuntu Software Center
The second method of installing the Bracket editor is using the Ubuntu Software Center. First, open the Software Center:
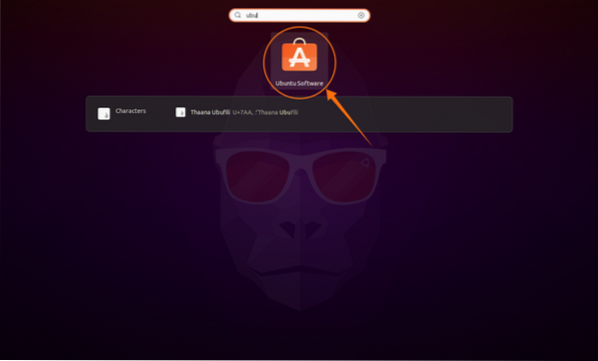
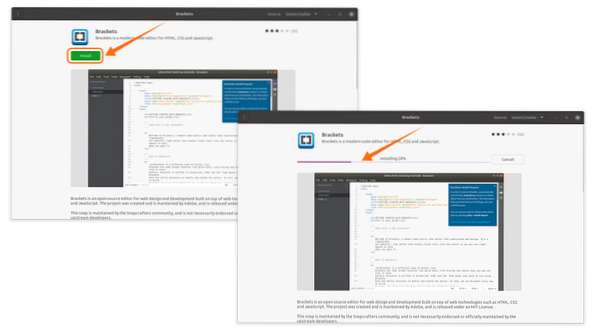
Click the Search button and search for “Brackets.” An unofficial package is available in the Software Center:
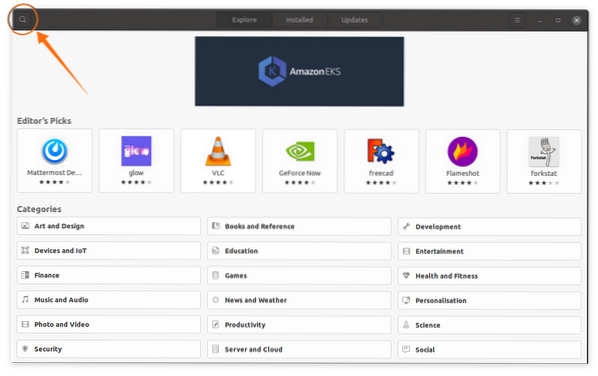
Click the Brackets icon and hit Install:
Once the download and installation have been completed, open Brackets from Applications:
Uninstall Brackets Editor from Ubuntu
If Brackets was installed using the first method, use the following command to delete it:
$ sudo snap remove brackets
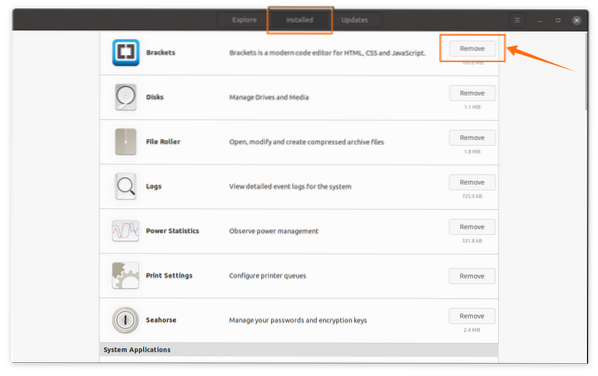
If Brackets was installed using the Software Center, open the Ubuntu Software Center again. Click the Installed button, find the Brackets Editor app, and click Remove:
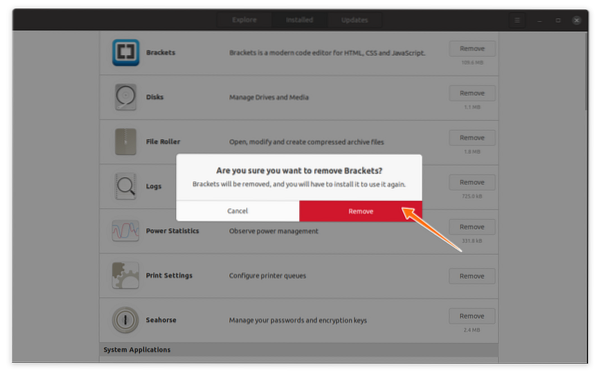
A prompt will appear; select Remove to continue the deletion process.
The Brackets application will now be removed/uninstalled from your device.


