DaVinci Resolve is a professional software used for video editing, color correction, motion graphics, and visual effects. It's extensively used in the moving-making industry, especially Hollywood.
Previously, it used to be a daunting task to install the DaVinci Resolve on a Linux PC, but thanks to the script created by Daniel Tufvesson, now it's easier to install. The script is named “MakeResolveDeb.” It is responsible for generating a deb package that can be used to the easiest way to install any packages, just like an exe file would in the Windows OS. Also, the same script can be used to remove the installed DaVinci Resolve software from your system.
Installing DaVinci Resolve on Ubuntu
Before starting our guide, please make sure that your Ubuntu system is up to date using the following commands:
sudo apt update sudo apt upgrade
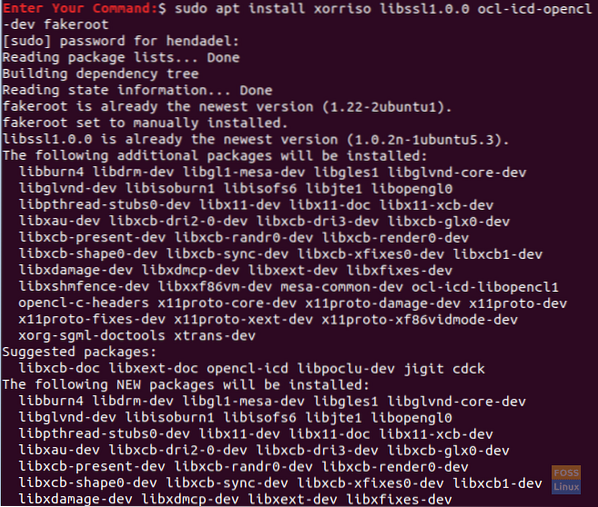
Step 1. First, we need to install the required packages that are necessary to install the DaVinci Resolve software.
sudo apt install xorriso libssl1.0.0 ocl-icd-opencl-dev fakeroot
Step 2. Open your favorite web browser.
Step 3. Navigate to the DaVinci Resolve official website and download the DaVinci software.
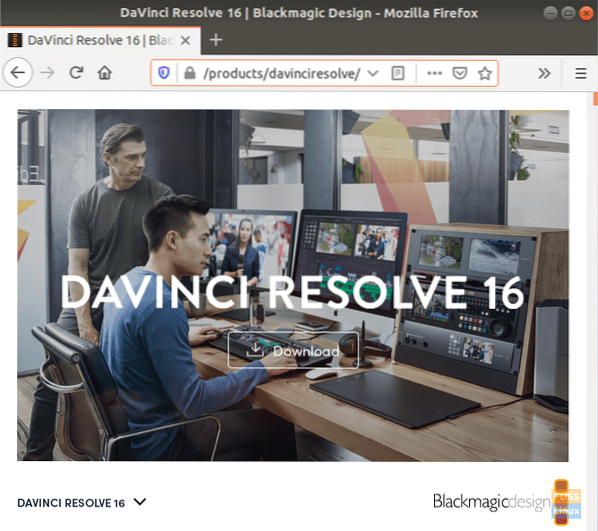
Step 4. Choose between the DaVinci Resolve free version and the DaVinci Resolve studio one. (In this tutorial, we have used the DaVinci Resolve free version.)

Step 5. For your download to begin, you need to register with your email and enter a few details about you.

Step 6. Save your DaVinci Resolve package.
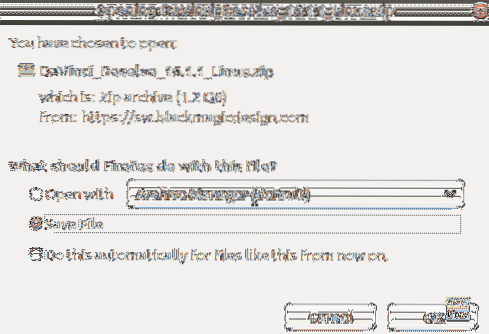
Meanwhile, check your download progress and when the download completes successfully move on to the next step.

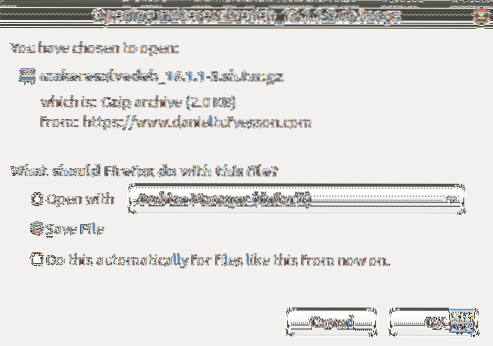
Step 7. Now let's download the “MakeResolveDeb” script from this website.

Step 8. Save the script in the same directory as the DaVinci Resolve.
Step 9. From your terminal, move to the Downloads directory then list its content to ensure that the previous two downloads are there.
cd Downloads ls

Step 10. Extract the DaVinci Resolve using the following command:
unzip DaVinci_Resolve_16.1.1_Linux.zip

Step 11. Extract the MakeResolveDeb script, and make sure that the script is located in the same directory with the DaVinci Resolve.

Step 12. Now execute the script to build and generate the DaVinci Resolve deb package.
./makeresolvedeb_16.1.1-3.sh lite
Note that the “lite” option mentioned above is used for the free DaVinci Resolve. In case you have downloaded the studio version you can use the same script command and use the “studio” option instead of the “lite” one as following:
./makeresolvedeb_16.1.1-3.sh studio
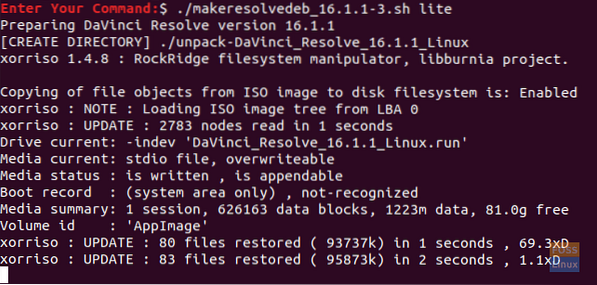
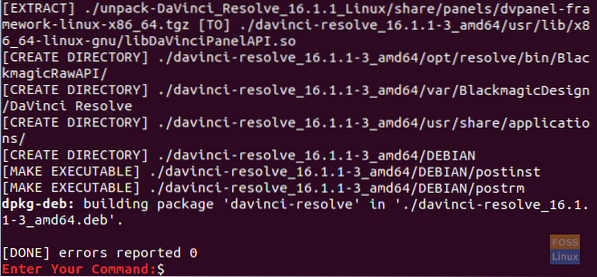
Just relax this command takes some time to complete. When the above command finishes successfully, you will get a message like the below one.
Step 13. Next, you can install the DaVinci Resolve.
sudo dpkg -i davinci-resolve_16.1.1-3_amd64.deb

Step 14. From the top left of your screen, open the Activities tab.
Step 15. Search for the DaVinci Resolve and open it.

Step 16. Enjoy using DaVinci Resolve!

That's about our guide to installing the DaVinci Resolve on your Ubuntu machine. I hope you enjoy creating excellent multimedia content for your project, whether it's for YouTube videos or a movie you are making!
 Phenquestions

