At the time of this writing, the latest version of Deepin at version 15.6. In this article, I will show you how to make bootable USB drive of Deepin 15.6. I will also show you how to install, configure and customize Deepin Linux. Let's get started.
Downloading Deepin Linux:
First go to the official download page of Deepin Linux at https://www.deepin.org/en/download/ and click on Download as marked in the screenshot below.
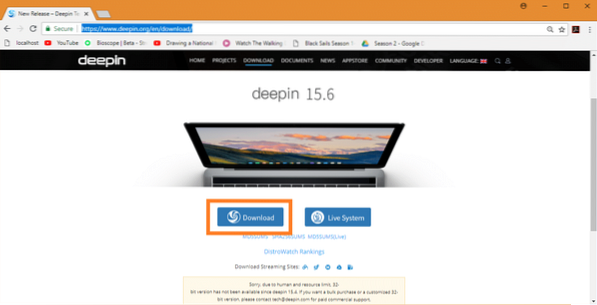
Your download should start. It's a big file. It may take a while to download.
Making a Bootable USB of Deepin Linux Using Rufus:
Once you've downloaded the Deepin Linux ISO file, you must make a bootable device from which you can boot from and install Deepin Linux.
On Windows you can use a utility called Rufus to make bootable USB drive of Deepin Linux using the ISO file.
First go to the official website of Rufus at https://rufus.akeo.ie/. Once the page loads, scroll down to the Download section and click on the Rufus Portable download link as marked in the screenshot below.
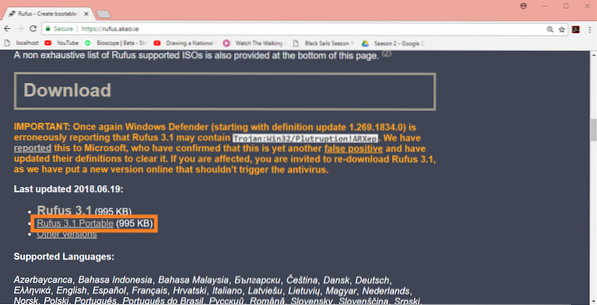
Rufus should be downloaded.

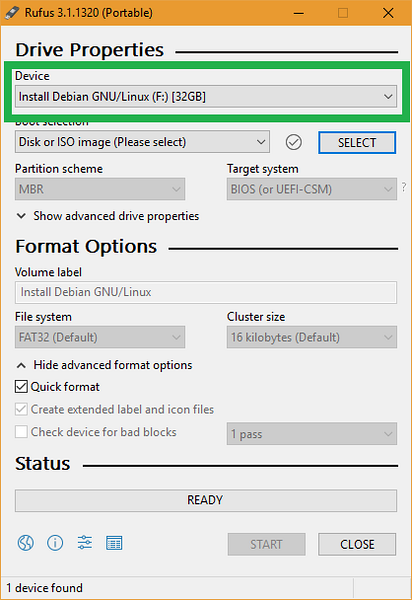
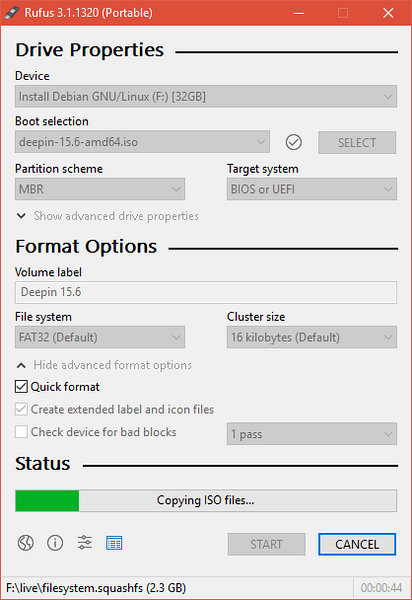
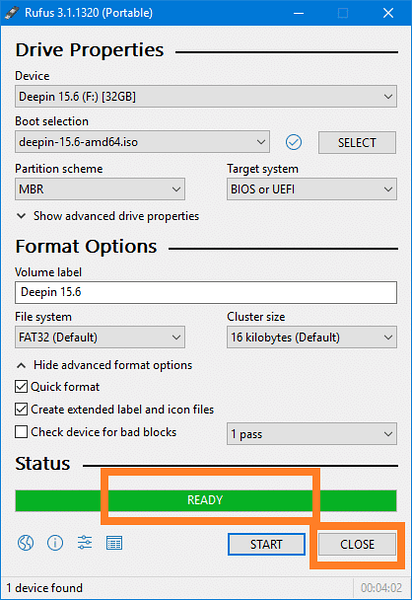
Now that Rufus is downloaded, run Rufus and you should see the following window.
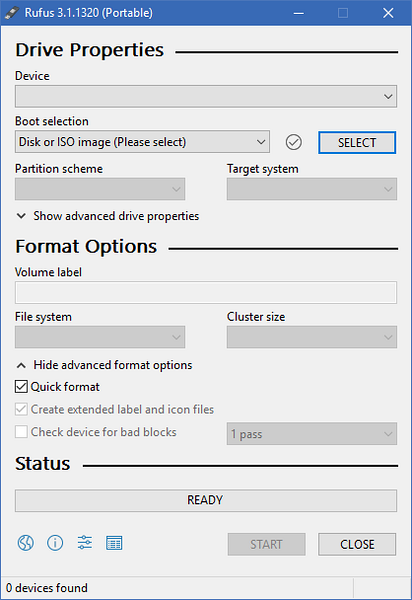
Now insert your USB drive that you want to make Deepin bootable. Rufus should detect and select it right away.
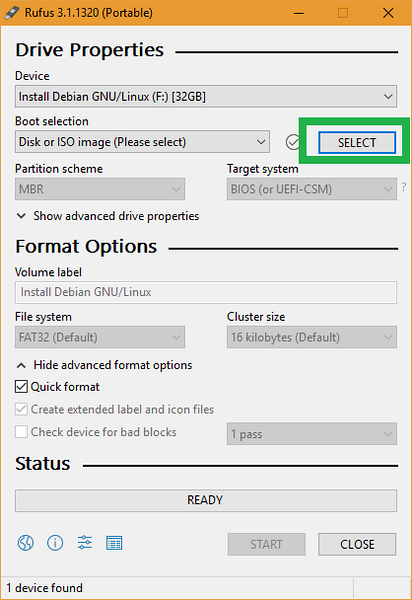
Now click on SELECT.
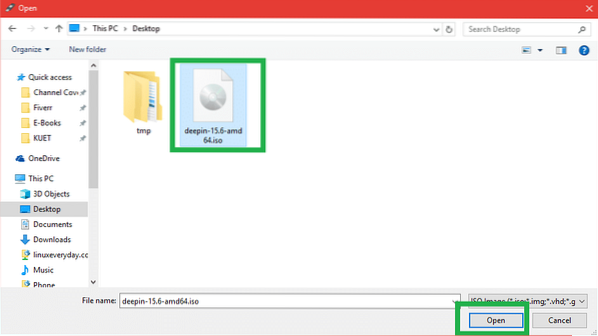
Windows File Picker should show up. Select the Deepin ISO file you've just downloaded and click on Open.
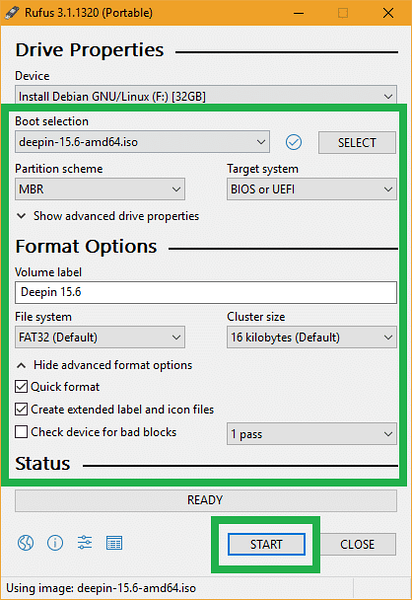
Deepin Linux ISO file should be selected. Now click on START.
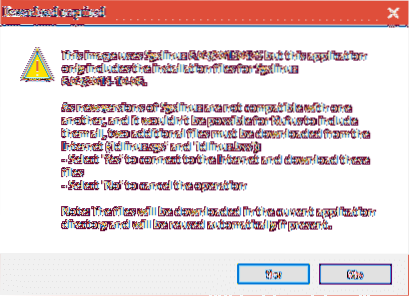
Now click on Yes.
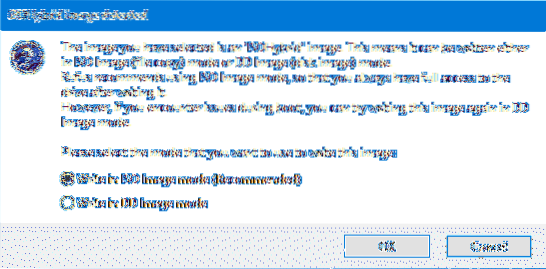
Leave the defaults and click on OK.
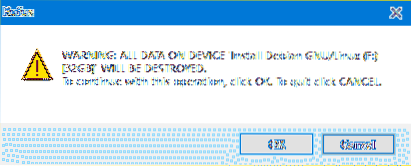
If you don't have any important data on your USB drive, click on OK. If you do have important data on it, now is the time to move it somewhere safe. Once you're done, click on OK.
Your USB drive should be formatted and Rufus should make it Deepin bootable.
Once the process is complete, click on CLOSE.
Booting Deepin from the USB Drive:
Now insert your USB drive to your computer and select it from the BIOS of your computer. The process to do it depends on the manufacturer of your computer's motherboard. Check out the manual of your motherboard for more information.
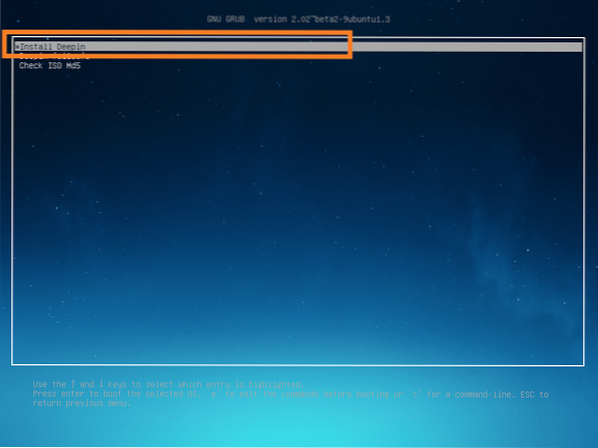
Once you've selected your USB drive from your BIOS, you should see something like this. While Install Deepin is selected, press
Installing Deepin Linux:
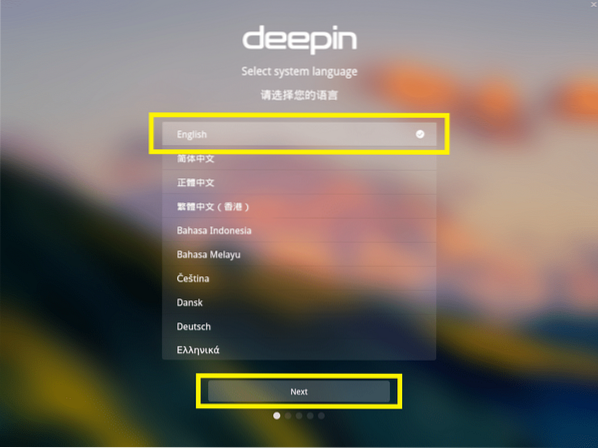
Once the Deepin Installer starts, the first thing you have to do is, select your Language. Once you're done, click on Next.
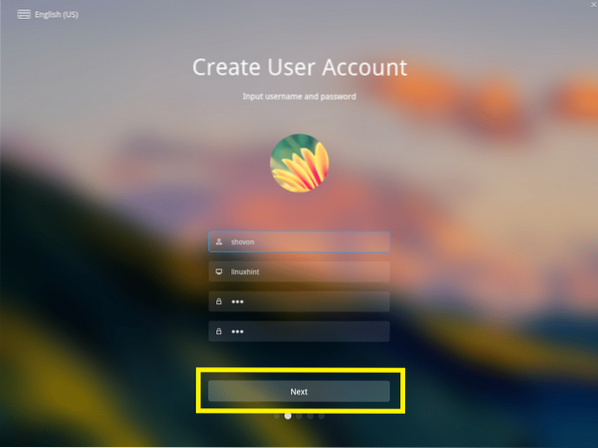
Now enter your personal details and click on Next.
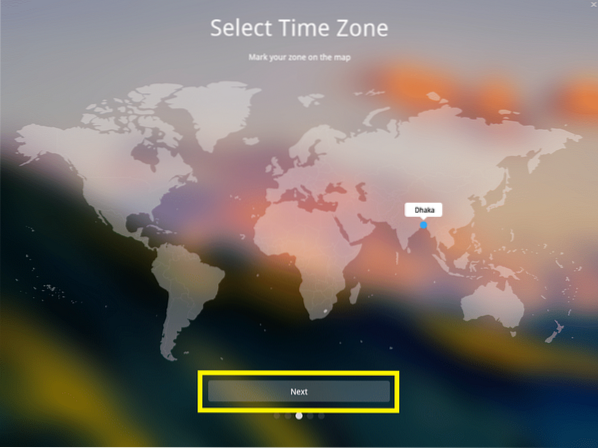
Now click on the map to select your Time Zone and click on Next.
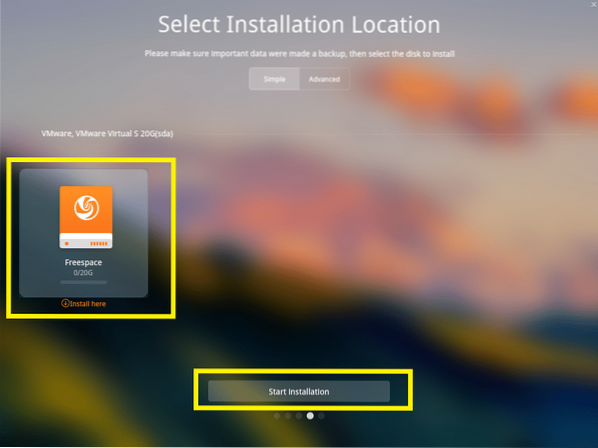
This is the most important part. You have to select where you want to install Deepin Linux.
If you want to erase the entire hard drive of your computer and install Deepin Linux, select the hard drive and click on Start Installation.
But I am going to show you how to partition disk manually. If you're going to dual boot Windows and Linux, this is what you want.
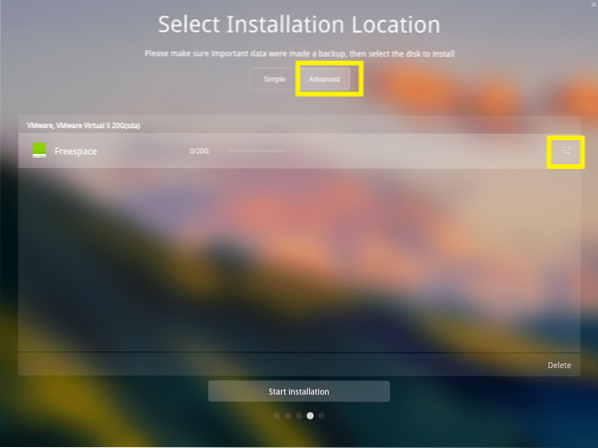
To do that, first go to Advanced tab and select your Hard Drive where you want to install Deepin.
From here you can create new partitions and delete existing ones.
Now to create a new partition, select the Freespace and click on the small icon on the right as marked in the screenshot below.
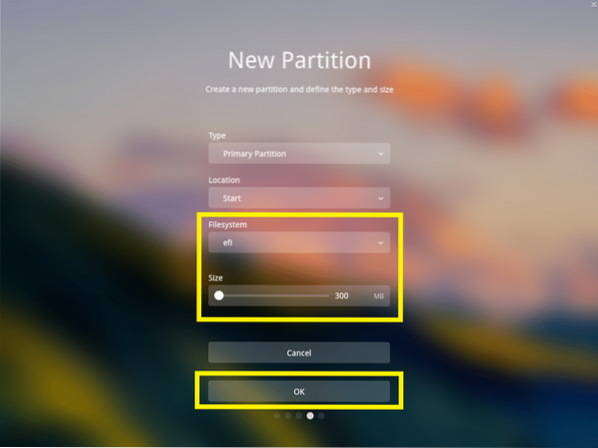
NOTE: If you want to install Deepin on BIOS based motherboards, then you need at least the / (Root) partition. If you want to install Deepin on UEFI based motherboards, then you need at least an EFI partition and a / (Root) partition.
I am installing Deepin on UEFI based device, so the first partition should be an EFI partition. Set the following settings and click on OK.
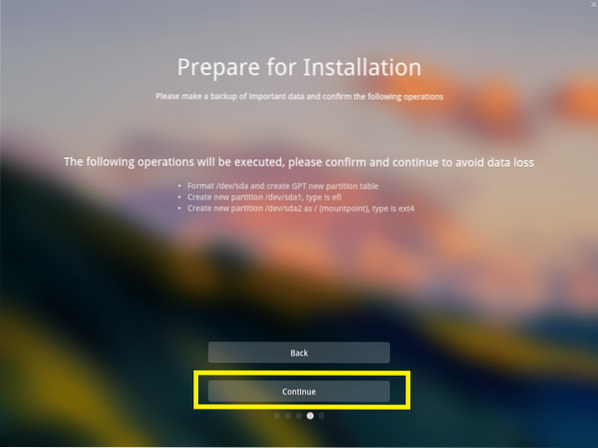
The final configuration should be something like this. Once you're done, click on Start Installation.

Click on Continue.
The installation should start.
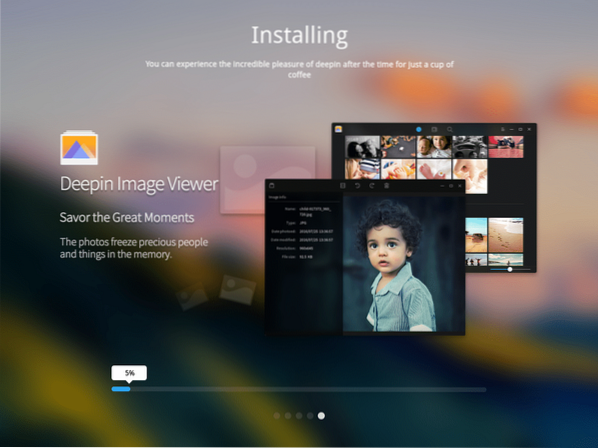
Once the installation is complete, click on Experience Now.

Your computer should restart and you should be booted into your new Deepin Linux. Type in your password and press
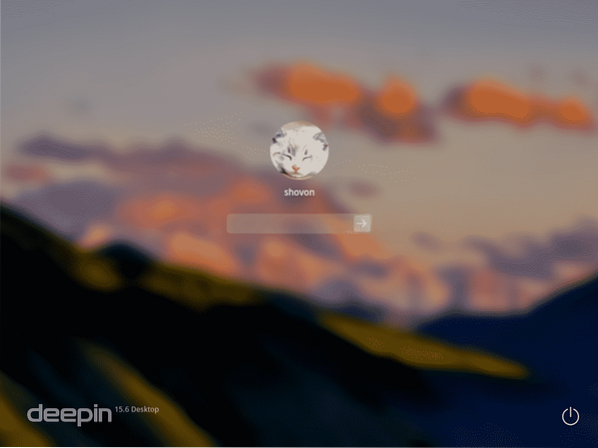
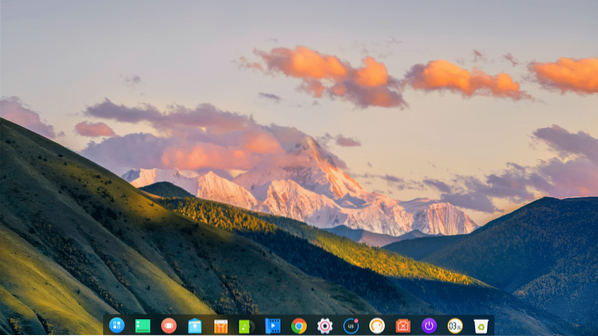
This is the beautiful Deepin Linux.
Configuring Network on Deepin Linux:
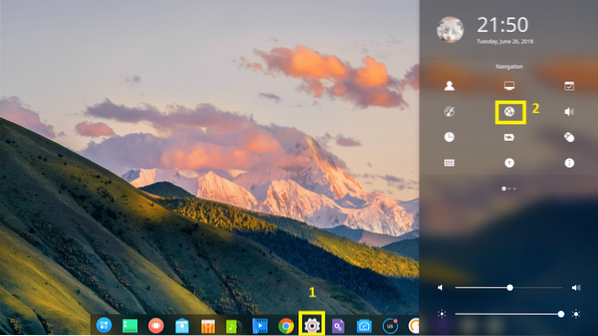
To configure the network, first click on Settings1 icon and then click on the Network2 icon.
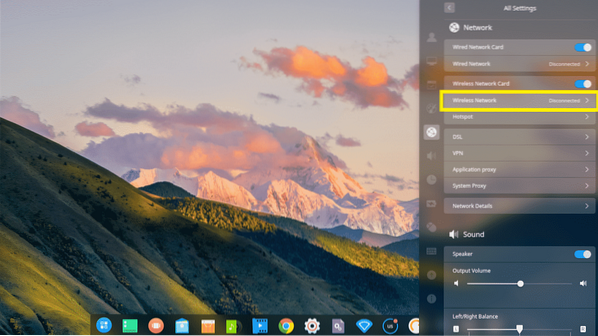
From here you can configure the network. I have a wireless adapter installed, so I clicked on the Wireless Network.
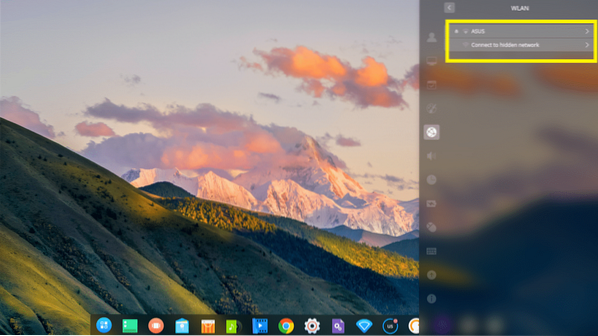
Now click on your Wi-Fi network to connect to it.
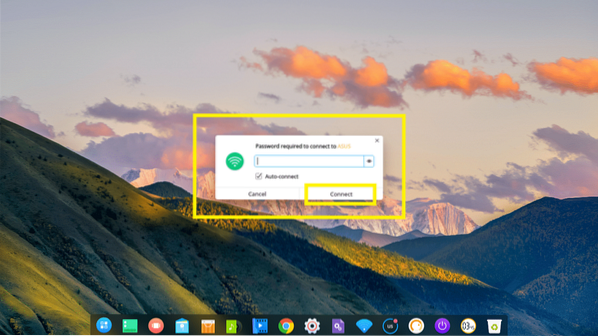
Now type in your Wi-Fi password and click on Connect. You should be connected.
Configure the Deeping Desktop UI:
To customize the Deepin desktop user interface, go to Settings and click on Personalize.
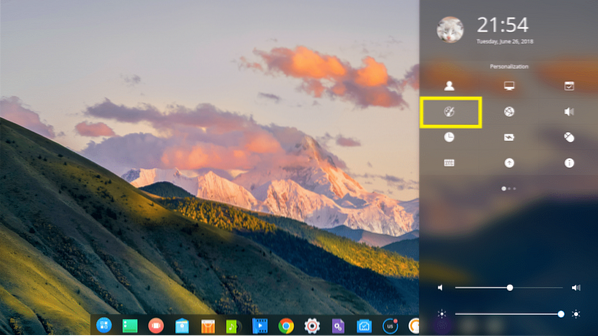
From here you can change your Theme, Fonts and you can also enable or disable Window effect.

Deepin comes with a dark and light Window Theme, many Icon Themes
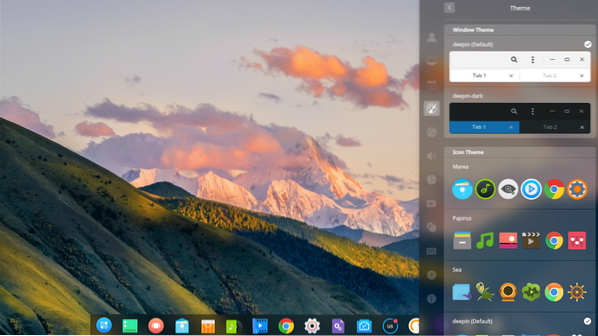
And Cursor Themes.

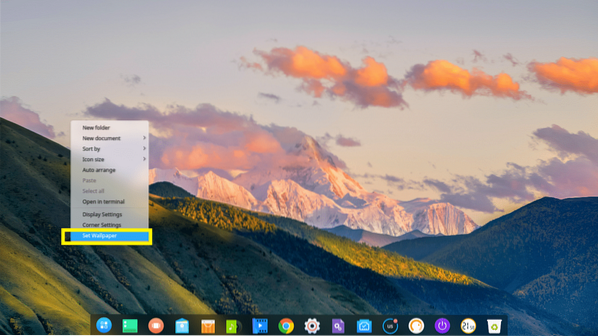
Changing Desktop Wallpaper:
To change the wallpaper, right mouse click on your Deepin desktop and click on Set Wallpaper.
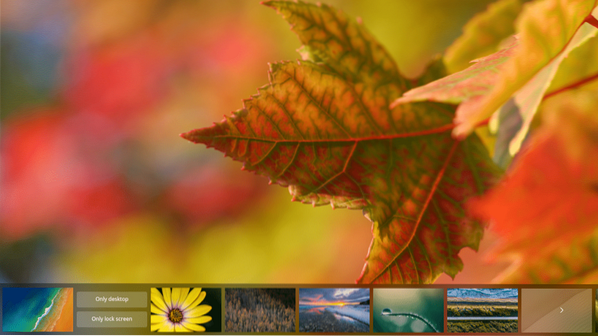
Then select any wallpaper you like from the list. You can also press the Only desktop or the Only lock screen button to select a wallpaper for only the Desktop or the Lock Screen respectively. By default, a wallpaper is applied to both.
Updating Deepin Linux and Configuring Auto Update:
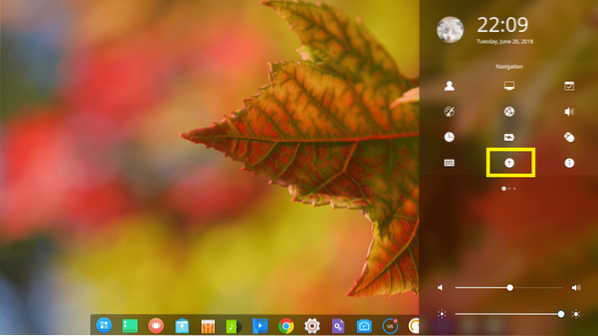
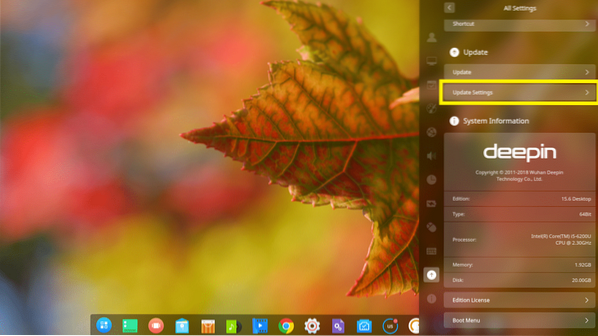
First, go to Settings and click on the marked Update icon.
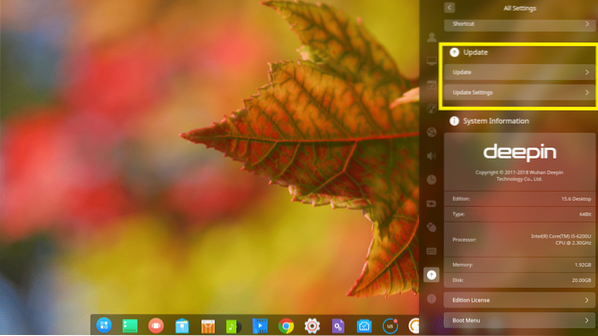
You should see the Update settings.
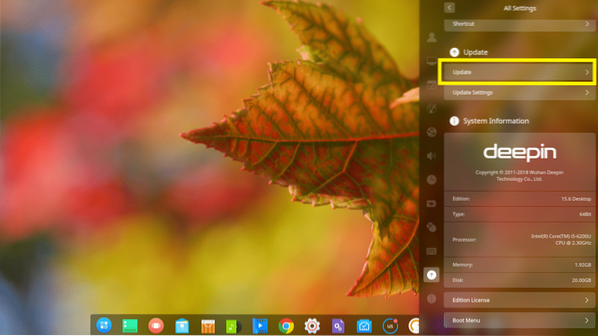
To update your system, click on Update.
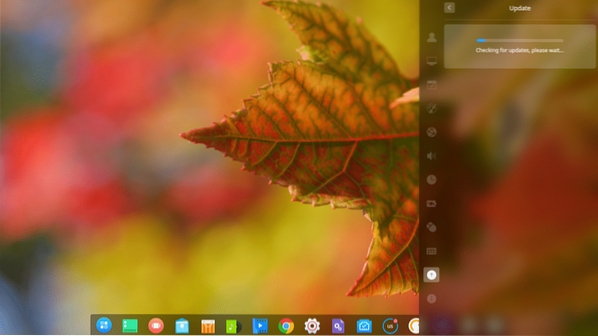
Deepin Linux should check whether new updates are available and if available, it should update your operating system.
You can also auto update Deepin Linux as new updates are released.
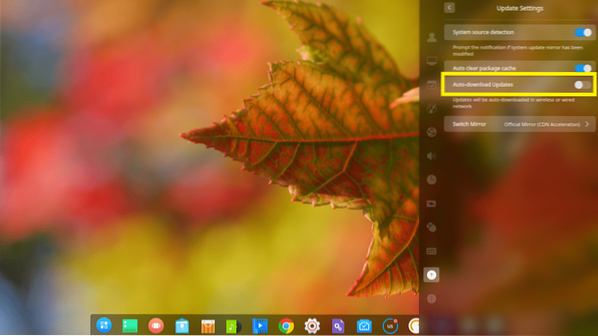
To do that, click on Update Settings.
And click on Auto-download Updates toggle button to enable or disable auto update. By default, auto update is disabled.
Installing Software on Deepin Linux:
Deepin is a Debian based Linux distribution. So you can install any software you want from the command line using the apt or apt-get command.
Deepin also has a Deepin Store, from where you can install softwares easily using the graphical user interface.
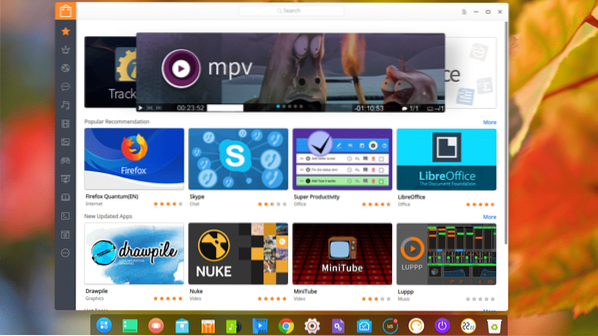
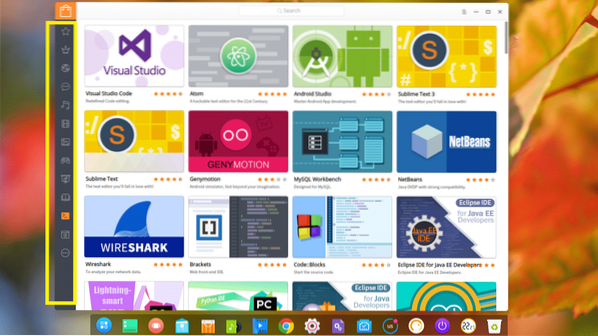
From the sidebar of Deepin Store, you can click on a category and browse the software on that category.
If you like any software, just hover over it and click on Install.
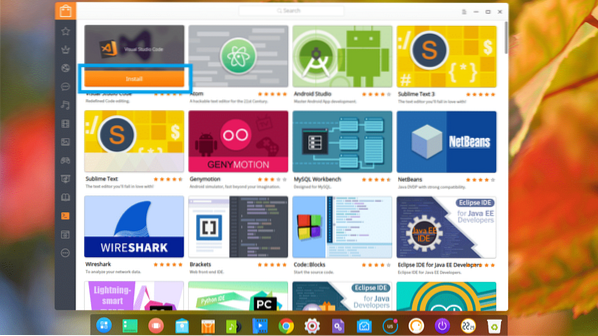
If you want to know more about the software before installing it, just click on it. You should find a lot of information about it. If you like it then, just click on Install and it should be installed.
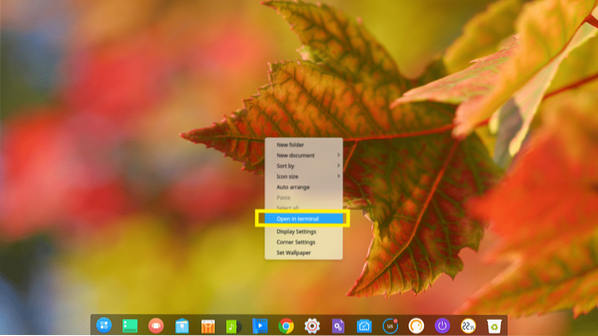
To install a software using the apt or apt-get command, just right click on the desktop and click on Open in terminal
Deepin Terminal should open.

Now you can install any software package you want.
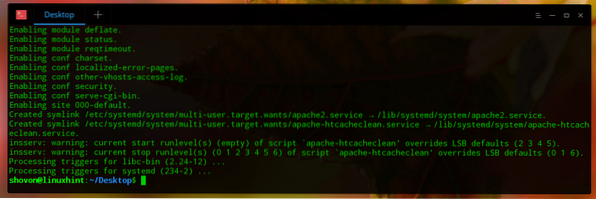
For example, you can install the Apache 2 web server with the following command:
$ sudo apt-get install -y apache2
Apache 2 web server should be installed.
That's how you install, configure and customize Deepin Linux. Thank you for reading this article.


