It has a rather elegant desktop interface and a different central philosophy of design.
Enlightenment desktop can manage windows and files. It can do compositing. It can also start applications as well as handle UI and manipulate system settings. In fact, Enlightenment was the first Window Manager to bring themes into the X11 window system.
Enlightenment is in existence before GNOME and is hardly younger than KDE. Its first release was version 0.1 in the first part of 1997. Initially, it was launched as a simple window manager. Despite the limited capability of computers to handle a user interface's complex functionality, it proved to be very flexible in terms of behavior and visuals features.
Enlightenment has too many features along with too much flexibility. One can configure it to be a simple GUI desktop or make it more dazzling with various activity options.
What will we cover
In this guide, we will see how to install the Enlightenment Desktop environment on Fedora 30 OS. We will see the installation method via the official repository and via source code. Let's get started with the installation process of Enlightenment Desktop.
Prerequisites
- Fedora 30 OS with Gnome desktop installed on your system.
- Basic idea of running commands on Linux command-line interface.
- Root user account or a normal user account with sudo privileges.
- Good Internet connectivity to download various files.
Method 1. Installing Enlightenment Desktop Using official Fedora Repositories
Step 1. Installation using this method is pretty easy. You only need to install the enlightenment group package to get things working.
$ sudo dnf install @enlightenment
That's all. The above command installs all the required packages and dependencies. Your new desktop environment is installed and ready to use. We only need to logout and login again to apply the changes.
We will see the configuration steps after Method 2. If you are not interested in installing the Enlightenment Desktop from source code, you can skip to the configuration section.
Method 2. Installing Enlightenment Desktop from the source code
Installing an enlightenment desktop from source code is a bit complex. We need to install several needed packages before running the install scripts. Without these packages, we might get an error like the one below:
Package requirements (eeze >= 1.20.5 ecore >= 1.20.5 eina >= 1.20.5) not foundLet us first install these dependencies:
1. Install the efl-devel package:
$ sudo dnf install efl-devel-1.21.1-4.fc30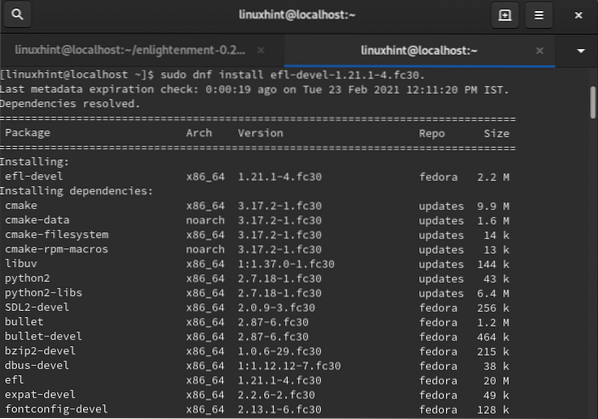
2. Install the xcb-util-keysyms-devel package:
$ sudo dnf install xcb-util-keysyms-devel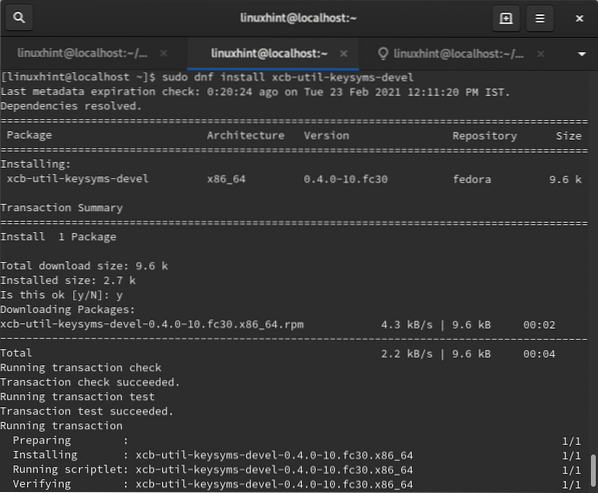
Now we can continue with the further process of installation:
Step 1. Download the archive binary of enlightenment from the below command:
$ wget https://download.enlightenment.org/rel/apps/enlightenment/enlightenment-0.22.4.tar.xz
Step 2. Extract the downloaded file with the command:
$ tar -xf enlightenment-0.22.4.tar.xz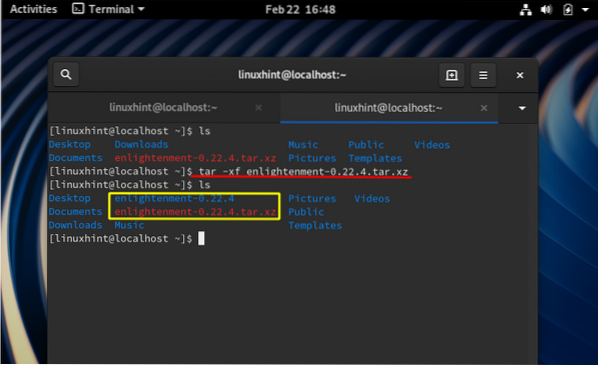
Step 3. Now move to the extracted folder with the change directory command:
$ cd enlightenment-0.22.4/Step 4. Now to configure the package for your system, run the configure script as below:
$ sudo ./configureYou might get some error after running the above script like:
config.status: error: Something went wrong bootstrapping makefile fragmentsfor automatic dependency tracking. Try re-running configure with the
'--disable-dependency-tracking' option to at least be able to build
the package (albeit without support for automatic dependency tracking).
To fix such error, add the option -disable-dependency-tracking to the configure script as shown below:
$ sudo ./configure --disable-dependency-tracking
Step 5. To compile the code, we need to install the make utility with the command:
$ sudo dnf install makeIf the configure script finishes without any error, we can compile the source code:
$ makeStep 6. Now install the enlightenment package with the command:
$ sudo make all installAfter the above command is finished successfully, our enlightenment desktop is installed, and we can continue to configure it.
Configuration
Follow the below steps to configure the enlightenment desktop environment:
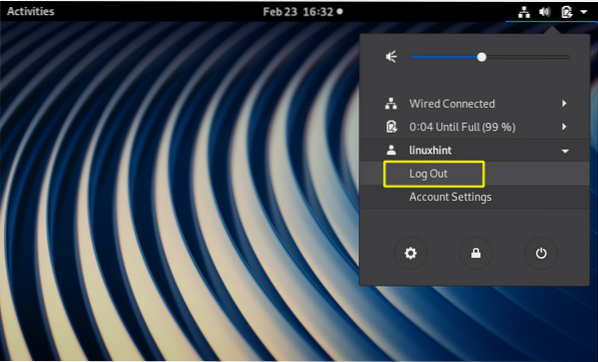
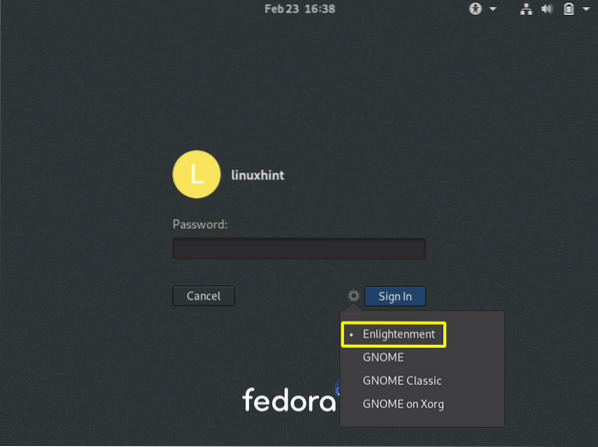
Step 1. Logout from your current session as shown below:
Step 2. Now at the start screen, select the 'Enlightenment' session from the setting icon as shown below:
Step 3. Now login with your credentials. A startup screen might appear and will quickly fade out. On the next screen, it will ask you to select the language for installation. You can use a usb mouse or keyboard to select the required language. Now hit the Next button to continue.
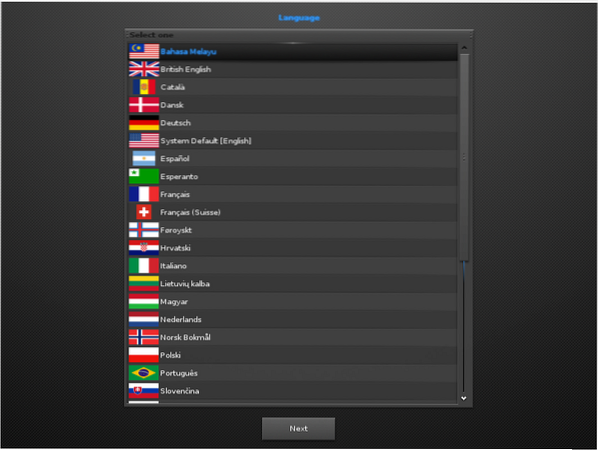
If you are not sure, you can stick to the system default language.
Step 4. Select the Keyboard layout of your choice and hit the Next button to move further:
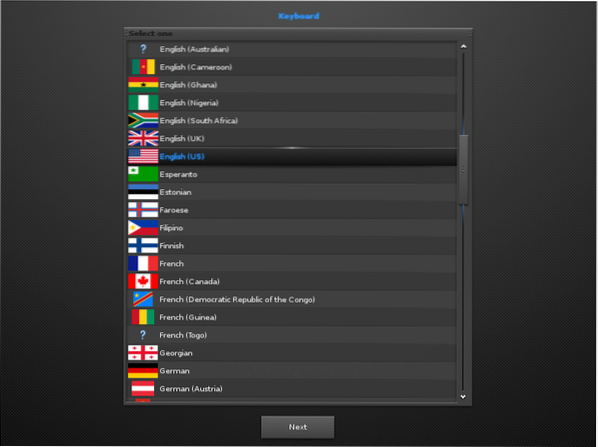
If you are not sure, you can stick to a commonly used English(US) keyboard.
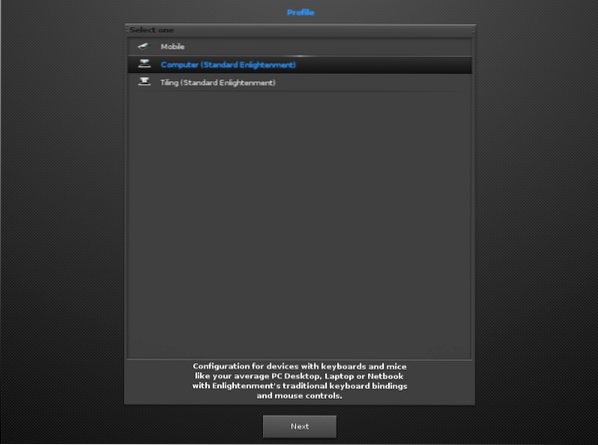
Step 5. The next step will ask to select a profile from three options: 1. Mobile 2. Computer 3. Tiling. We are selecting the Computer (Standard Enlightenment) profile:
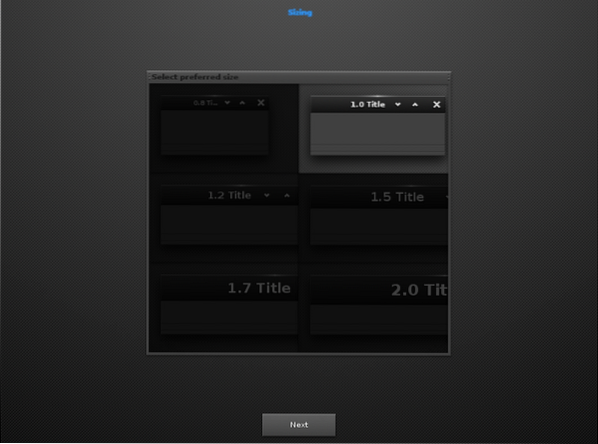
Step 6. Now it will display different sizes of titles to select from. We have chosen the default highlighted 1.0 Title size. You can select as per our choice:
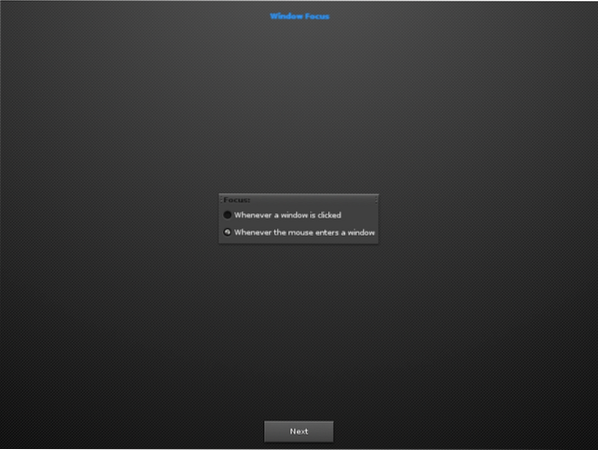
Step 7. After the above window, the configuration process will ask to select a behavior for window focus. If you select the first option, the window will be focused only when a mouse is clicked on it. In the second option, the window is selected whenever the mouse enters it or hovers upon it. We are sticking with the already checked second option.
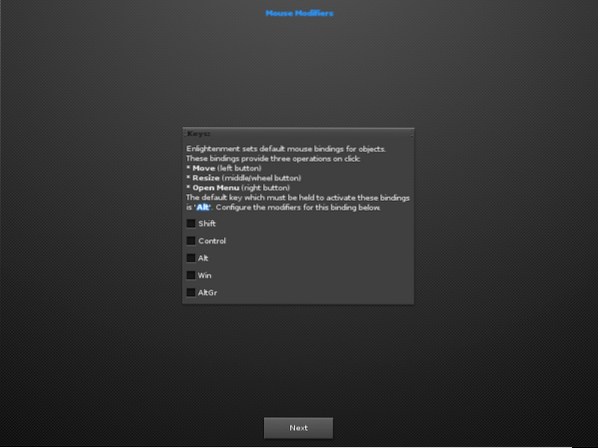
Step 8. In this part, you can choose the way you want to bind the mouse actions (move, resize, open) with the keyboard buttons ( shift, ctrl, alt, win, altgr). The default option is the alt key. We are just entering the Next button without checking any option to use the default setting (alt key).
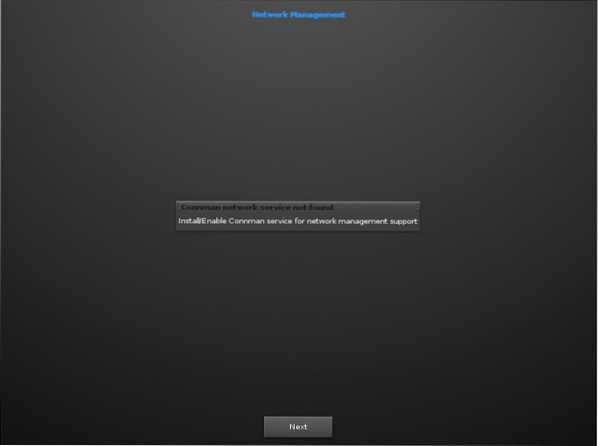
Step 9. If the next screen says 'Connman network service not found', just skip the message and hit the Next button:
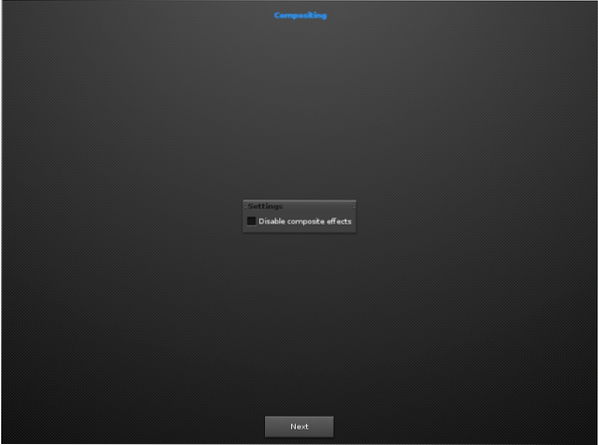
Step 10. In the next screen, we have not disabled the Compositing feature.
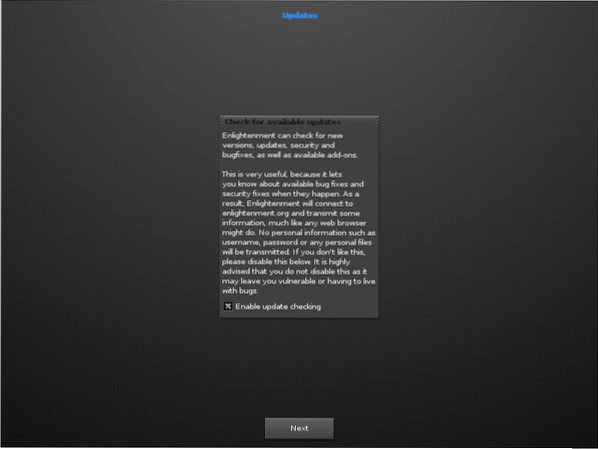
Step 11. Here it will ask for automatic checking of new versions, updates, etc. Simply mark the checkbox (already checked by default) and continue.
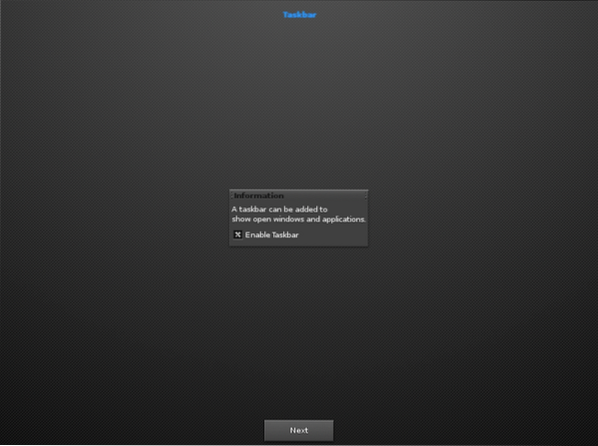
Step 12. Enable the taskbar and hit the Next button:
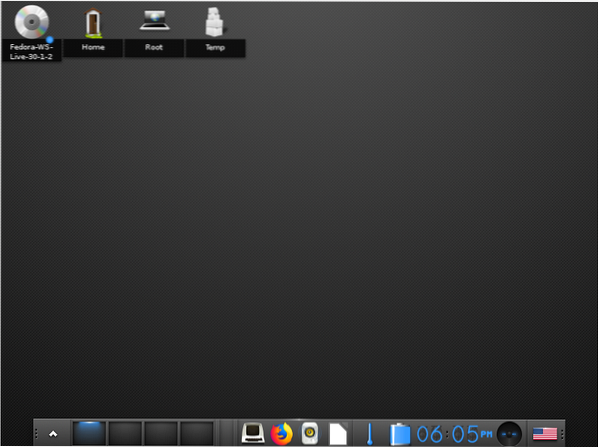
Lastly, enter the Next button to launch and explore the new desktop environment.
Conclusion
Congratulations, you have successfully installed the Enlightenment desktop on Fedora 30 workstation. Enjoy the numerous features and customize them as per your choice. While following this guide, you may have observed that installing from source code is a bit more typical than installing it. If you are a Linux beginner, we will recommend you to use the first method.


