Katoolin is a Python script that allows the installation of Kali Linux tools at once automatically or manually one by one. In this tutorial, we are going to show you how to install Kali Linux Tools using Katoolin on Ubuntu.
Installing Kali Linux Tools using Katoolin on Ubuntu
Prerequisites
In order to install Kali Linux Tools, we first need to install the following one by one:
- Git
- Python 2.7
- Katoolin
Step 1 - Install Git
Launch the Terminal and enter the following command to install Git.
sudo apt-get install git
Check the Git version. As of today, it's version 2.17.1.
sudo git --version

Step 2 - Install Python
Check for available Python version.
sudo apt-cache policy python

Start install Python 2.7.
sudo apt-get install python
Now check for installed version:
sudo python -V

Step 3 - Install Katoolin
Before installing Katoolin, clone git repository to our current location. Here we are going to clone git to “/opt” directory.
sudo git clone https://github.com/LionSec/katoolin.git

Copy the Katoolin binary to your path:
sudo cp katoolin/katoolin.py /usr/bin/katoolin
Give executable permission to katoolin:
sudo chmod +x /usr/bin/katoolin
That's it. Katoolin is now installed. Let's start using it.
Step 4 - Check Katoolin Interface and Options
Launch katoolin.
sudo katoolin
Now you can see Katoolin main interface and four options:
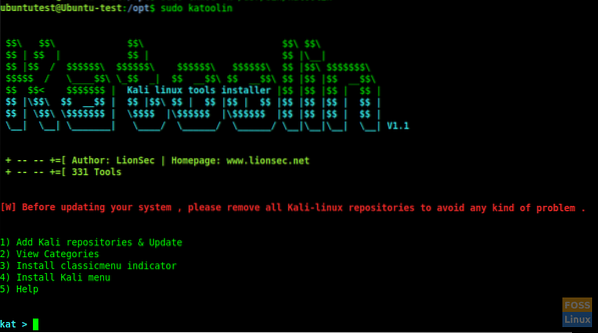
You will see a bunch of options:
- Add Kali repositories & Update
- View Categories
- Install classicmenu indicator
- Install Kali menu
- Help
Let us discuss each of the options from 1 to 4 listed above in depth.
Step 5 - Add Kali Repositories & Update
This option will add the Kali Linux repositories to your Ubuntu system. Type 1 and hit Enter. Then it will show submenu. Type 1 again for “Add kali linux repositories”
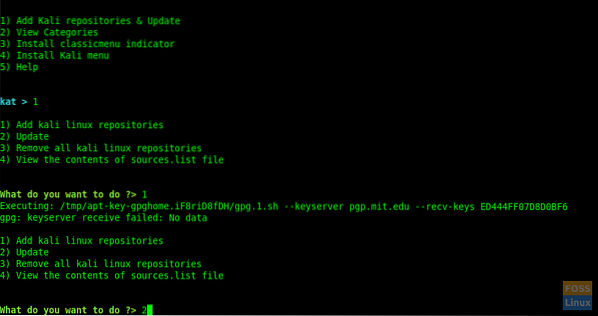
Sometimes you may get the following error:
gpg: keyserver receive failed: No data
Then click “CTRL+c” to exit Katoolin and execute the following commands.
Add keys and update system.
wget -q -O - archive.kali.org/archive-key.asc | sudo apt-key add
sudo apt-get update
Then continue with katoolin and go for the previous step.
Enter 2 to update repositories.
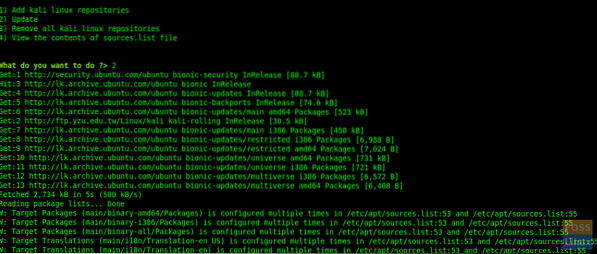
Entering 3 and 4, you can remove repositories and view contents of “sources.list”file.
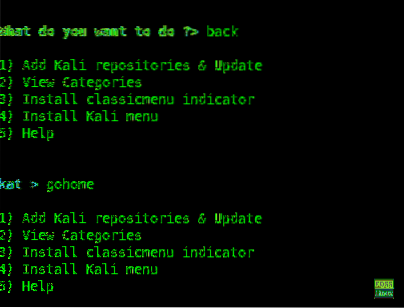
Now type “back” to go the main menu.
Type “gohome” and hit enter to go the Main Menu.
Step 6 - Viewing Categories
Type 2 from the main menu and it will list all categories.
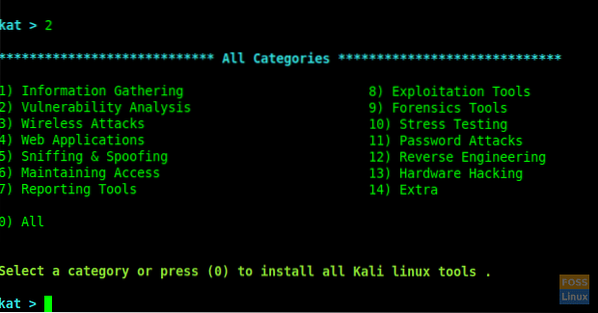
You can use a specific number to install tools or if you want all enter 0 (Zero).
Here we selected “Vulnerability Analysis” after typing 2 at the prompt.
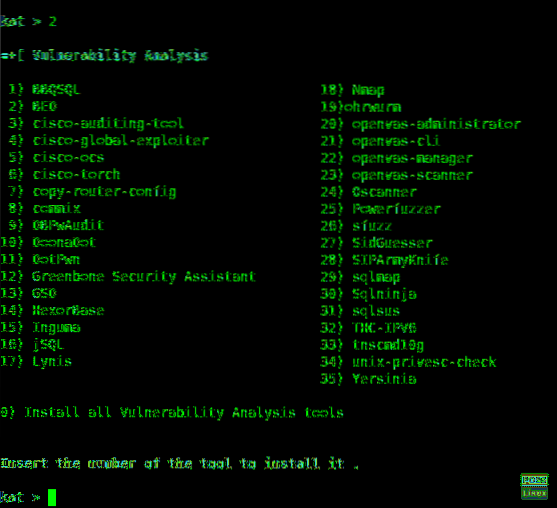
You can install any kind of tool typing its number and if you want to install all of them, type “Zero” 0.
Here we install “Greenbone Security Assistant” after entering 12.
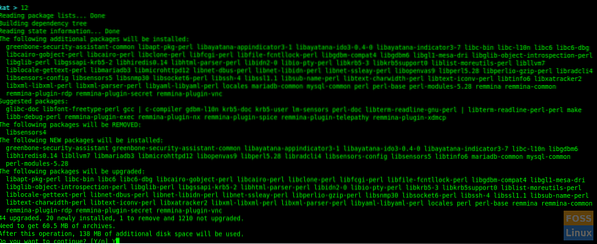
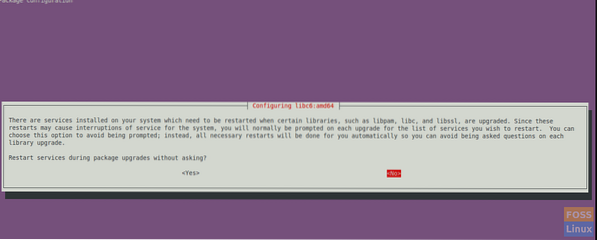
During installation, it will ask to restart services. You can select “yes” to continue.
The installation will complete and you will get the “Vulnerability Analysis” Menu.
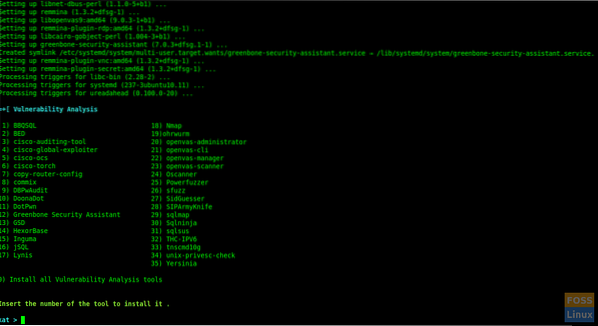
Here we successfully installed “Greenbone Security Assistant” and you can follow the same procedure to install any other tool of your choice.
Step 7 - Install the ClassicMenu indicator
Type 3 and hit Enter. Then it will ask to confirm. Type y to confirm and install it.
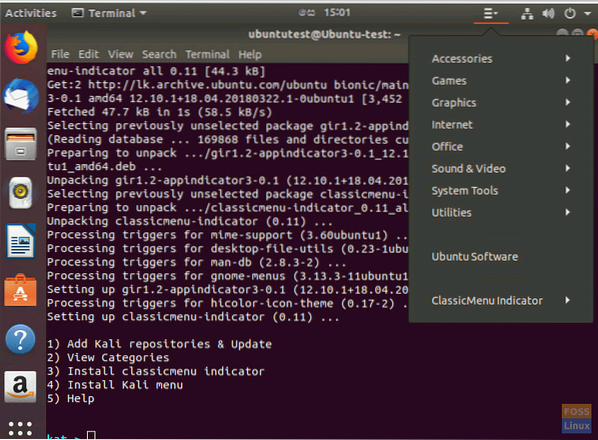
This is a notification area applet for the top panel of Ubuntu desktop environment. It gives a simple way to get a classic application menu.
After install, you can see the menu as follows:
Step 8 - Install Kali menu
If you want to install Kali Menu, type 4 and type 'y' to confirm the installation.
That's all. Using Katoolin, we just learned how to automatically install Kali Linux tools using Katoolin. If you found this tutorial helpful, help spread the love by sharing this with your friends on the social platforms.
 Phenquestions


