Downloading Mining OS:
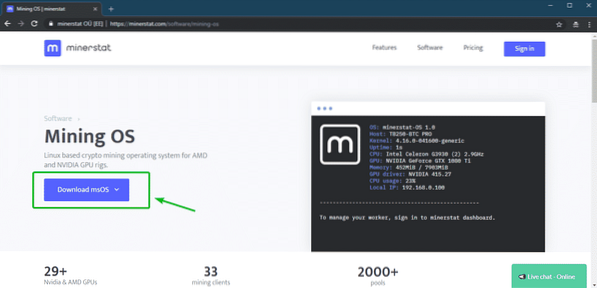
You can download Mining OS from the official website of Mining OS. To download Mining OS, visit https://minerstat.com/software/mining-os from your favorite browser. Once the page loads, click on Download msOS.
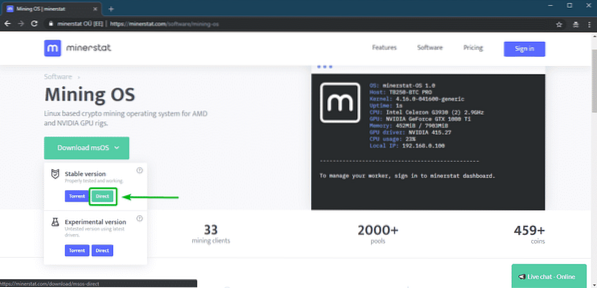
Now, from the Stable version section, click on Direct.
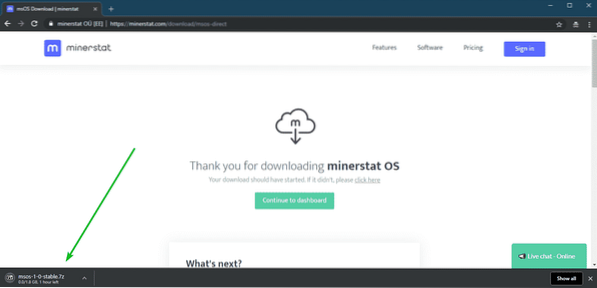
Your download should start. It will take a while to complete.
Creating A minerstat Account:
While the Mining OS is being downloaded, you should create a minerstat account.
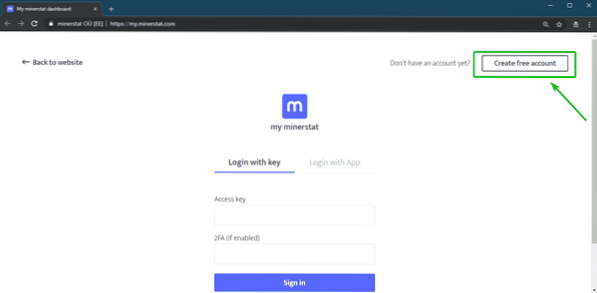
To do that, visit https://my.minerstat.com/ from your favorite web browser. Once the page loads, click on Create free account at the top right corner of the page.
Now, type in your email address, check I agree to the terms and privacy checkbox and click on Continue.

Now, minerstat will send you an access key to the email address that you just used to sign up. You can use the access key to log in to your minerstat account.
To log in to your minerstat account, go to https://my.minerstat.com/ from your favorite browser, paste the access key in the Access key field and click on Sign in.
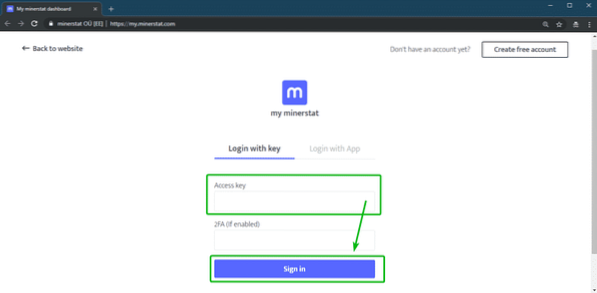
You should be logged in.
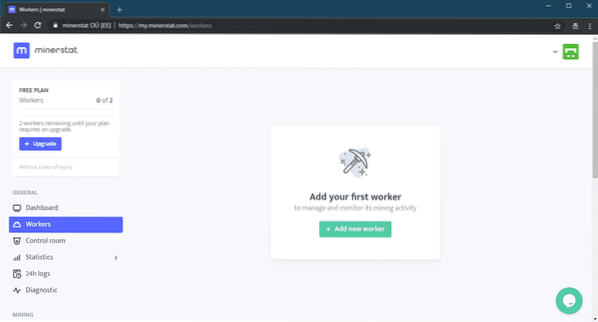
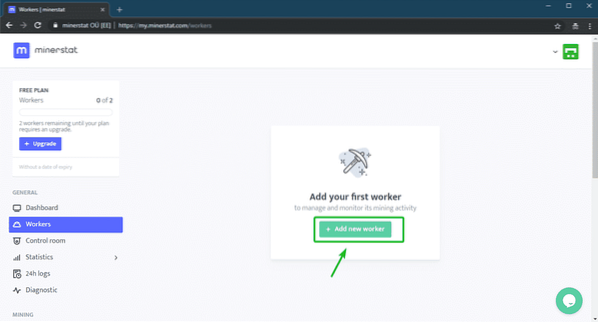
Creating A Worker:
Now, you have to create a new worker. To do that, click on + Add new worker as marked in the screenshot below.
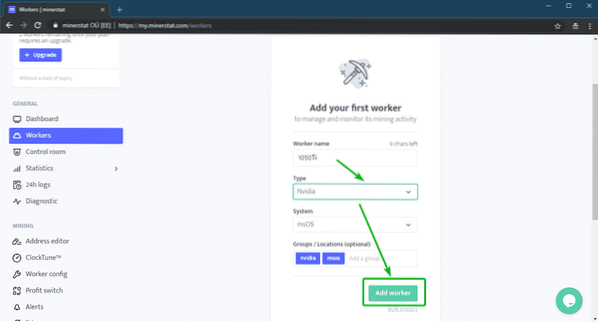
Now, type in a Worker name, select Nvidia or AMD from the Type dropdown menu depending on what graphics card you have. Make sure System is set to msOS. Finally, click on Add worker.
You can find the access key and worker name here. You will need these to configure Mining OS.
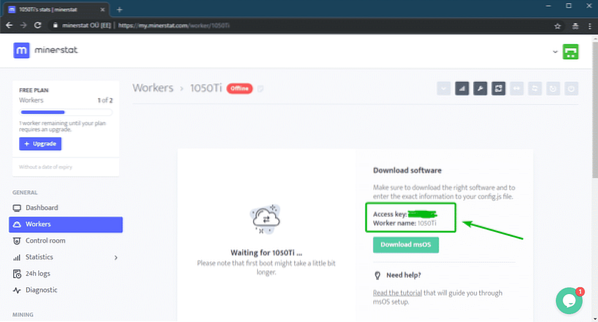
As a free user, you can create up to 2 workers. If you need more. You have to upgrade your plan.
Installing Mining OS:
At this point, you should have Mining OS downloaded. You need a USB thumb drive of 8 GB or more capacity in order to install Mining OS there. I recommend you go for USB 3.0 thumb drives.
You need Etcher to flash the Mining OS image to your USB thumb drive. Etcher can be downloaded for free from the official website of Balena at https://www.balena.io/etcher/. Etcher is available for Windows, Linux and macOS.
If you're using Linux, then you may take a look at the article https://linuxhint.com/install_etcher_linux/ to learn how to install Etcher on Linux.
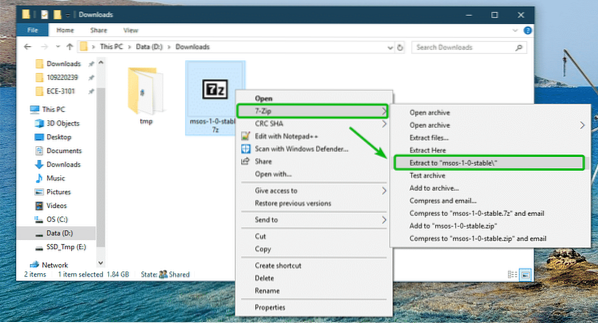
Now, you have to extract the Mining OS archive file that you just downloaded. You can use 7-Zip or WinRAR for that. I am going to use 7-Zip. But the process should be similar.
In 7-Zip, right click on the archive, and click on 7-Zip > Extract to “msos-1-0-stable\” as you can see in the screenshot below.
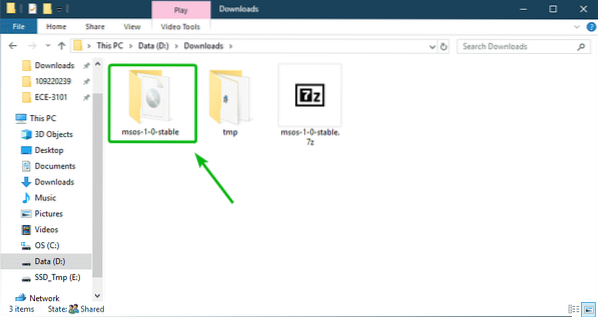
A new directory should be created.
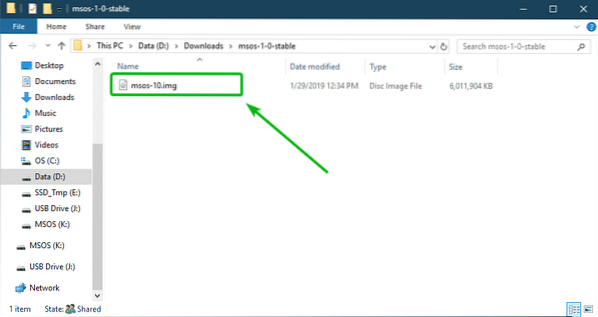
Inside the directory, you should see the Mining OS IMG file. This is the file you have to flash on your USB thumb drive.
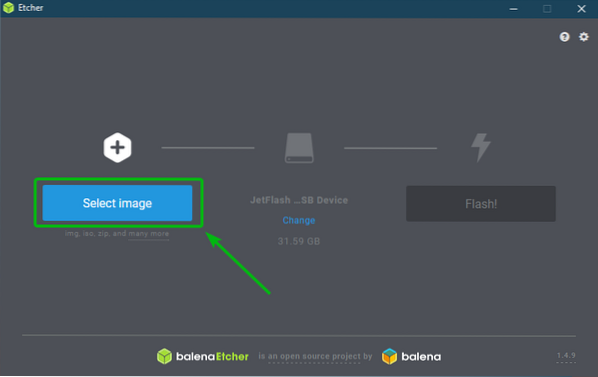
Now, insert your USB thumb drive and open Etcher. Then, click on Select image.
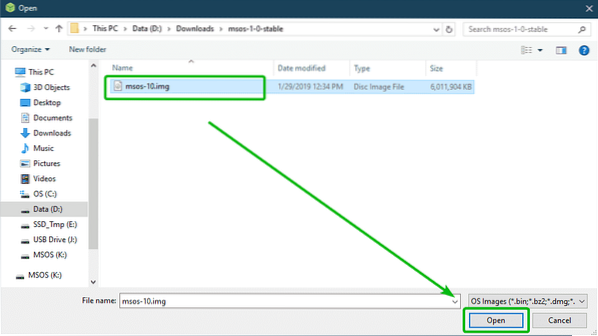
A file picker should be opened. Now, select the Mining OS IMG file and click on Open.
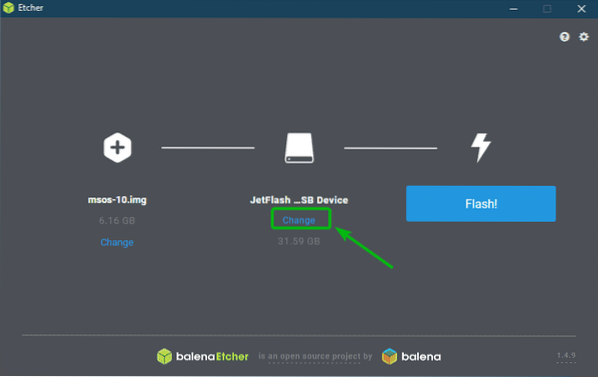
Now, make sure your USB thumb drive is selected. If not, you can click on Change to select it manually.
Once you're ready, click on Flash!
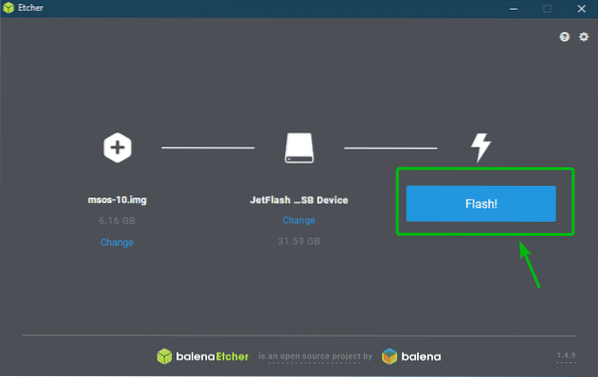
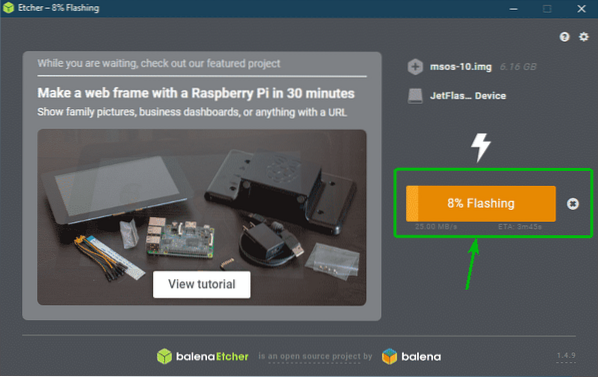
Etcher should start flashing your USB thumb drive. It may take a while to complete.
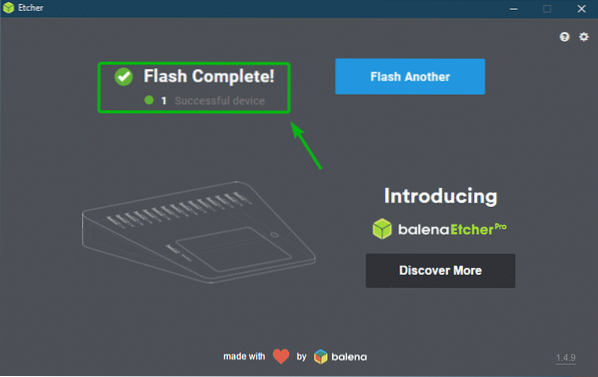
Once it's complete, you can close Etcher.
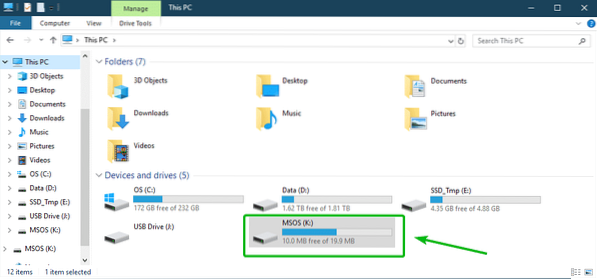
Now, unplug your USB thumb drive and plug it in again.
Then, you should find a drive MSOS. Click on it.
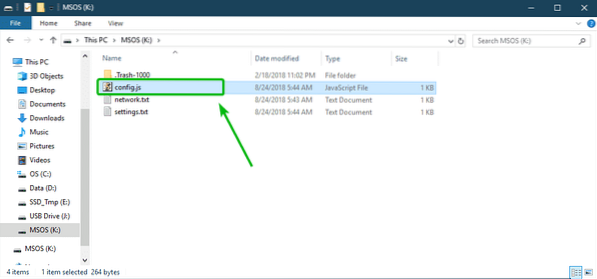
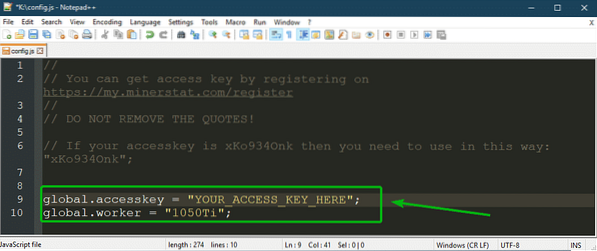
You should find a config.js file here. Open it with Notepad or Notepad++.
Now, set global.accesskey and global.worker to your access key and worker respectively. Then save the file.
Now, your USB thumb drive is ready to run Mining OS.
Booting into Mining OS:
Now insert the USB thumb drive that you just flashed with Mining OS into your computer and select to boot from it from the BIOS of your computer.
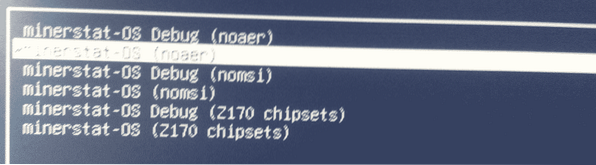
Now, select any of the option depending on what hardware you have. I selected minerstat-OS (noaer).
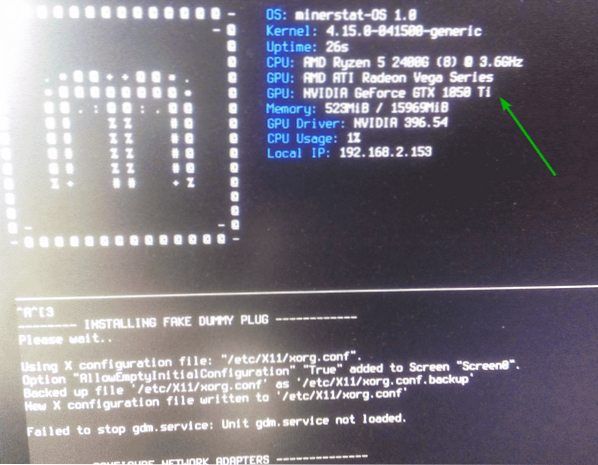
Mining OS should boot correctly, detect your GPU/GPUs and configure itself. Once it's configured, your computer should reboot.
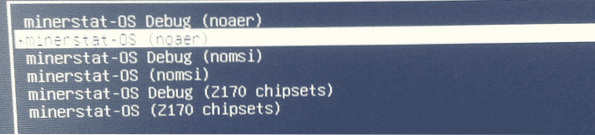
Now, select the same one you selected before from the GRUB menu and press
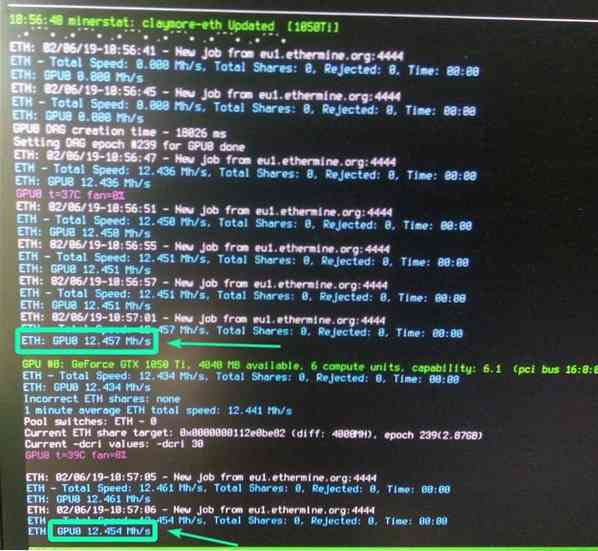
As you can see, Mining OS started mining ETH. The hash rate in my case is 12.436Mh/s.
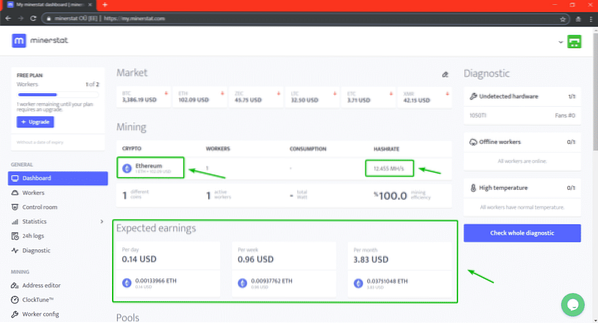
Now, log in to your minerstat account. You should be able to see your hash rate, expected earnings, the crypto currency that is currently being mined etc.
Mining Different Crypto Currency with Mining OS:
By default, Mining OS mines ETH (Ethereum). If you want to mine something else, then you have to do a little bit of configuration.
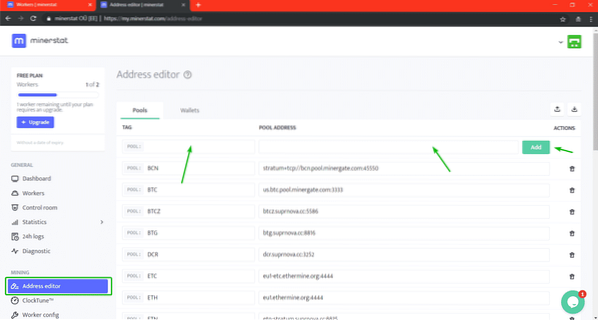
Let's say, you want to mine ETC (Ethereum Classic). First, you have to add a pool address and a wallet address for ETC to your address book.
To do that, go to the Address Editor section. Then on the Pools section, type in ETC in the empty TAG section and your ETC pool address in the empty POOL ADDRESS section. Once you're done, click on Add. The pool should be added. In my case, the ETC pool is already there.
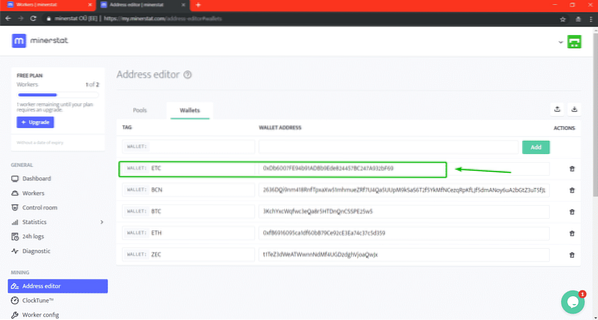
Now, go to the Wallets tab. Here, you have to add a wallet address for your pool. Type in ETC in the TAG field and your ETC wallet address in the WALLET ADDRESS field. Once you're done, click on Add.
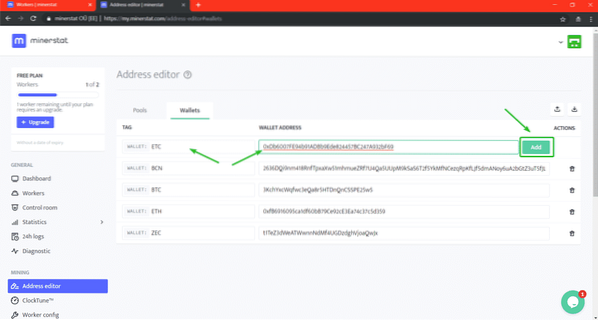
As you can see, the ETC wallet address is added.
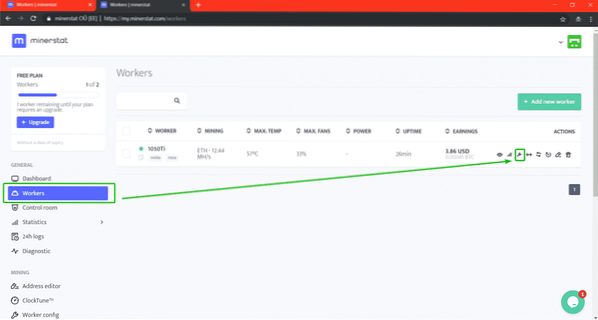
Now, you have to configure your worker in order to mine ETC.
To do that, go to the Workers section and click on the settings icon of the worker you want to configure.
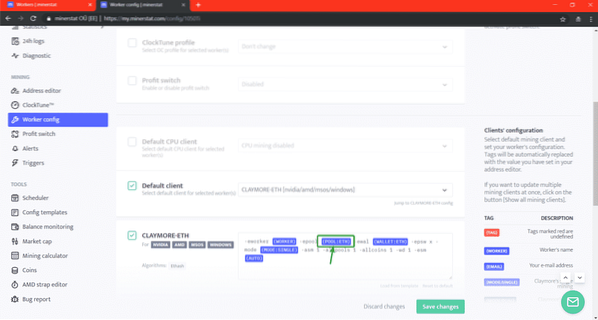
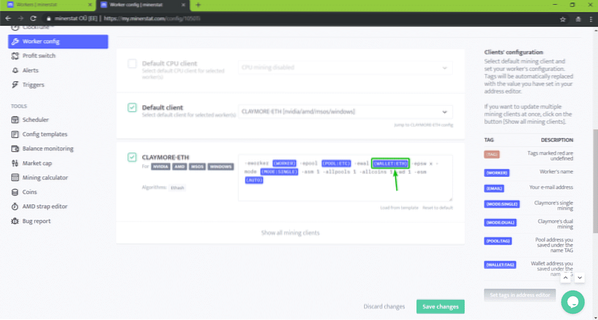
Now, scroll down a little bit to the CLAYMORE-ETH section. Now, to select a new pool, click on POOL:ETH as marked in the screenshot below.
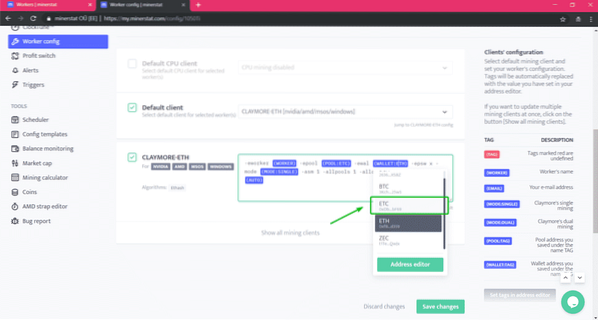
Now, select ETC from the list.
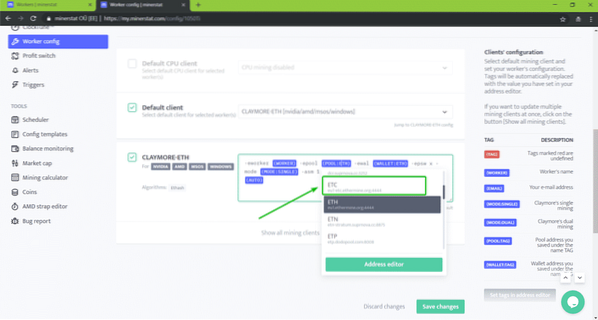
The ETC pool is selected. Now, you have to select a wallet address. To do that, click on WALLET:ETH as marked in the screenshot below.
Now, select ETC from the list.
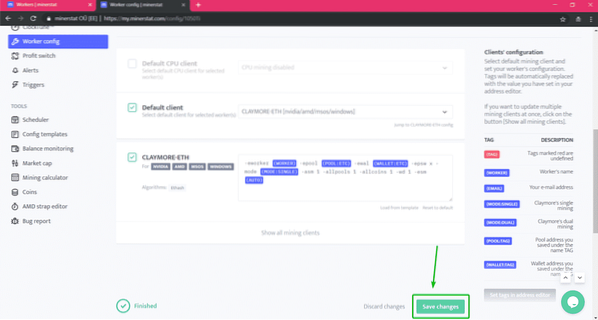
The ETC wallet is selected. Now, click on Save changes.
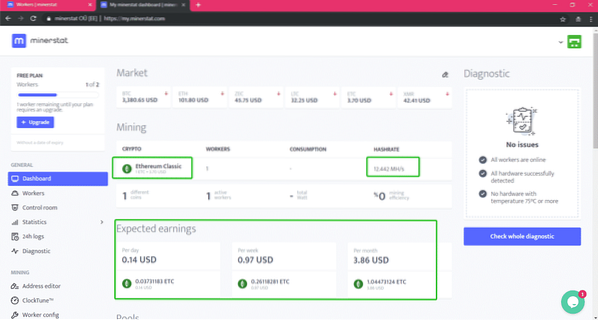
Now, if you go to your Dashboard, you should see the crypto currency being mined is ETC.
Overclocking the GPU with ClockTune:
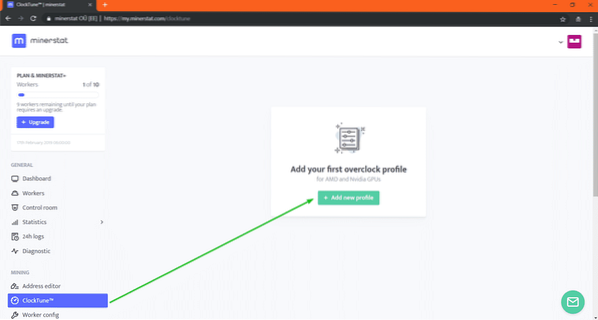
You can overclock the GPU you're using from the minerstat web interface. To overclock your GPU, first you have to create a ClockTune profile and then configure your worker to use it.
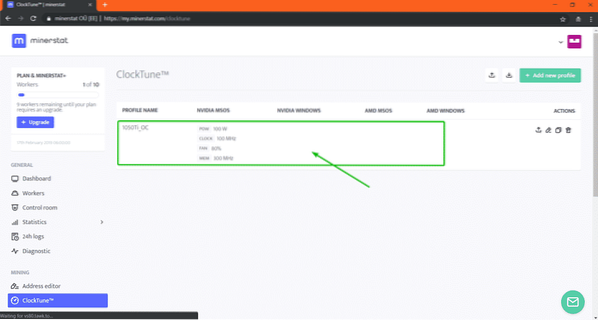
To create a ClockTune profile, go to the ClockTuneTM section and then click on + Add new profile.
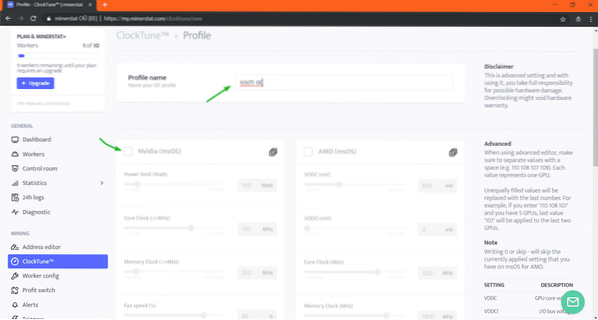
Now, type in your profile name. I am using an NVIDIA 1050Ti GPU. so, let's call it 1050Ti_OC.
Then, check Nvidia (msOS) or AMD(msOS) checkbox depending on what GPU you're using.
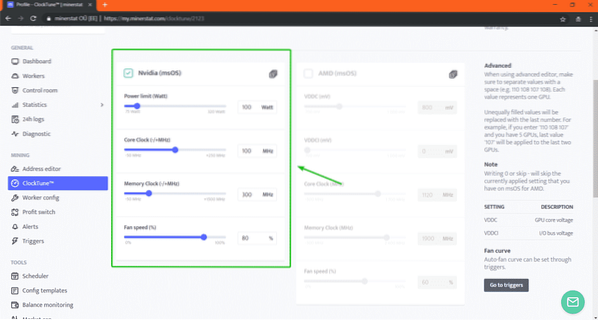
Now, type in your overclock settings. You can use the slider or type in the values directly. Your wish.
Now, scroll down a little bit and click on Save changes.
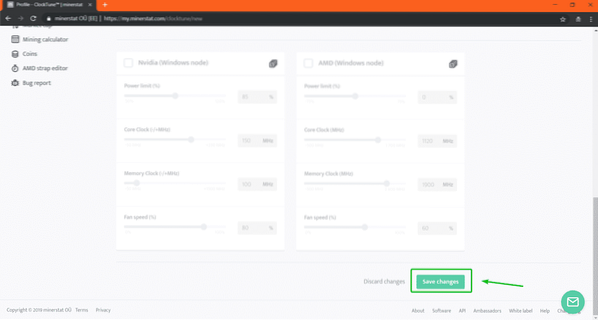
Your ClockTune profile should be created.
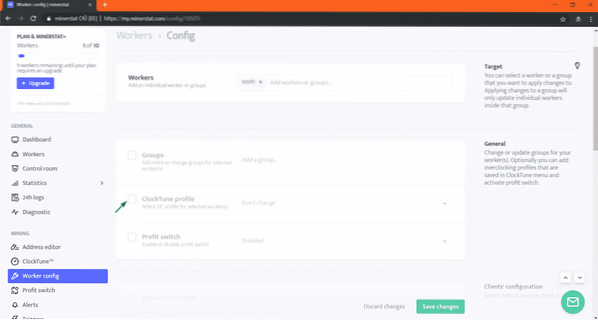
Now, go to your workers config and check the ClockTune profile checkbox.
Now, select your ClockTune profile from the dropdown menu.
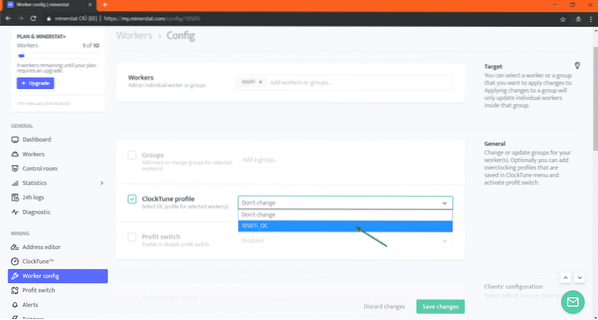
Once you're done, click on Save changes.

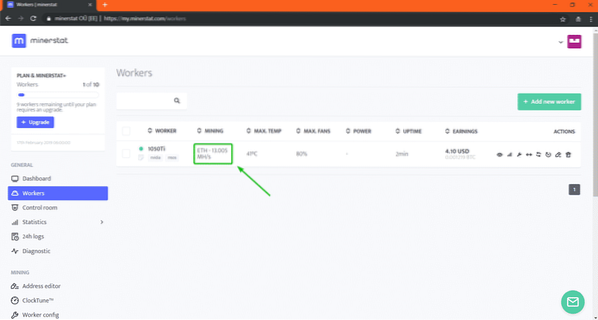
Now, you should see slight improvement in your hash rate. Mine went to 13 MH/s from 12.4 MH/s as you can see.
Configuring Triggers:
Triggers is an important feature of minerstat. It lets you control your Mining OS machine depending on the condition of your GPU. For example, let's say you want to shutdown your Mining OS machine when the GPU temperature is too high, you can do so using triggers.
To add triggers, go to the Triggers section. Now, you can use the dropdown menus to select what to do and when to do it. Once you're done, click on Add trigger. Your trigger should be added. You can add as many triggers as you want.
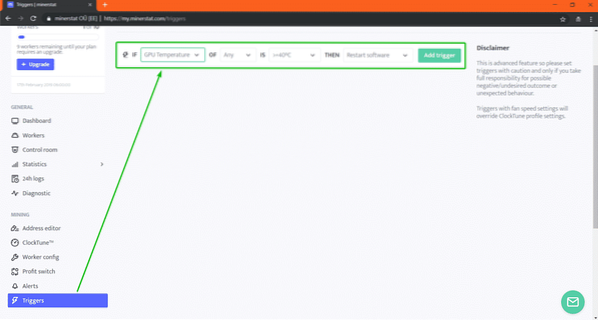
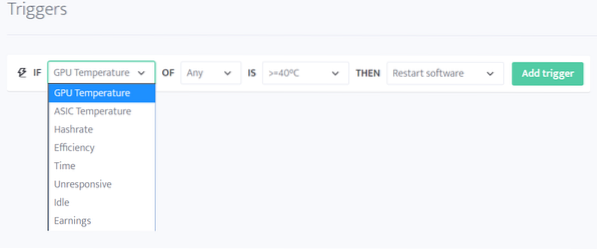
As you can see, you can trigger depending on the GPU temperature, hash rate, efficiency of mining, mining time, earnings etc.
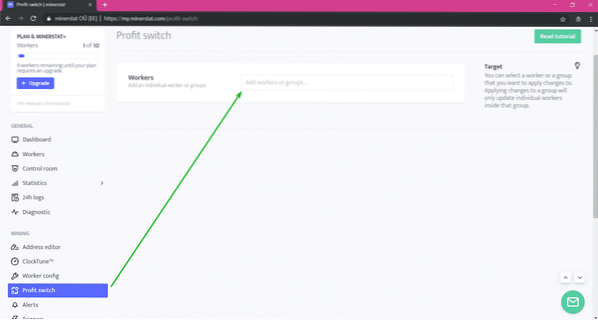
Configuring Profit Switch:
Profit switch is an algorithm which selects the coin that is most profitable to mine automatically. You can configure profit switch on minerstat.
To configure profit switch, go to Profit Switch section.
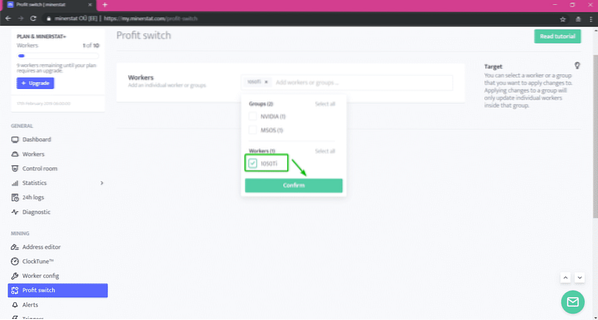
From here, select your worker or group for which you want to configure profit switch. Then, click on Confirm.
Now, you have to add the coins you want for profit switch here.
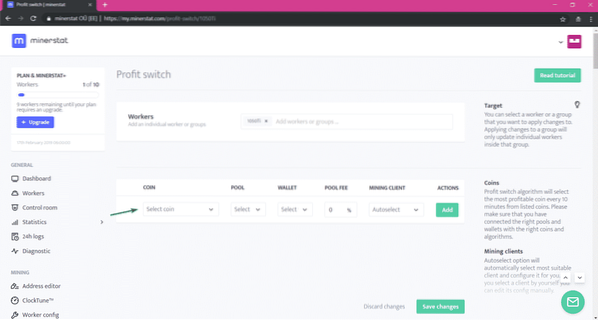
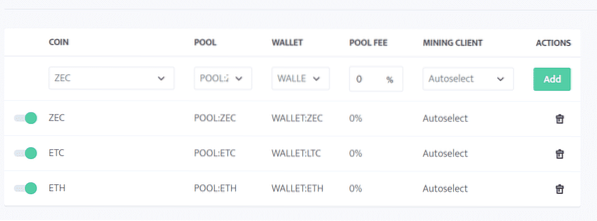
To add a coin, select the coin, select the pool, select the wallet, type in the pool fee, select the mining client or keep it to Autoselect. Once you're done, click on Add.

I added a few coins.
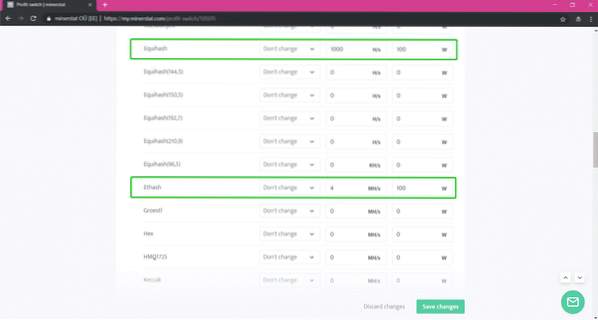
Now, scroll down a little bit. Here, you can also select the algorithm you want to use for profit switch. You can set hash rate and power consumption of that particular algorithm as well.

I am going to set up hash rate and power consumption of Equihash and Ethash algorithms.
You can also set up hash rate and power consumption based on mining client.
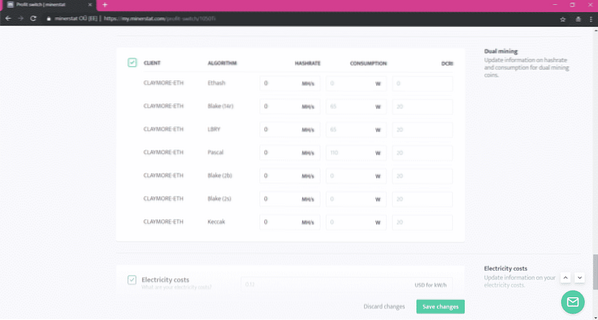
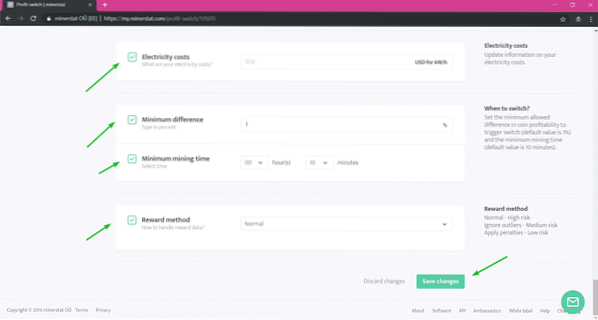
You can also set up electricity costs in kW/h, minimum difference in coin profitability, minimum mining time and reward method. The profit switch algorithm will switch to different crypto currency or mining algorithm depending on these factors.
Once you're done, click on Save changes. Your profit switch profile should be created.
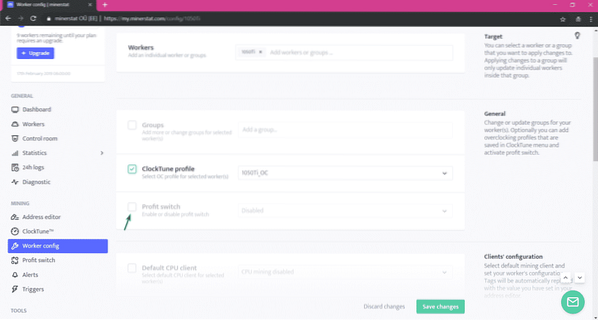
Now, from your workers config, check the Profit switch checkbox.
Now, select Enabled from the dropdown menu.
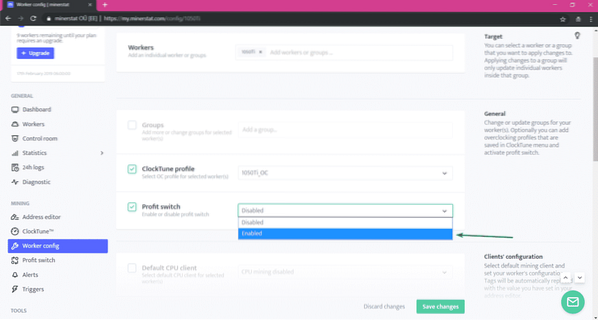
Once you're done, click on Save changes.

Profit switch should be enabled for your worker. Now, Mining OS will mine the coin that is most profitable depending on how well you configured profit switch.
Configuring Control Room:
In minerstat, control room is a feature which lets you organize your mining rigs or workers.
Let's say, you have 10 mining rigs with Mining OS installed. 5 of them has NVIDIA cards and 5 of them has AMD cards. Now, you rented 2 NVIDIA rigs to Kelly, 1 NVIDIA and 1 AMD rig to Lisa, and the rests to Lily.
Now, you can create a new room for Kelly, a new room for Lisa and another one for Lily. Then put the workers of 2 NVIDIA rigs to the Kelly's room, put the workers of 1 NVIDIA and 1 AMD rig to Lisa's room, and the rest of the workers to Lily's room. That way, you can easily monitor and manage the rigs you rented to each clients.
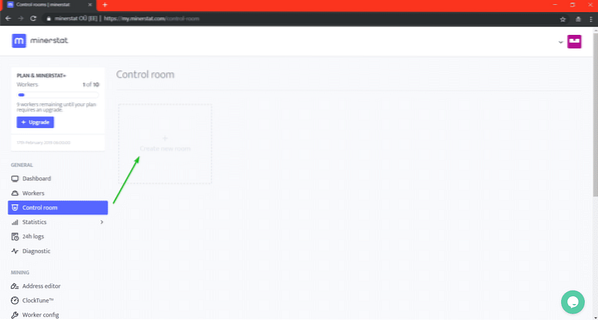
To create a new room, go to Control room section and click on Create a new room.
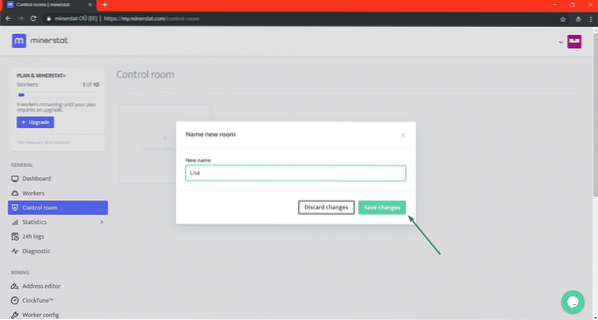
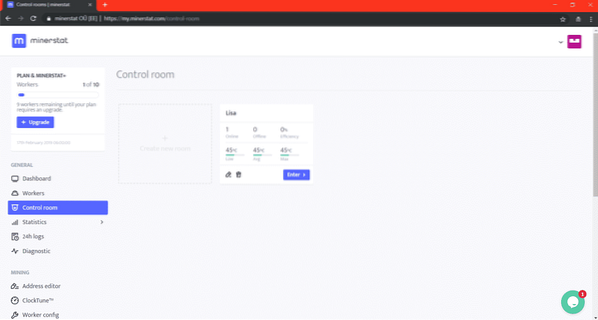
Now, type in the name of your room and click on Save changes.
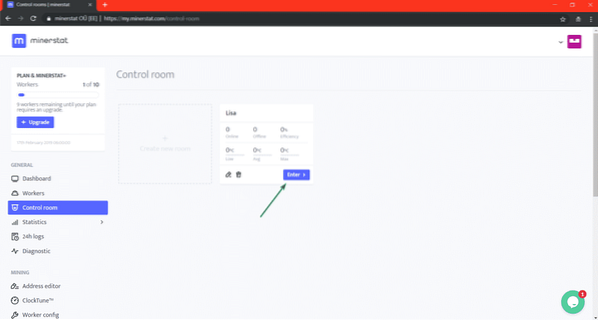
A new room Lisa should be created. To enter the room, click on Enter >.
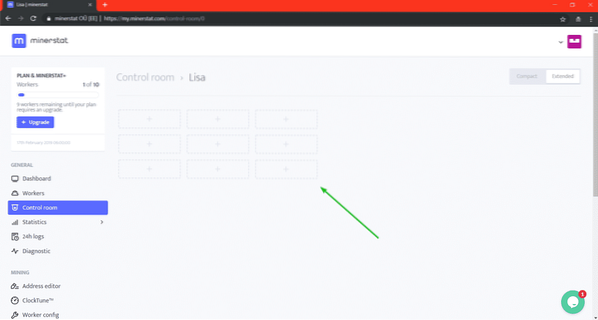
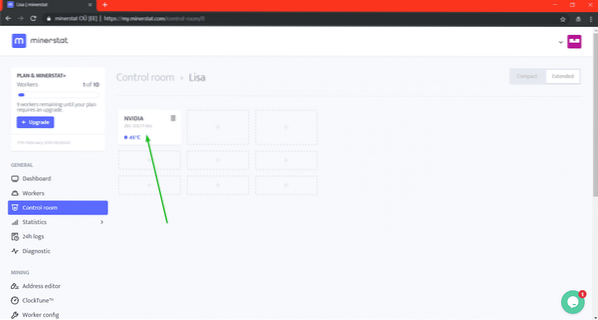
Now, to add a worker to the room, click on any of the + button.
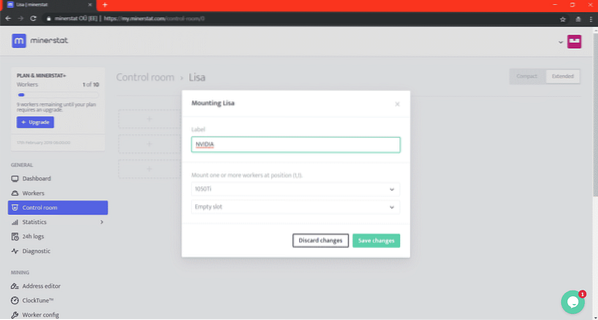
Now, type in a new label and select the workers that you want to add at this position. Once you're done, click on Save changes.
The worker/workers should be added.
As you can see, the minimum, average and maximum temperature of the room, the number of online and offline workers, and efficiency of mining is shown for the room we've created just now.
So, that's how you install Mining OS on your computer and mine crypto currencies with it. Thanks for reading this article.

