You can install TeamViewer on your Ubuntu operating system by two ways. These are:
- By downloading Debian package
- By using repository
Both installation steps are shown in this tutorial. You can follow any of the ways to install it on your system.
Install Teamviewer by downloading debian package:
If you are a new user and you are less familiar with Linux commands then it will be better for you to follow the following steps for installing TeamViewer.
Step-1:
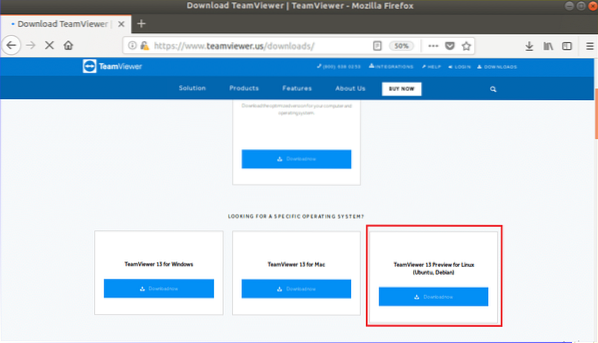
Open any browser and go to the following URL address to download TeamViewer installer according to the configurations and operating system of the computer. You can download the software by selecting AUTOMATED OPTIMIZED DOWNLOAD or by selecting SPECIFIC OPERATING SYSTEM. Ubuntu operating system is used in this tutorial, so click the download link for Linux (Ubuntu, Debian).
https://www.teamviewer.us/downloads/
Step-2:
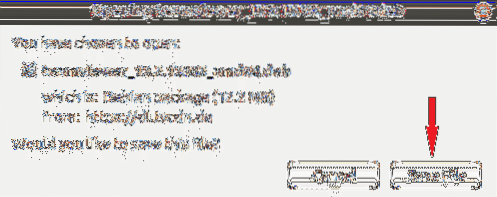
When the following window will appear then click on 'Save File' button to start the download process.
Step-3:
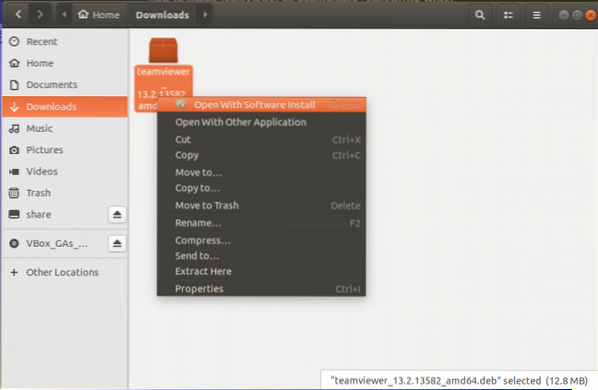
By default, any package file downloads on Downloads folder. Open the Files browser and click on Downloads folder to find out the downloaded package. Right click on the package file and click 'Open with Software Install' from the pop-up menu.
Step-4:
After opening the Ubuntu Software window, click on Install button to start the installation process of TeamViewer.

Step-5:
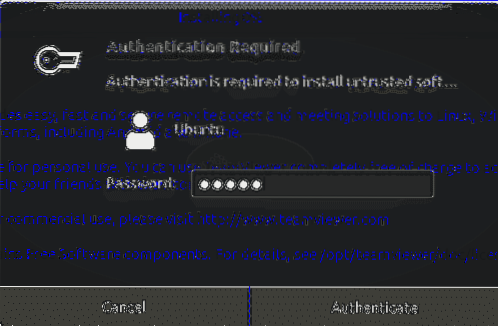
You need to provide root password for giving permission to install untrusted software. The above package is downloaded from the outside of ubuntu.com. So, provide root password in the following window to authenticate the package.
***Note:
You can omit the steps from 3 to 5 by running the following commands from the terminal. If you want to test the following commands after completing step 5 then you must remove Teamviewer first and then try the following commands. The remove command is given in the last section of this tutorial.
Go to the folder where the package is downloaded and run dpkg command with -i option to install TeamViewer from terminal. Here, the package is stored in Downloads folder.
$ cd Downloads$ sudo dpkg -i teamviewer*
Step-6:
Click on 'Show Applications' icon and type teamviewer to find the installed TeamViewer application. If the installation completes successfully in the previous steps then the following icon will appear.
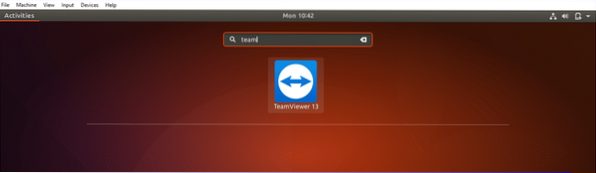
Step-7:
Click on TeamViewer icon to run the application. Click 'Accept License Agreement' button to run the software.
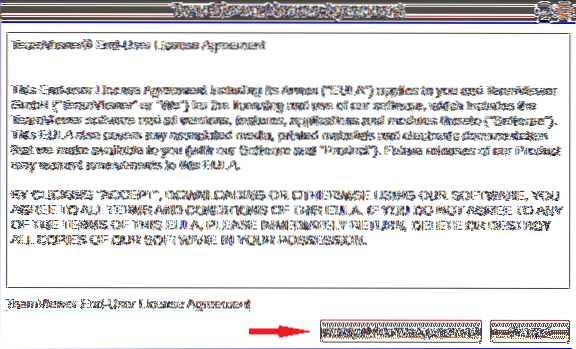
Step-8:
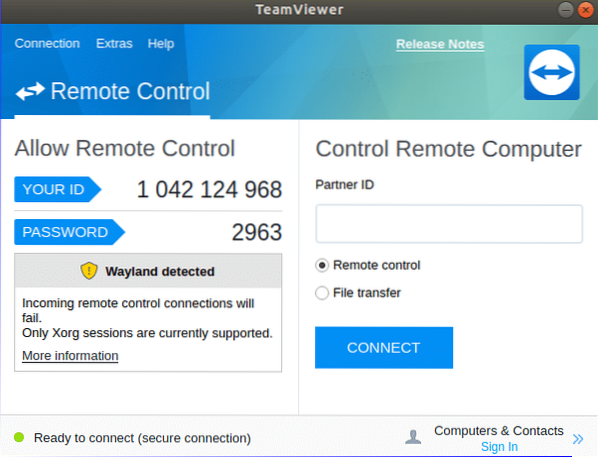
You will get your id and password to communicate with the remote computer. You have to set your partner id to access or control the computer of your partner remotely. If you get the following window then TeamViewer is installed and working properly.

Install TeamViewer by using repository:
If you want to install TeamViewer by using command line then you can follow the following steps for the installation.
Step-1:
Open the terminal by pressing 'Alt+Ctrl+T' and run the following commands to download the repository key of TeamViewer. You can download the file on any folder. Here, Downloads folder is used.
$ cd /downloads$ wget https://download.teamviewer.com/download/linux/signature/TeamViewer2017.asc
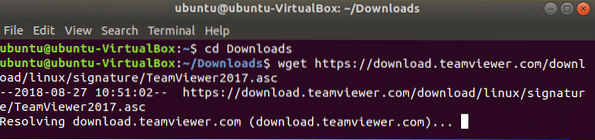
Step-2:
Run the following commands to add the repository.
$ sudo sh -c 'echo "deb http://linux.teamviewer.com/deb stable main" >>/etc/apt/sources.list.d/teamviewer.list'
$ sudo sh -c 'echo "deb http://linux.teamviewer.com/deb preview main" >>
/etc/apt/sources.list.d/teamviewer.list'

Step-3:
Run the command to install TeamViewer with root privilege.
$ sudo apt-get install teamviewer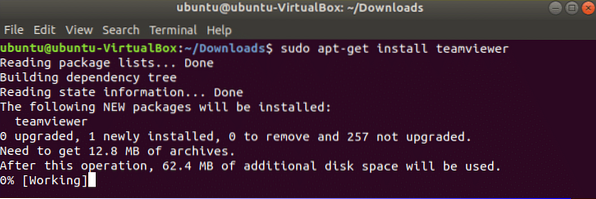
Step-4:
Run the command to check Teamviewer is running or not.
$ teamviewer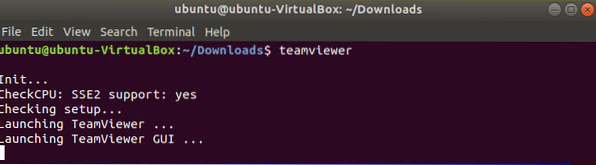
The following window will appear like previous installation.
Upgrade TeamViewer:
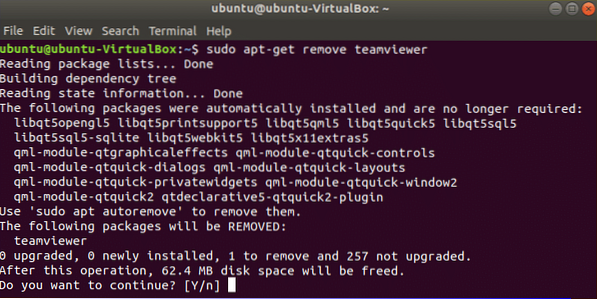
If you want to re-install or upgrade TeamViewer then you have to remove the previously installed version of this software from the system. You can run any of the following command from the terminal to remove the application.
$ sudo apt-get purge teamvieweror
$ sudo apt-get remove teamviewer
After removing the previously installed TeamViewer, follow any of the ways which are mentioned above to re-install the new version of TeamViewer on Ubuntu.
Conclusion:
You can use this software to share your computer related problems with your friends or colleagues for getting solution easily. After reading this tutorial, hope you will be able to install and use TeamViewer on Ubuntu and know the advantages of using this software.


