Installing VirtualBox Guest Additions on CentOS 8
To install the VirtualBox Guest Addition on your CentOS 8 machine, simply follow the step-by-step guide given below.
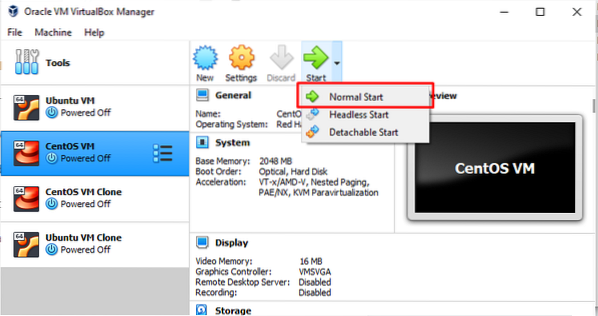
Step 1: Open VirtualBox and Start CentOS 8
First, open the VirtualBox application from the Application menu, select the CentOS machine, and start it.
Step 2: Install Packages for Building Kernel Modules
Next, open the terminal and enter the following command:
$ sudo dnf install gcc kernel-devel kernel-headers dkms make bzip2 perl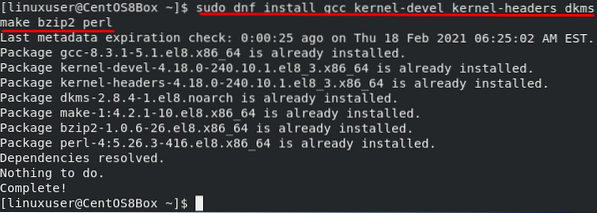
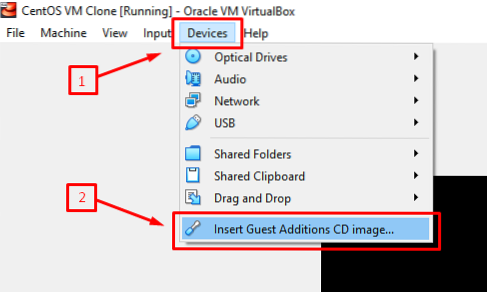
Step 3: Insert Guest Addition CD Image
From the menu bar, go to “Devices” and click the “Insert Guest Addition CD Image” option to insert the guest addition CD image, as shown in the picture below:
After the Guest Additions CD image has been inserted, the CentOS machine will automatically prompt you to run the VirtualBox Guest Addition Image. Simply click “Run” to install the Guest addition image. Once you have completed the installation of the Guest addition image, reboot the machine. On boot, you will see a full-screen view of the CentOS 8 machine, which confirms the installation of the VirtualBox Guest Addition image on the CentOS 8 machine.
If the window does not appear, then you can install the VirtualBox Guest Addition image manually by following the procedure given below.
Step 4: Create a new directory and mount the ISO file
To create a directory, issue the following command:
$ sudo mkdir -p /mnt/cdrom
To mount the ISO file, issue the command given below:
$ sudo mount /dev/cdrom /mnt/cdrom
Step 5: Execute VirtualBox Linux Addition Script
To run the “VBoxLinuxAdditions.run” script, first, go to the newly created “/mnt/cdrom” directory by entering the following command:
$ cd /mnt/cdrom
Now, run the script using the command given below:
$ sudo sh ./VBoxLinuxAdditions.run --nox11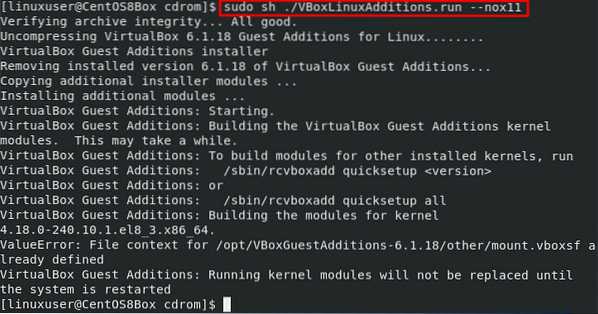
After running the “VBoxLinuxAdditions.run” script, the window should automatically adjust itself to fullscreen. If the window does not adjust automatically, you can simply reboot the machine and have the changes.
Step 6: Reboot CentOS 8 Machine
To reboot the CentOS 8 machine, issue the following command:
$ sudo shutdown -r nowAfter rebooting the CentOS 8 virtual machine, you will verify that the kernel modules have been loaded.
Step 7: Verify Installation of Guest Addition and Kernel
After logging in to the CentOS 8 machine after reboot, issue the command given below to confirm the installation of the Guest Addition image:
$ lsmod | grep vboxguest
If you do not have an output like the above, then you must reload the kernel module. If your output does look like the above, this means that you have successfully installed the Guest Addition, and you can use all of the related features, such as sharing the clipboard and folders.
Conclusion
The Guest Addition provides some useful features, such as a shared folder, mouse integration, shared clipboard, and better graphical appearance in a virtual machine of VirtualBox. This article showed you how to manually install and configure the VirtualBox Guest Addition image.


