
Webmin is a popular web-based platform used to manage servers in an easy and friendly manner. If you are not apt at working on the terminal, then Webmin provides a better option for system administration tasks through a Graphical User Interface.
With Webmin, you can, among other tasks:
- Create New users
- Install / Update software packages
- Remove unwanted software packages
- Monitor CPU, RAM and Hard Disk space utilization
- Automate tasks through cron jobs
- Setup Firewall rules
And so much more!
In this guide, we will show you how to install Webmin on Ubuntu 18.04 LTS.
Installing Webmin along Let's Encrypt SSL on Ubuntu 18.04
Prerequisites
- Ubuntu server 18.04 instance
- Fully Qualified Domain Name with A record pointing to the IP address of your server. This guide uses linuxtechwhiz.info pointing to IP 38.76.11.174
- ssh access to the server
Without much further ado, let's dive in!
Step 1 - Installing Webmin
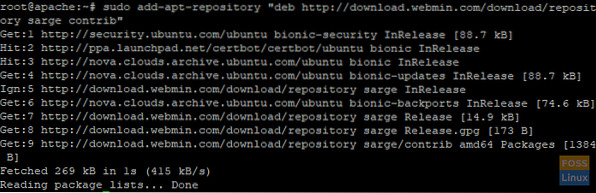
To begin with, we have to add Webmin's repository so that we can install and manage Webmin using the apt package manager.
First, let's update our system repositories
$ sudo apt update
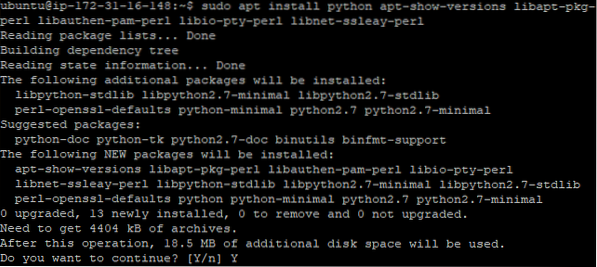
Next, let's install the prerequisite packages
$ sudo apt install python apt-show-versions libapt-pkg-perl libauthen-pam-perl libio-pty-perl libnet-ssleay-perl
Sample output
Thereafter, download the Webmin deb package
$ cd /tmp && curl -L -O http://www.webmin.com/download/deb/webmin-current.deb
Output
Now install Webmin using the command below
$ sudo dpkg -i webmin-current.deb
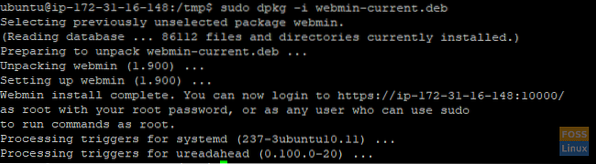
Output
Step 2 - Accessing Webmin
Now that we have successfully installed Webmin, we are going to allow port 10000 in the firewall. This is the port which we are going to access Webmin's interface.
To add port 10000 in ufw firewall execute
$ sudo ufw allow 10000/tcp
Output

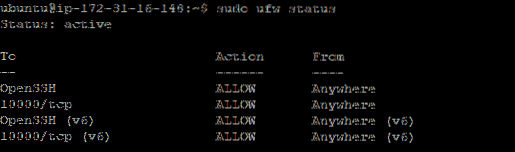
To verify that port 10000 is open, run the following command
$ sudo ufw status
Output
With the port allowed in the firewall head over to your browser, and enter your domain with the suffix :10000 at the end of the URL
Syntax
https://domain_name:10000
In our case, we shall go to
https://linuxtechwhiz.info:10000
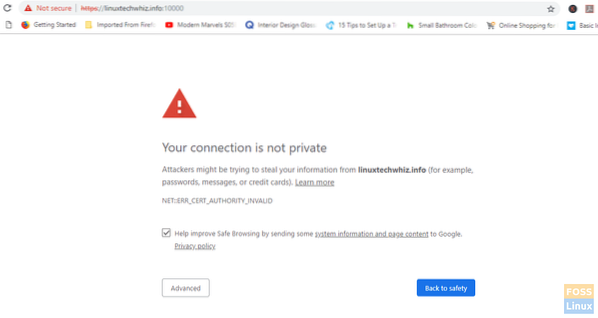
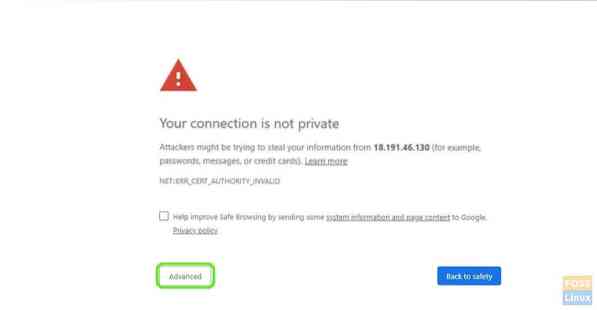
The URL bar indicates that the site is not encrypted and is therefore not recommended to proceed. Don't worry, this is because Webmin does not yet have an SSL certificate, which we shall be installing in the next steps.
To proceed to the main dashboard, click on the “Advanced” tab and click on proceed to the URL address
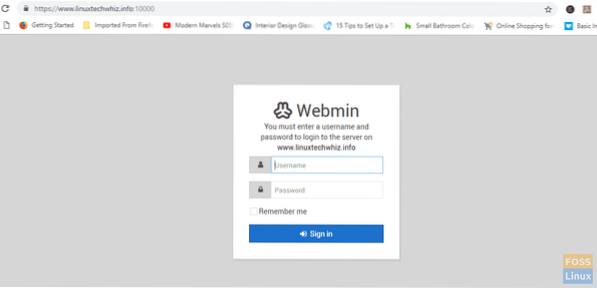
You will be presented with a login screen as shown. Enter the correct user details and click on 'Sign in'

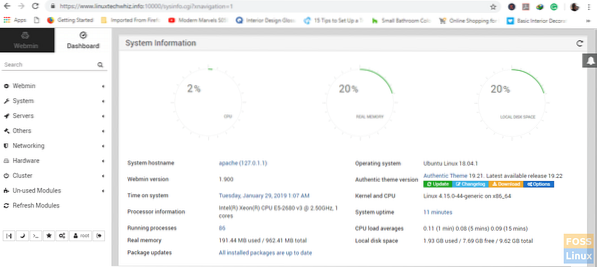
The dashboard below will appear
Step 3 - Set up the document root directory
Next, we are going to configure Nginx server block. By default, Nginx has only one server block which is configured to server documents from /var/www/html directory
We are now going to set up a root directory for our site.
Syntax
$ sudo mkdir -p /var/www/example.com/html
In this case, we shall have
$ sudo mkdir -p /var/www/linuxtechwhiz.info/html
With our directory in place, we are going to reassign ownership to our regular user account
$ sudo chown -R $USER:$USER /var/www/linuxtechwhiz.info/html
Modify permissions
$ sudo chmod -R 755 /var/www
Step 4 - Configure Nginx server block
Nginx contains one server block called default, which we can use as a template for our own configurations. We are going to create our domain's server block and later copy the default server to it and make some modifications.
As indicated above, we shall create our first server block config file by copying over the default file:
$ sudo cp /etc/nginx/sites-available/default /etc/nginx/sites-available/linuxtechwhiz.info
We are then going to open the file using a text editor and make a few modifications
$ sudo vim /etc/nginx/sites-available/linuxtechwhiz.info
Ignoring the commented lines, the configuration should resemble the one below
server listen 80 default_server; listen [::]:80 default_server; root /var/www/html; index index.html index.htm index.nginx-debian.html; server_name _; location / try_files $uri $uri/ =404;
Since we already have the Nginx default server block with the default_server attribute in the server block, we are going to delete the attribute in our domain and have :
server listen 80; listen [::]:80;…
We are then going to adjust the path to our document root and point it to our server's document root
server listen 80; listen [::]:80; root /var/www/linuxtechwhiz.info/html;
Modify the server_name attribute to match our domain
server listen 80; listen [::]:80; root /var/www/linuxtechwhiz.info/html; index index.html index.htm index.nginx-debian.html; server_name linuxtechwhiz.info www.linuxtechwhiz.info; location / try_files $uri $uri/ =404;
Close and exit the configuration file
We are then going to enable the server block by issuing the following command
$ sudo ln -s /etc/nginx/sites-available/linuxtechwhiz.info /etc/nginx/sites-enabled/
To ensure that there are no syntactical errors in any of our Nginx files, execute
$ sudo nginx -t
Output
Great!! Let's now restart Nginx server
$ sudo systemctl restart nginx
To verify that Nginx is running execute
$ sudo systemctl status nginx
Output
Step 5 - Encrypting Webmin
The final section is securing Webmin to encrypt communication between the browser and the server.
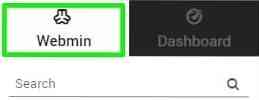
Click on the 'Webmin' tab as shown below
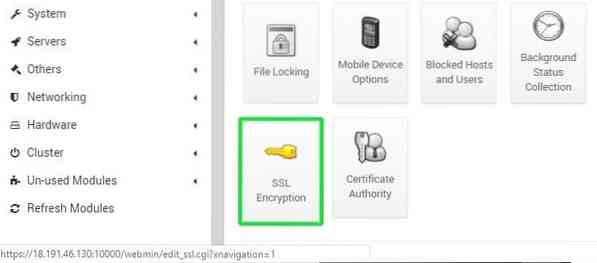
Select 'Web configuration' in the drop-down menu that appears

Click on SSL 'Encryption' option
Next, we are going to Click on the 'Let's Encrypt' tab.
Fill out the hostname in the hostname tab and Thereafter click on 'Request Certificate'.
Webmin will begin generating Let's encrypt SSL certificate and store the validation file in the website directory.

Now head back to your server's Webmin URL and refresh the browser. Notice that the connection to the Webmin server is encrypted.
You can now log in securely and access the dashboard
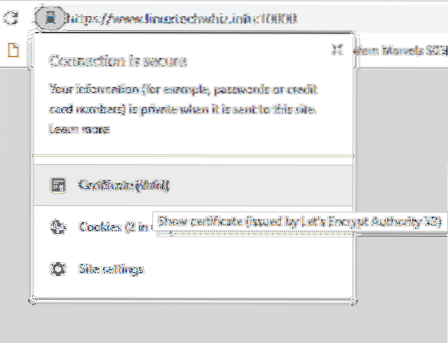
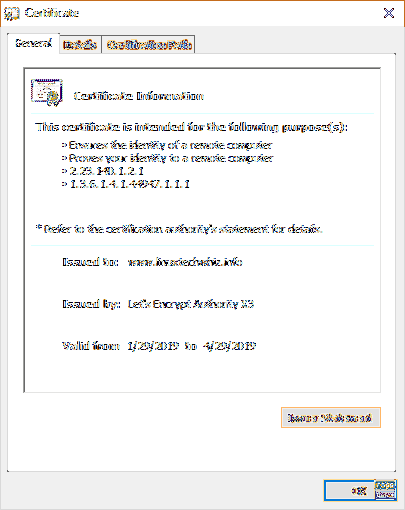
If you are a little curious and want to view Let's encrypt certificate information, click on the padlock symbol and select 'Certificate valid' option
Certificate Information
if you've come this far, we trust that you were able to install Webmin on your domain and encrypt the connection with Let's Encrypt SSL. Your feedback is most welcome.
Thank you for your time and keep it FOSSLinux!


