In this article, I will show you how to install and use ZSH Shell on Ubuntu 18.04 LTS. Let's get started.
Installing ZSH Shell:
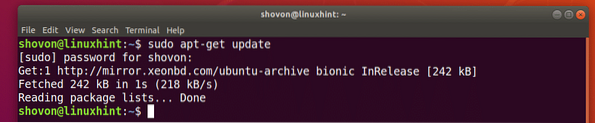
ZSH is available in the official package repository of Ubuntu 18.04 LTS. So it's very easy to install. First update the package repository cache of your Ubuntu 18.04 LTS operating system with the following command:
$ sudo apt-get update
The package repository cache should be updated.
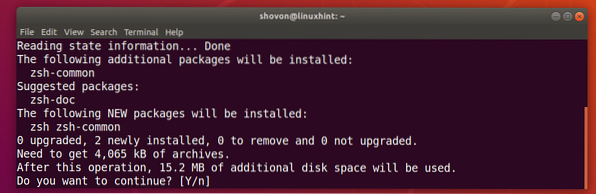
Now install ZSH with the following command:
$ sudo apt-get install zsh
Now press y and then press
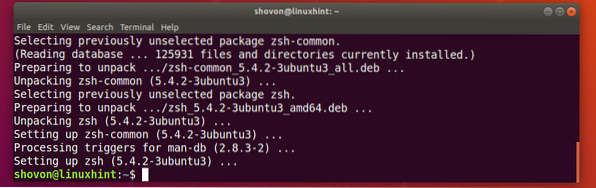
ZSH shell should be installed.
Now that ZSH shell is installed, you can check whether ZSH is working with the following command:
$ zsh --versionAs you can see, ZSH is working correctly.

Making ZSH the Default Shell:
In this section, I will show you how to set ZSH as the default shell.
First, you have to find out the path of the ZSH shell with the following command:
$ whereis zshAs you can see from the marked section of the screenshot below, the path of ZSH shell is /usr/bin/zsh

Now set ZSH as the default login shell for the user you're logged in as with the following command:
$ sudo usermod -s /usr/bin/zsh $(whoami)
Now restart your computer with the following command:
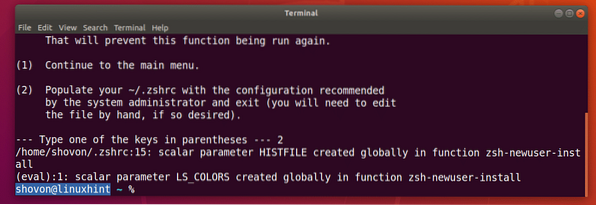
$ sudo rebootIf you open up a Terminal after your computer boots, you should see the following window:
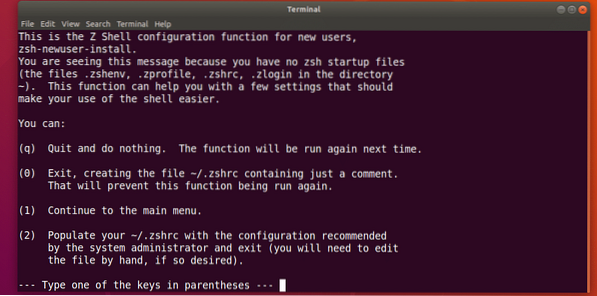
Press the number key 2 and ZSH should create a new ~/.zshrc configuration file with the recommended settings. Then you're ready to use ZSH as you can see from the screenshot below.
Installing Powerline and Powerline Fonts for ZSH:
Powerline is a status line plugin for ZSH shell. Powerline font for ZSH lets the ZSH shell use different icons and symbols on the shell.
Powerline and Powerline font is available in the official package repository of Ubuntu 18.04 LTS.
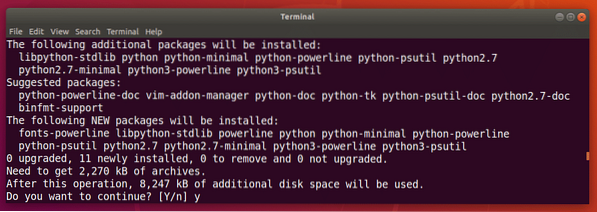
Run the following command to install Powerline and Powerline font on Ubuntu 18.04 LTS:
$ sudo apt-get install powerline fonts-powerline
Press y and then press
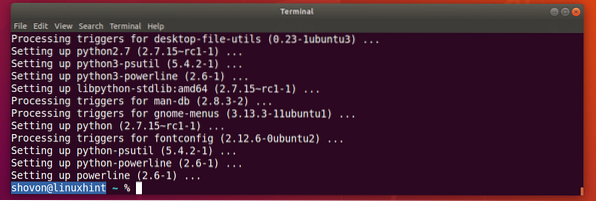
Powerline and Powerline font should be installed.
Installing ZSH Powerlevel9k Theme:
Powerlevel9k is an awesome Powerline theme for ZSH. It is available in the official package repository of Ubuntu 18.04 LTS. Run the following command to install Powerlevel9k ZSH theme for on Ubuntu 18.04 LTS:
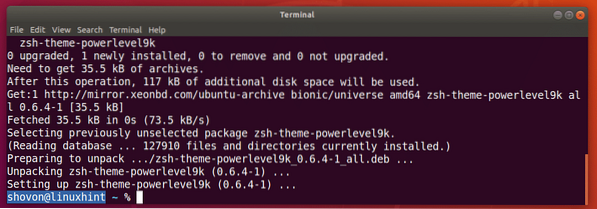
$ sudo apt-get install zsh-theme-powerlevel9k
Powerlevel9k ZSH theme should be installed.
Now run the following command to enable Powerlevel9k ZSH theme on Ubuntu 18.04 LTS:
$ echo "source /usr/share/powerlevel9k/powerlevel9k.zsh-theme" >> ~/.zshrc
Now open a new terminal and you should see the new look of your ZSH shell as you can see from the screenshot below.

Enable Syntax Highlighting on ZSH Shell:
ZSH has a Syntax Highlighting plugin that you can install from the official package repository of Ubuntu 18.04 LTS. ZSH Syntax Highlighting plugin highlights commands on the ZSH shell. Run the following command to install ZSH Syntax Highlighting Plugin:
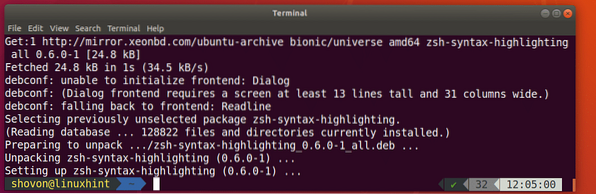
$ sudo apt-get install zsh-syntax-highlighting
ZSH Syntax Highlighting plugin should be installed.
Now run the following command to enable ZSH Syntax Highlighting plugin:
$ echo "source /usr/share/zsh-syntax-highlighting/zsh-syntax-highlighting.zsh" >> ~/.zshrc
Now open a new terminal and start typing in commands and you should see the commands are highlighted with different colors as you can see in the screenshot below.


ZSH and Git Integration with Oh-My-ZSH:
ZSH has an entire framework Oh-My-ZSH dedicated to work with Git version control system. To learn more about Oh-My-ZSH, please take a look at the official GitHub page of Oh-My-ZSH at https://github.com/robbyrussell/oh-my-zsh
In this section, I will show you how to install Git and Oh-My-ZSH and integrate Git with ZSH shell. Git is not installed by default on Ubuntu 18.04 LTS. But it is available in the official package repository of Ubuntu 18.04 LTS.
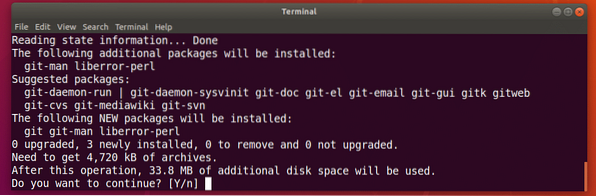
You can run the following command to install Git on Ubuntu 18.04 LTS:
$ sudo apt-get install git
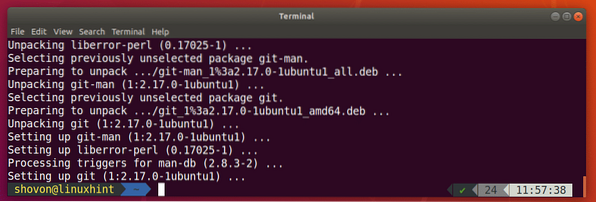
Now press y and then press
Git should be installed.
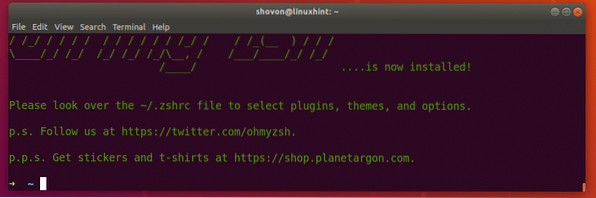
Now that Git is installed, I am going to install Oh-My-ZSH on Ubuntu 18.04 LTS. To install Oh-My-ZSH, run the following command:
$ sh -c "$(wget https://raw.githubusercontent.com/robbyrussell/oh-my-zsh/master/tools/install.sh -O -)"

Oh-My-ZSH should be installed.
Installing Oh-My-ZSH changes the ~/.zshrc configuration file. It means, our Powerlevel9k theme and ZSH Syntax Highlighting plugin is disabled.
To enable Powerlevel9k theme, run the following command:
$ echo "source /usr/share/powerlevel9k/powerlevel9k.zsh-theme" >> ~/.zshrc
To enable ZSH Syntax Highlighting plugin, run the following command:
$ echo "source /usr/share/zsh-syntax-highlighting/zsh-syntax-highlighting.zsh" >> ~/.zshrc
Now open a new Terminal and the theme and plugin should be enabled.

Now to test whether Git integration works, create a new directory and navigate into the directory with the following command:
$ mkdir git-test && cd git-test
Now initialize a new Git repository with the following command:
$ git initAs you can see from the screenshot below, as soon as I initialized a new Git repository, the prompt has changed and it shows the Git branch that you're currently in, which is master.

Changing Oh-My-ZSH Theme:
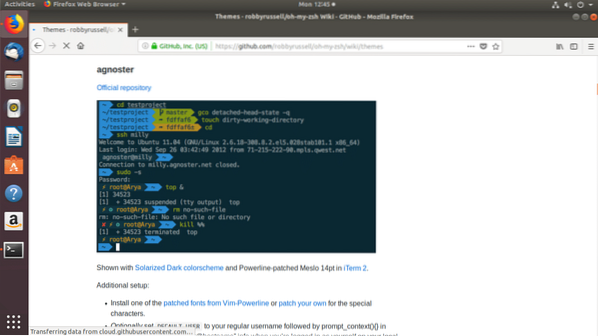
Oh-My-ZSH has many themes comes pre-installed. You can take a look at https://wiki.github.com/robbyrussell/oh-my-zsh/themes to find a theme that you like. The link has screenshots of each theme. My favorite is agnoster.
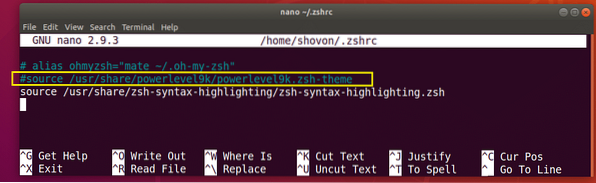
Now to change the theme, first you have to disable the Powerlevel9K theme from the ~/.zshrc file if you've enabled it.
Open the ~/.zshrc file with the following command:
$ nano ~/.zshrc
Comment out the following line (Put a # mark at the beginning) to disable Powerlevel9k theme:
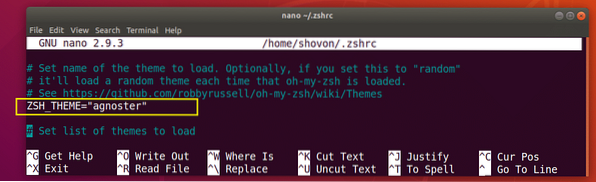
Now set the ZSH_THEME environment variable to the name of the theme you like:
Now press
Enabling Oh-My-ZSH Plugins:
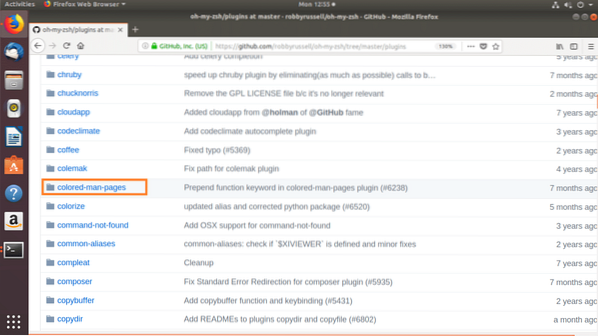
Oh-My-ZSH has many plugins. You can find a list of pre-installed plugins at https://github.com/robbyrussell/oh-my-zsh/tree/master/plugins
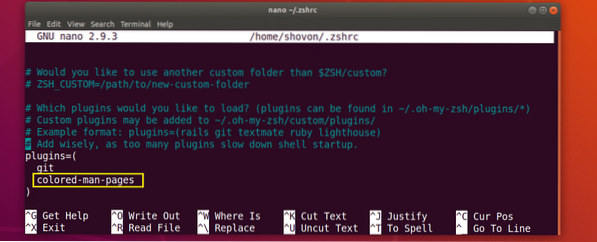
Let's install the colored-man-pages plugin. It adds color to the Linux man pages.
First make a note of the name of the plugin.
Then edit the ~/.zshrc file with the following command:
$ nano ~/.zshrcNow find the plugins variable line and add the name of the plugin that you want to enable between the braces () as marked in the screenshot below.
Now press
Now open up a new terminal and go to the man page of any Linux command, and you should see colors added to the man page.
$ man ls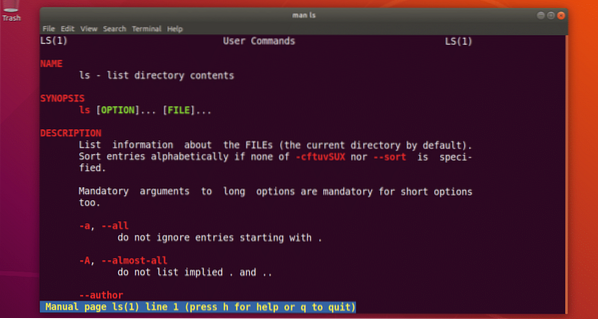
That's how you install and use ZSH shell on Ubuntu 18.04 LTS. Thanks for reading this article.


