Installing Required Build Tools:
In order to install Jupyter Notebook, you must have all the required C build tools and Python 3 development libraries installed. Luckily, all of these are available in the official package repository of CentOS 8.
First, update the CentOS 8 package repository cache with the following command:
$ sudo dnf makecache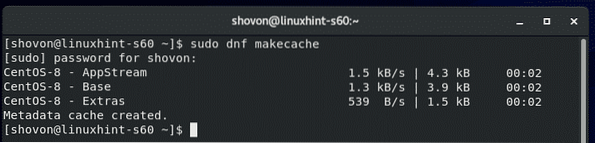
Now, install all the required build tools with the following command:
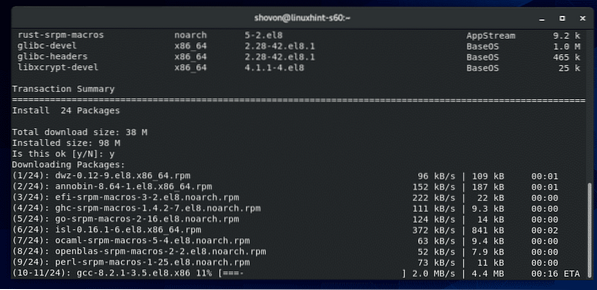
$ sudo dnf install gcc python3-devel kernel-headers-$(uname -r)
To confirm the installation, press Y and then press
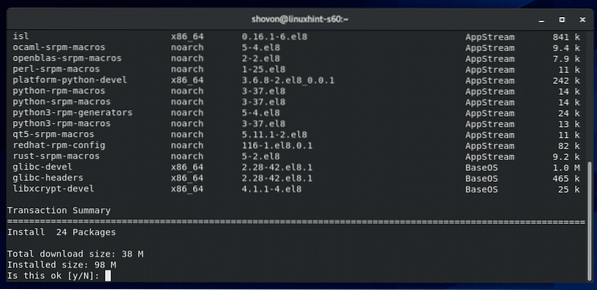
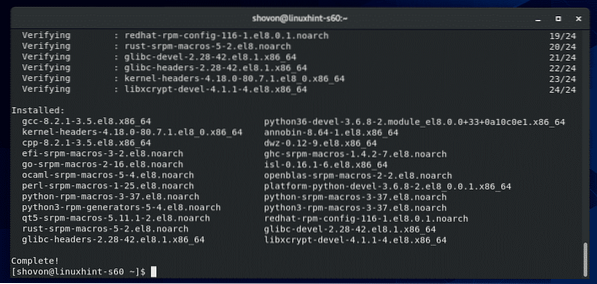
The DNF package manager should download all the required packages and install them. It may take a while to complete.
At this point, all the required build tools should be installed.
Installing PIP 3:
You must have Python 3 package manager PIP 3 installed on your CentOS 8 machine in order to install Jupyter Notebook. CentOS 8 should have PIP 3 installed by default.
To check whether PIP 3 is installed, run the following command:
$ whereis pip3As you can see, pip3 command is available in the path /usr/bin/pip3 in my case.

In case you don't have PIP 3 installed, run the following command to install PIP3:
$ sudo dnf install python3-pip
Installing Jupyter Notebook:
Now, install Jupyter Notebook with the following command:
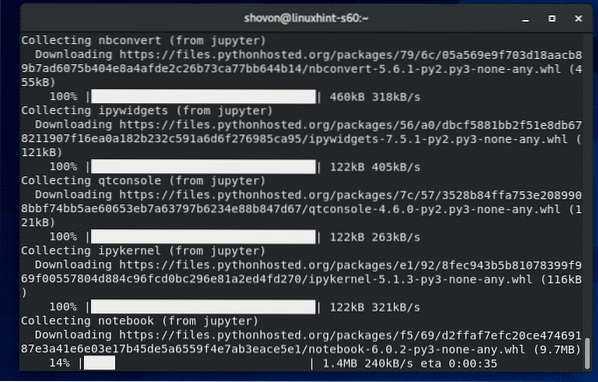
$ pip3 install --user jupyter
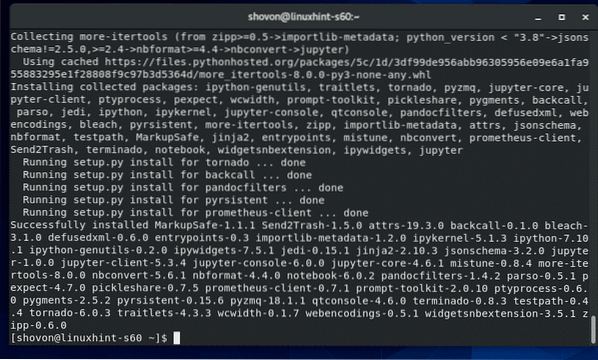
PIP 3 should download and install all the required Python packages. It may take a while to complete.
At this point, Jupyter Notebook should be installed.
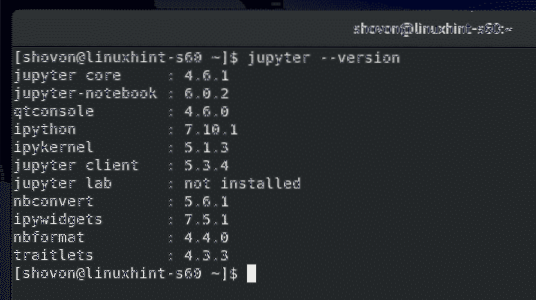
To check whether Jupyter Notebook was installed correctly, run the following command:
$ jupyter --versionAs you can see, Jupyter Notebook is working correctly.
Basics of Jupyter Notebook:
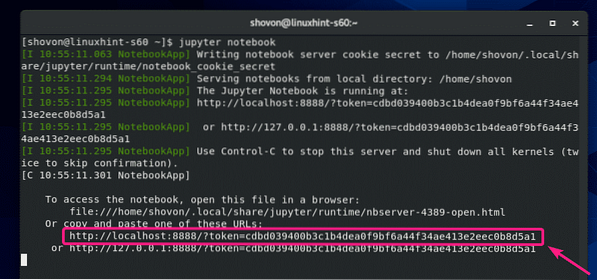
To start Jupyer Notebook, run the following command:
$ jupyter notebook
The Jupyter Notebook server should start. To access Jupyter Notebook, you have to copy the URL and paste it in your favorite web browser.
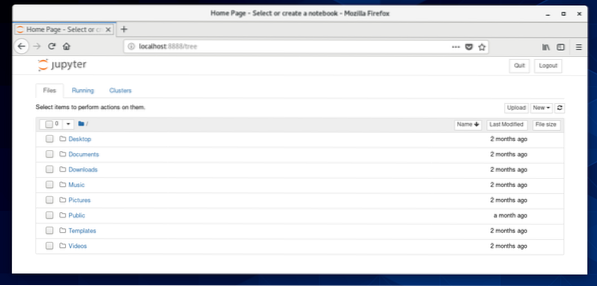
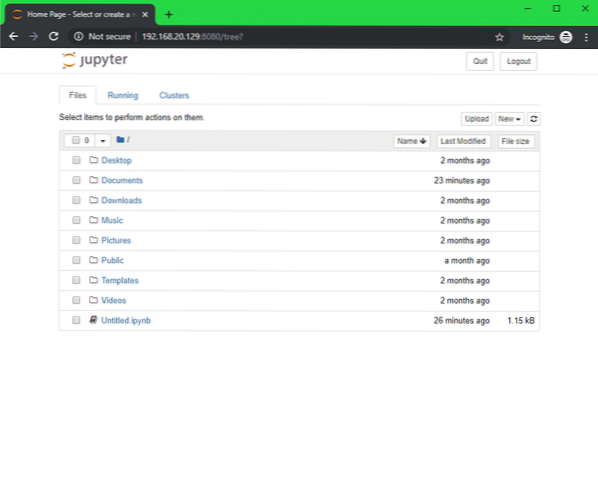
Once you go to the URL from your favorite web browser, you should see the dashboard of Jupyter notebook. All the directories and files of your HOME directory should be accessible from here.
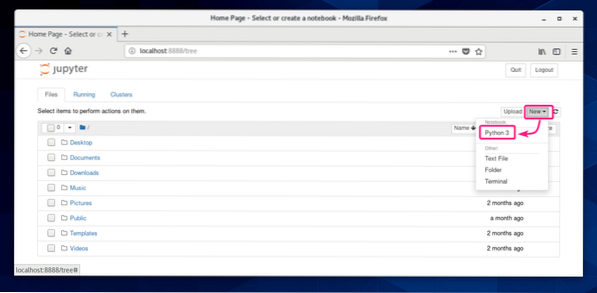
To create a new Jupyter Notebook of Python 3 (let's say) in your current working directory, click on New > Python 3.
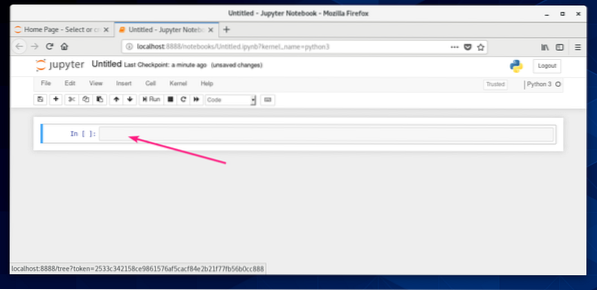
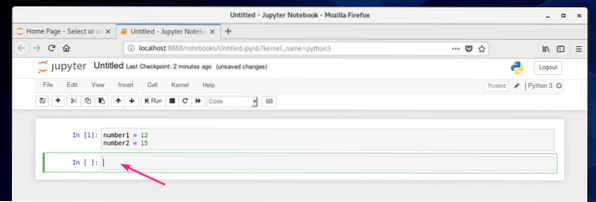
A new Notebook should open. Here, you can type in lines of Python 3 codes.
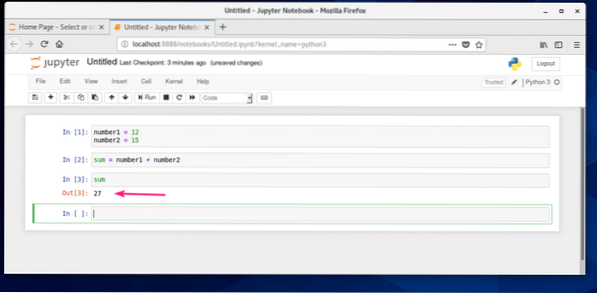
Once you type in some Python 3 codes, click on Run.
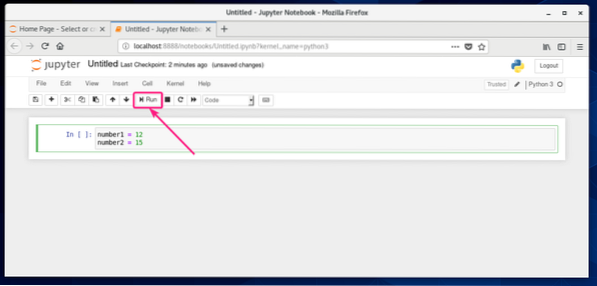
The codes will run and show you the output if there is any. Then, you can type in more lines of Python 3 codes.
As you can see, I added two numbers and printed the result.
You can save your Notebook from File > Save as…
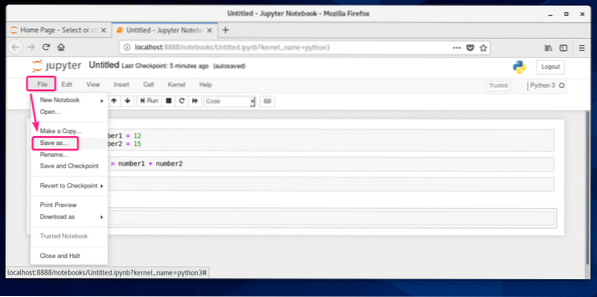
Then, type in a relative path from your HOME directory and click on Save.
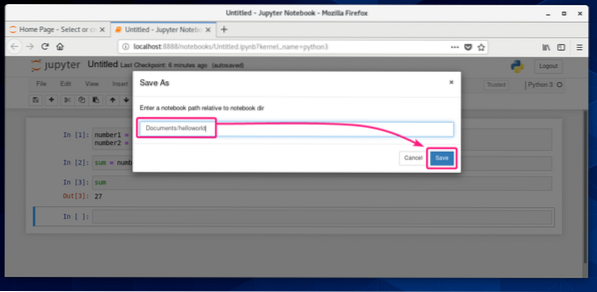
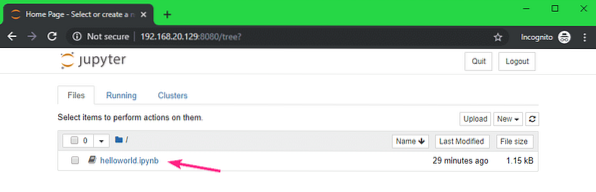
The Notebook should be saved.

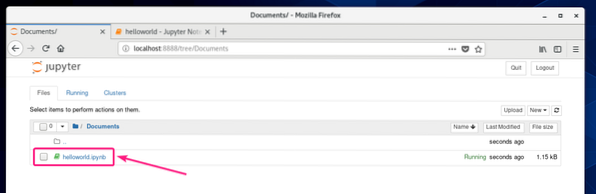
A new file notebook file should be created in your given path.
Accessing Jupyter Notebook Remotely:
If you want to access Jupyter Notebook remotely, then this section is for you.
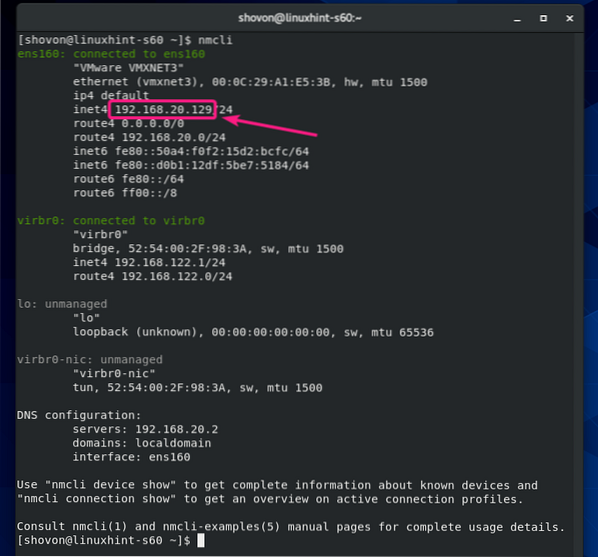
First, find the IP address of your CentOS 8 machine as follows:
$ nmcliIn my case, the IP address is 192.168.20.129. It will be different for you. So, make sure to replace it with yours from now on.
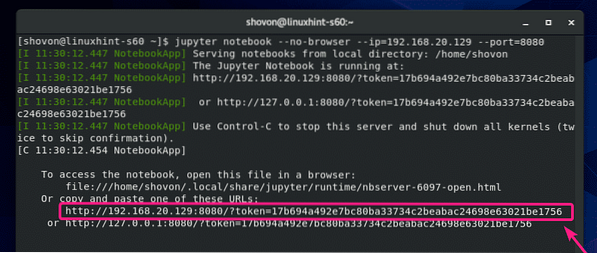
In order to access Jupyter Notebook remotely, run Jupyter Notebook with the -ip and -port flag as follows:
$ jupyter notebook --no-browser --ip=192.168.20.129 --port=8080
Jupyter Notebook should run. Copy the URL.
Now, allow the TCP port 8080 through the firewall as follows:
$ sudo firewall-cmd --add-port=8080/tcp --permanent
For the firewall configuration changes to take effect, run the following command:
$ sudo firewall-cmd --reload
Now, open your favorite web browser and navigate to the URL that you've copied. You should be able to access Jupyter Notebook dashboard.

Setting a Password for Jupyter Notebook:
You may not like the default token-based access system of Jupyter Notebook. For password-based access, you have to set a password for the Jupyter Notebook.
First, create Jupyter Notebook configuration directory ~/.jupyter as follows:
$ test -d ~/.jupyter || mkdir ~/.jupyter
Now, run the following command to set up a password for the Jupyter Notebook:
$ jupyter notebook password
Type in a password and press

Re-type the password and press

The password should be set.

Now, run Jupyter Notebook as usual and it should not print any token-based URL as you can see in the screenshot below.

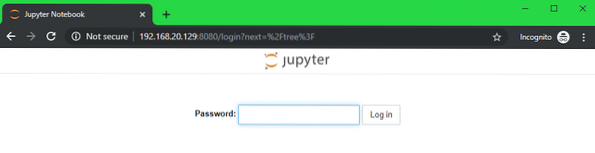
To access Jupyter Notebook, all you have to do is visit http://192.168.20.129:8080 from your web browser.
It will prompt you for the password. Just type in the password and click on Log in.
You should be logged in to the Jupyter Notebook dashboard.
Setting Default Notebook Directory:
The default root directory of Jupyter Notebook is your HOME directory. If you want, you can change it to some other directory.
First, create a new root directory ~/notebooks (let's say) as follows:
$ mkdir ~/notebooks
To change the root directory of Jupyter Notebook, run Jupyter Notbook with the -notebook-dir flag as follows:
$ jupyter notebook --no-browser --ip=192.168.20.129 --port=8080--notebook-dir=~/notebooks

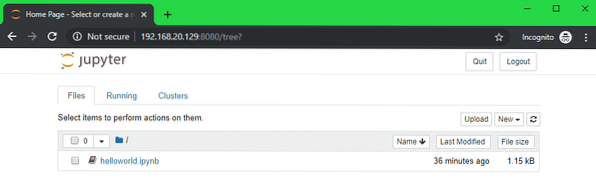
The root directory of Jupyter Notebook should be changed.
Configuring Jupyter Notebook Using Configuration File:
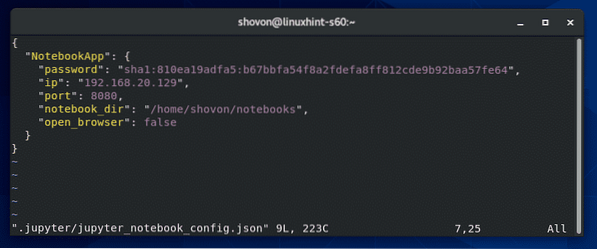
Jupyter Notebook uses a JSON file ~/.jupyter/jupyter_notebook_config.json to keep all the default configuration.
In order to configure Jupyter Notebook, open the ~/.jupyter/jupyter_notebook_config.json file as follows:
$ vi ~/.jupyter/jupyter_notebook_config.json
The contents of the ~/.jupyter/jupyter_notebook_config.json file should be as follows:
"NotebookApp":
"password": "sha1:810ea19adfa5:b67bbfa54f8a2fdefa8ff812cde9b92baa57fe64",
"ip": "192.168.20.129",
"port": 8080,
"notebook_dir": "/home/shovon/notebooks",
"open_browser": false
Make sure to change the ip, port, notebook_dir values as your requirements. The value of notebook_dir should be the absolute path of your desired Jupyter Notebook's root directory.
NOTE: The password field should be here only if you've set a Jupyter Notebook password using the command jupyter notebook password. Don't change it.
Once you're done, save the configuration file.
Now, you can run Jupyter Notebook without any command line arguments.
$ jupyter notebook
Jupyter Notebook should be configured.
So, that's how you install and configure Jupyter Notebook on CentOS 8. Thanks for reading this article.


