Installing bettercap on Ubuntu 18.04
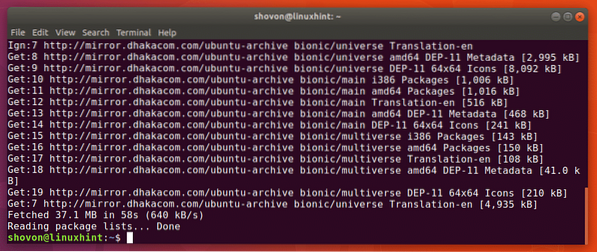
First update the package repository cache of your Ubuntu 18.04 LTS Bionic Beaver with the following command:
$ sudo apt-get update
The package repository cache should be updated.
Now you have to install the Linux build tools and network utilities with the following command:
$ sudo apt-get install build-essential libpcap-dev net-tools
Now press y and then
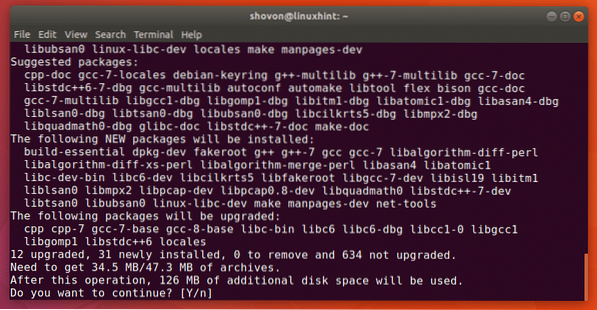
Linux build tools and network utilities should be installed.
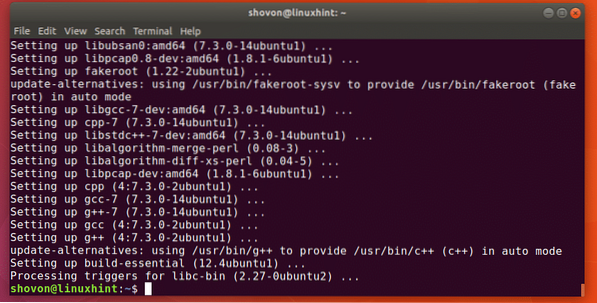
Now you have to download bettercap from the GitHub repository. Go to the official GitHub repository of bettercap at https://github.com/bettercap/bettercap and you should see the following page as shown in the screenshot below.
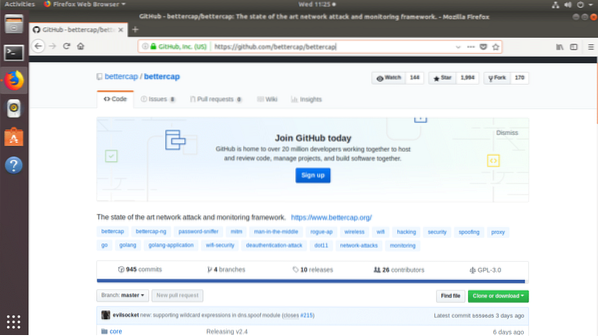
Scroll down a little bit and click on the link precompiled version is available as marked on the screenshot below.
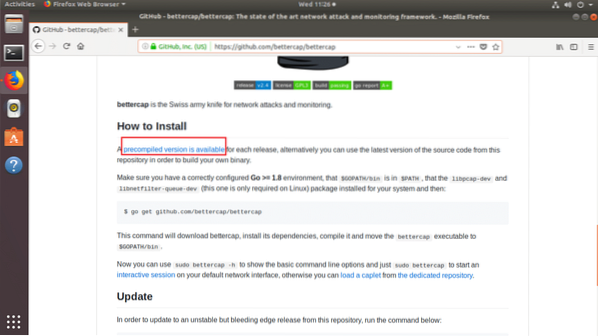
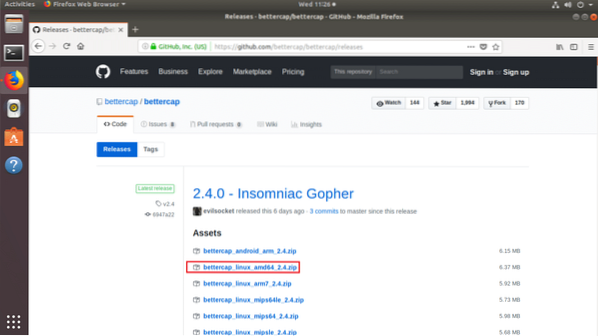
You should see the following page. Now click on the download link for bettercap linux amd64 version as marked in the screenshot below.
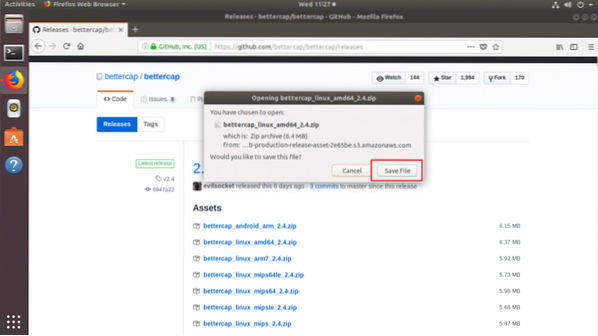
Your browser should prompt you to save the file as shown in the screenshot below. Click on Save File.
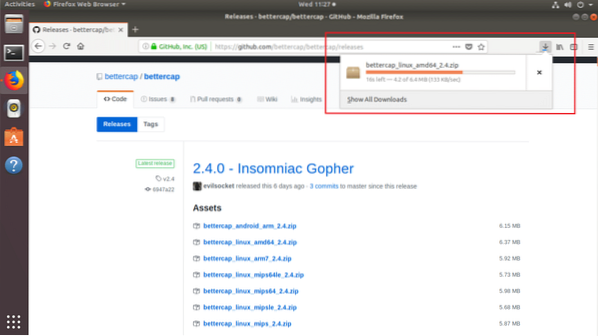
The bettercap .zip archive should be downloading as you can see in the screenshot below.
Once bettercap is downloaded, you should find it in the ~/Downloads directory as you can see in the screenshot below.
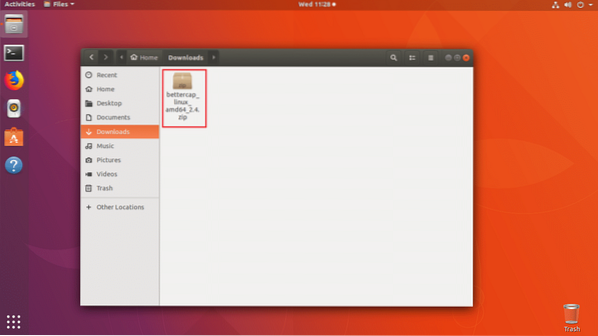
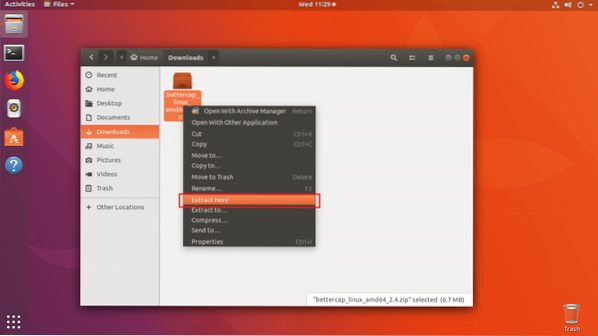
Now right click on the file and click on Extract Here as you can see in the marked section of the screenshot below.
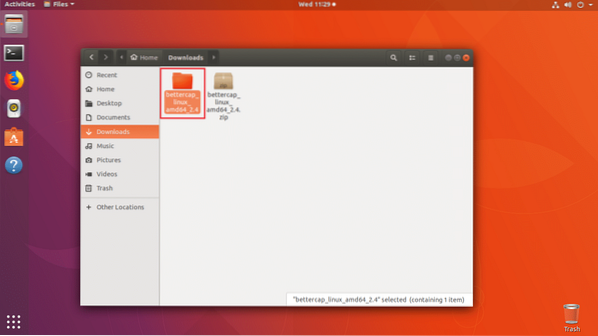
A new directory should be created as you can see in the screenshot below.
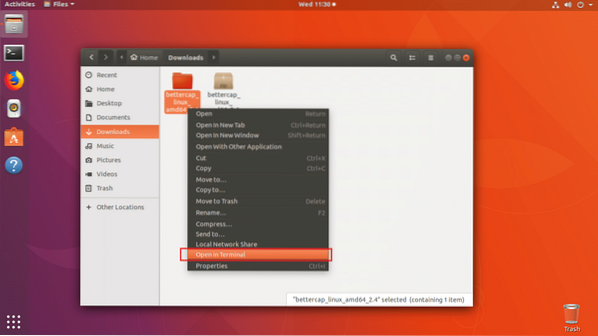
Right click on Open in Terminal.
A terminal should be opened.

If you list the contents of the directory with ls command, you should see bettercap binary as you can see in the marked section of the screenshot below.

Now you have to move the bettercap binary to the /usr/bin directory. So that you will be able to access it without typing the full path.
Run the following command to do that:
$ sudo mv -v bettercap /usr/bin
The binary should be moved to the /usr/bin directory.

Now if you try to run bettercap, you may see the following error that says libpcap.so.1 library is not available. But it actually was installed when you installed libpcap-dev package. But the name of the library file is a little bit different.
$ sudo bettercap -h
You can find where the file is with the following command:
$ sudo find / -name libpcap.so 2> /dev/null
As you can see in the screenshot below, the libpcap.so file is in /usr/lib/x86_64-linux-gnu directory.

Now all you have to do is make a symbolic link of libpcap.so to create libpcap.so.1.
You can do so with the following command:
$ sudo ln -s /usr/lib/x86_64-linux-gnu/libpcap.so /usr/lib/x86_64-linux-gnu/libpcap.so.1
Now if you try to run bettercap again, you may see a different error as you can see in the screenshot below. The new error says libnetfilter_queue.so.1 is not available. So our previous problem was fixed.
$ sudo bettercap -h
On Ubuntu 18.04, libnetfilter_queue.so.1 file is provided by libnetfilter-queue-dev package.
Run the following command to install libnetfilter-queue-dev package:
$ sudo apt-get install libnetfilter-queue-dev
Now press y and the press

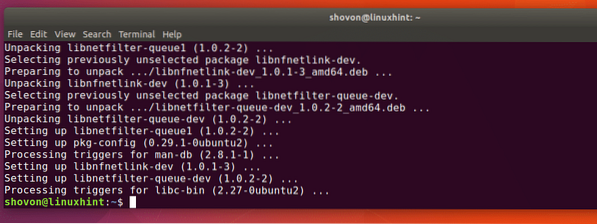
The libnetfilter-queue-dev package should be installed.
Now if you try to run bettercap, it should work.
$ sudo bettercap -h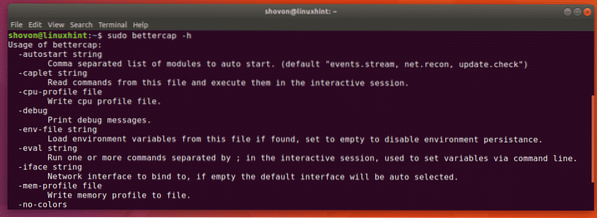
Using bettercap events.stream
In this section I will talk about how to use the events.stream in bettercap.
First run the following command to start the bettercap interactive mode:
$ sudo bettercap
As you can see in the screenshot below, bettercap interactive mode has started. Here you can type in bettercap commands.

Now run the following command to redirect the bettercap events to another file:
>> set events.stream.output OUTPUT_FILE_PATHNOTE: OUTPUT_FILE_PATH is the path to a file where the bettercap events will be written. In my case the file is bettercap-events.log in my user's home directory.

You can run events.show command to list all the available events.

As you can see in the screenshot below, all the events are listed.

You can also list a specific number of events with the following command:
>> events.show 2
As you can see the last 2 events are displayed.

You can clear all the events with the following command:
>> events.clear
As you can see no event is listed when I run events.show command. All the events are cleared.

You can enable discovery of Bluetooth Low Energy (BLE) devices with the following command:
$ ble.recon on
As you can see, BLE device discovery module is initialized.

You can read more about bettercap events.stream at the official documentation of GitHub at https://github.com/bettercap/bettercap/wiki/events.stream
So that's how you install bettercap on Ubuntu 18.04 and use the events.stream. Thanks for reading this article.
 Phenquestions


