How to Install and Use ClipGrab on Ubuntu 17.10
ClipGrab is a software that is used to download videos from popular video sharing websites like YouTube, Vimeo, Facebook and many others. You can also convert the downloaded videos with ClipGrab. It is a cross platform software that runs on Windows, Linux and Mac. In this article, I will show you how to install and use ClipGrab on Ubuntu 17.10 Artful Aardvark. Let's get started.
Installing ClipGrab:
First go to https://clipgrab.org from your favorite web browser. I am using Firefox.
You should see the following window. This is the official website of ClipGrab.
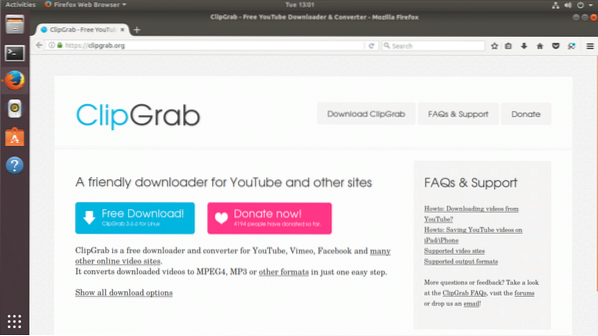
Now click on the blue button that says “Free Download”

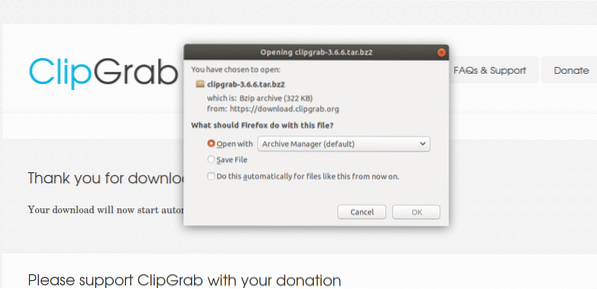
Your browser should prompt you to save the file. Click on “Save File” and click on “OK”. The download should start.
Once the download is complete, go to the directory where ClibGrab was downloaded. In my case, it was downloaded on my $HOME/Downloads directory.
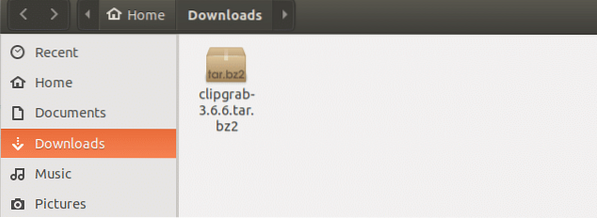
Right click on the file and click on “Extract Here” to extract the compressed tar file.
You should see a new folder once the file is extracted.
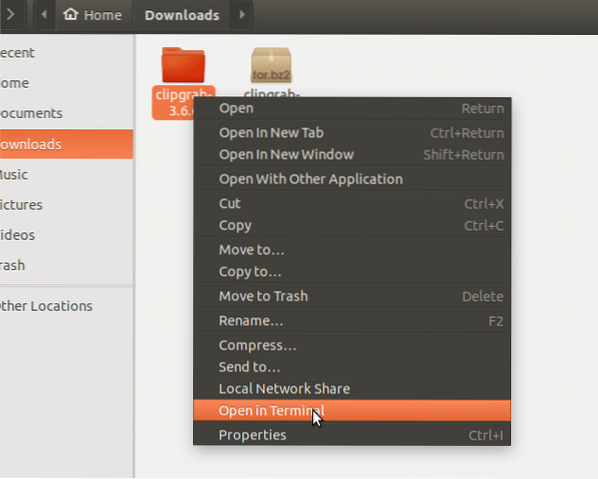
Right click on the folder “clipgrab-3.6.6” and click on “Open in Terminal”.
A new terminal should open.

Now run the following command to copy the clipgrab executable to the /usr/bin directory. I moved it in this directory because by doing so, I can run ClipGrab from the command line without specifying the full path. The /usr/bin directory is already in the PATH of the operating system. So it makes everything easier.
$ sudo cp -v clipgrab /usr/bin

Now we have to install the dependencies for ClipGrab. Although it doesn't say it on their website, I got an error while I tried to run it the first time. The error was due to unavailability of libQtWebKit.so.4 library file. It is easy to fix. All we have to do is install 'libqtwebkit4' package on Ubuntu 17.10. To install libqtwebkit4 package, run the following commands:
$ sudo apt-get update $ sudo apt-get install libqtwebkit4
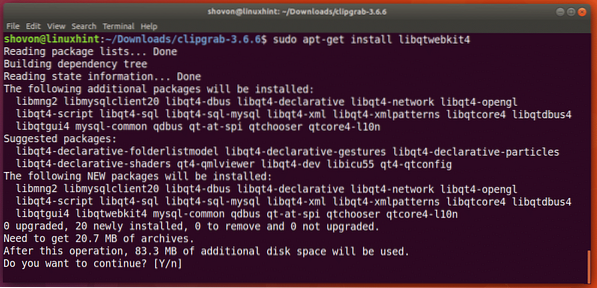
Press 'y' and press to continue. It may take a while to get everything downloaded and installed depending on your internet connection.
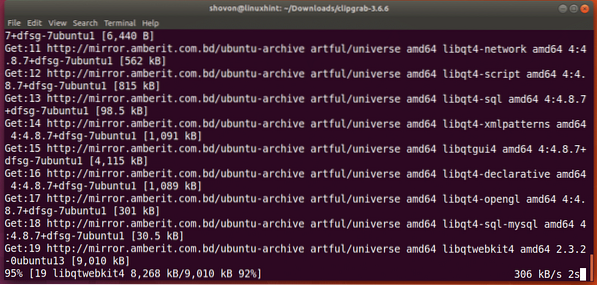
Once libqtwebkit4 is installed, you can run ClipGrab with the following command:
$ clipgrab

You should see the following window. Can you see this warning? It basically says, avconv or ffmpeg is not installed on my computer. So I can't download 1080p videos from YouTube. If you don't care about 1080p videos, you can just click on “OK” and use ClipGrab now. But I think most people do care about 1080p videos. I will show you how to fix this as well.
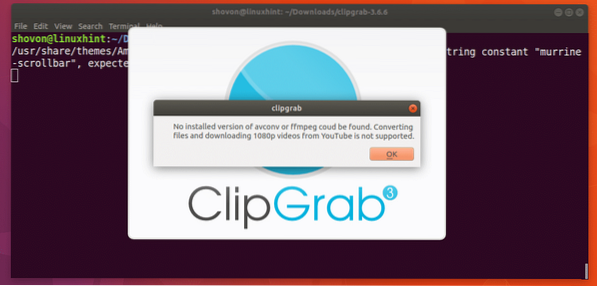
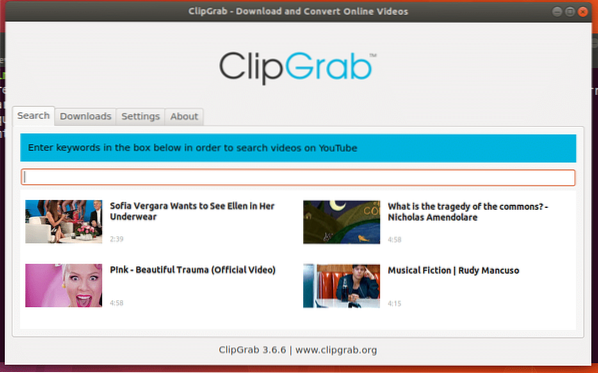
Once you press “OK”, you should see ClipGrab main application window.
Now let's enable 1080p support. To do that, you must have FFMPEG installed.
First close ClipGrab if it's already open. Then to install FFMPEG package on Ubuntu 17.10, run the following commands:
$ sudo apt-get update $ sudo apt-get install ffmpeg
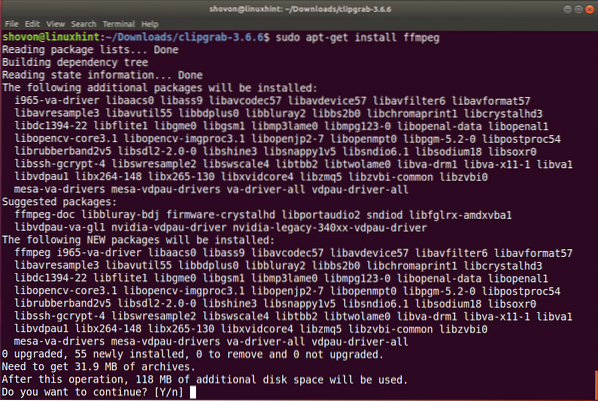
Press 'y' and then press to continue the installation. It may take a while to download all these packages.
Once the download and installation is complete, you can run ClipGrab and it won't show you that warning message again.
Using ClipGrab:
In this section, I will show you how you can use ClipGrab to download videos from YouTube.
First open ClipGrab with the following command:
$ clipgrab
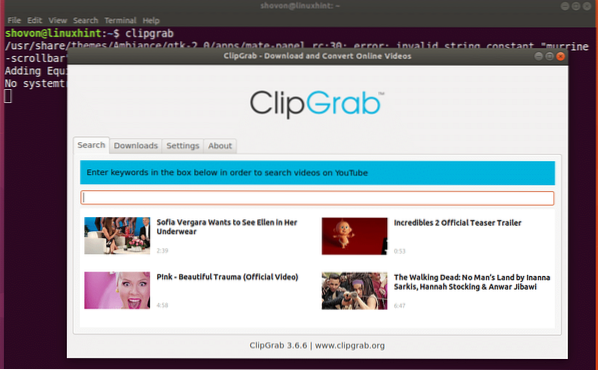
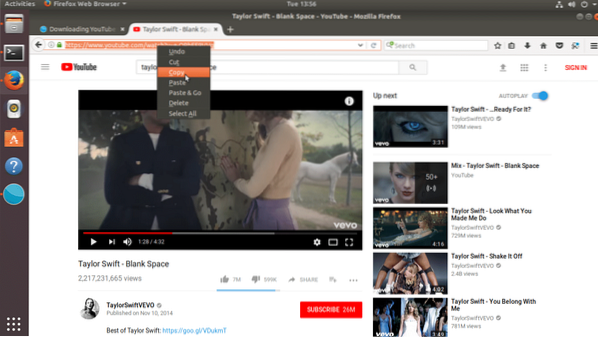
Now, go to YouTube and find any video that you want to download and copy the video link.
Now on ClipGrab, click on “Downloads” tab to navigate to the Downloads tab.
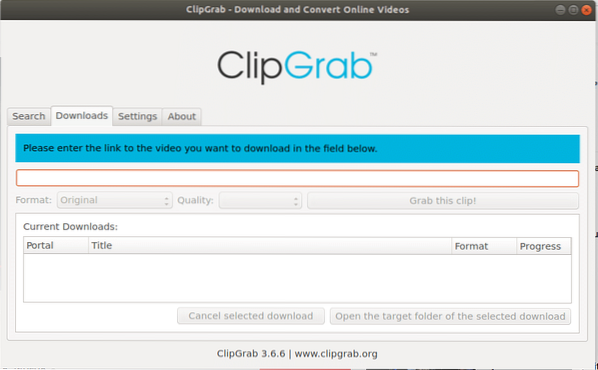
Now paste the YouTube video link that you just copied on ClipGrab's textbox in the Downloads tab. You can see that the video tittle is detected correctly in ClipGrab.
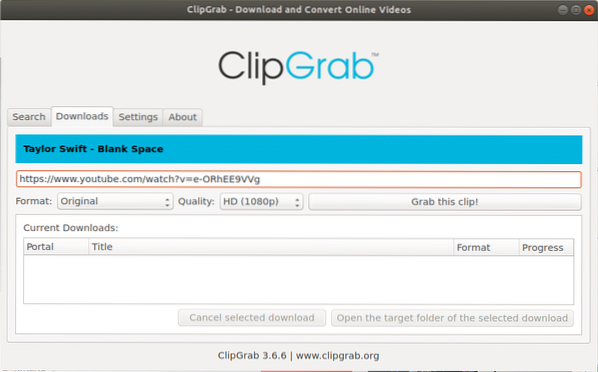
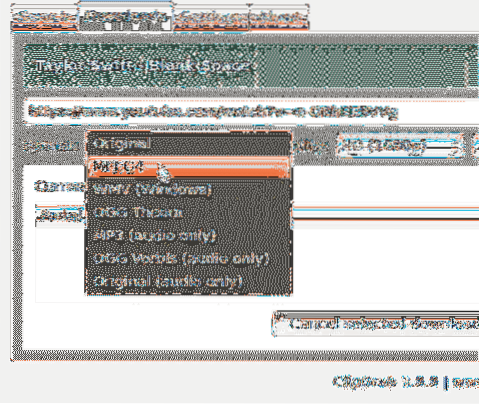
You can change the format, just click on the Format selector and select the file format you like. I am leaving it Original for now.
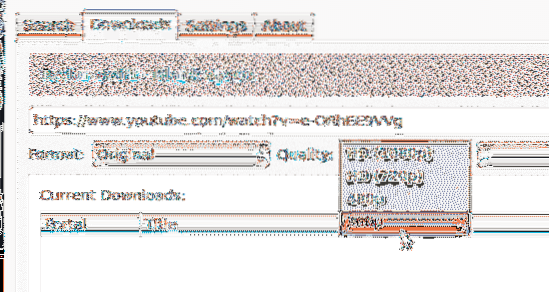
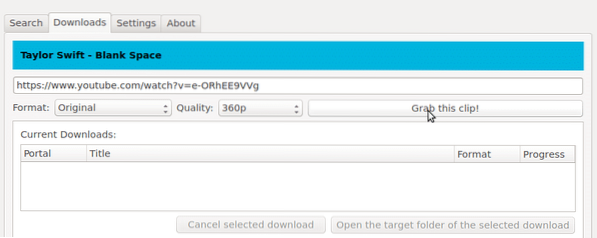
You can also change the quality of the video. Just click on the Quality selector and select the video quality that you like. I am selecting 360p for keeping the file size small for this demo. So the download will be quicker.
Once everything is set up, click on “Grab this clip!” button.
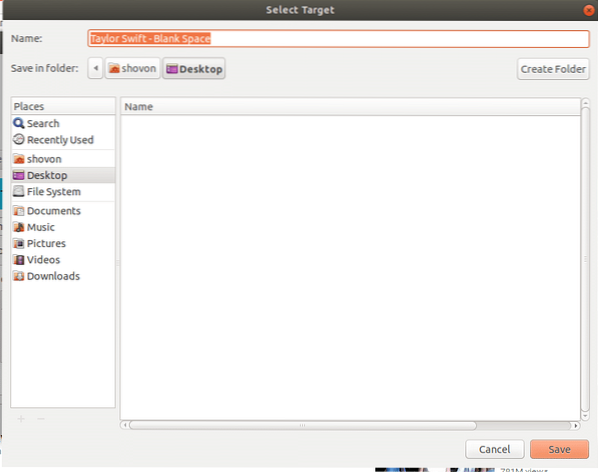
It should ask you for a location where you want to save the file. Just put a good file name, select the location and click on “Save”.
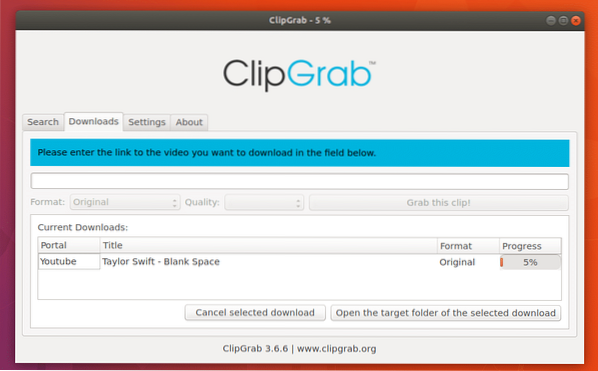
The download should start. You can see how much of the file is being downloaded on the progress bar.
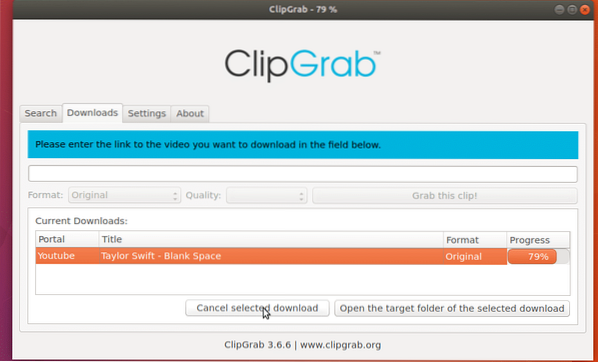
If midway, you decide to cancel the download, just select the file from the list and click on “Cancel selected download”. I am not going to do that now.
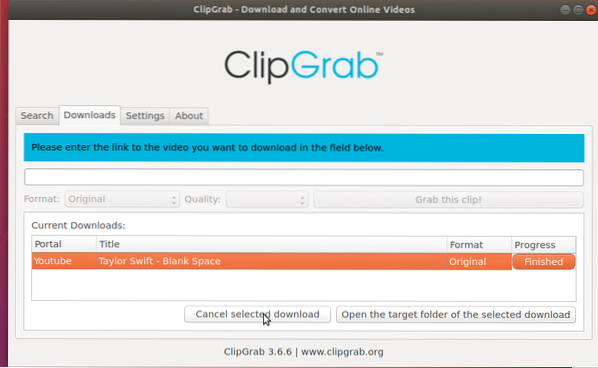
Once the download is finished, you can find the video where you saved it.
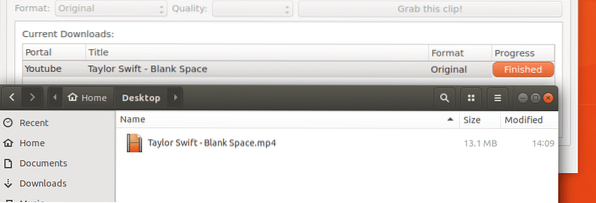
You can also right click on any download in the list and do some other operations like Pause, Resume, Restart, Cancel and many more.

Configuring ClipGrab
In this section, I will show you how to do basic configuration of ClipGrab.
If you don't want it to ask for a file name every time you click on “Grab this clip!” button, just check “Never ask for file name”.
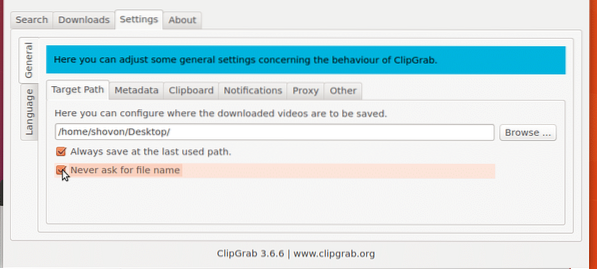
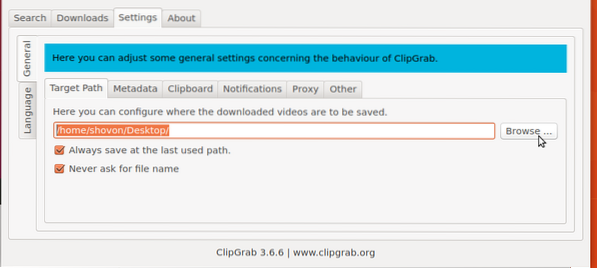
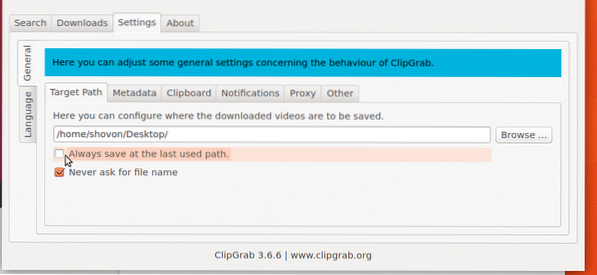
When you click on “Grab this clip!”, It asks you to save the file in a default directory or the last used directory. If you want it to always save on a default directory, you can change it. Just click on “Settings” tab and click on “Browse” to select a default directory. Also uncheck “Always save at the last used path”
So that's how you install and use ClipGrab on Ubuntu 17.10 Artful Aardvark. Thanks for reading this article.
 Phenquestions

