Adding MongoDB Package Repository:
MongoDB is not available in the official package repository of CentOS 8. But you can easily add the MongoDB official package repository on CentOS 8 and install it from there.
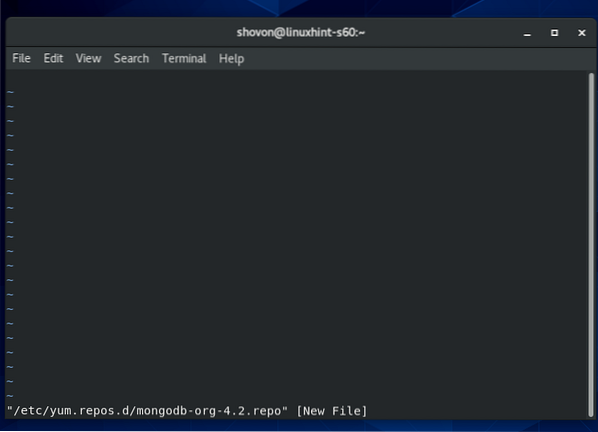
First, create a new repository configuration file mongodb-org-4.2.repo in the /etc/yum.repos.d/ directory with the following command:
$ sudo vi /etc/yum.repos.d/mongodb-org-4.2.repo
Vi text editor should show up.
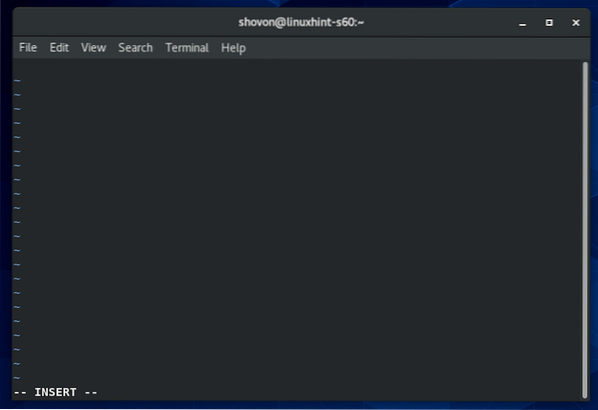
Now, press I to change from vi Command Mode to Insert Mode.
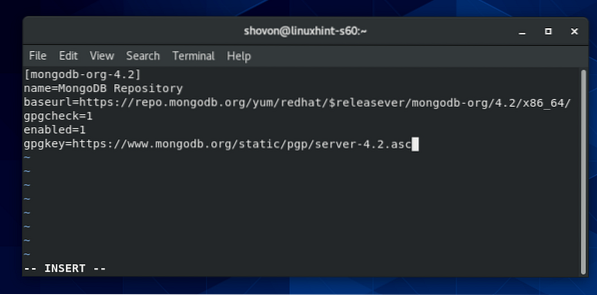
Now, type in or copy-paste the following lines in the mongodb-org-4.2.repo repository configuration file.
[mongodb-org-4.2]name=MongoDB Repository
baseurl=https://repo.mongodb.org/yum/redhat/$releasever/mongodb-org/4.2/x86_64/
gpgcheck=1
enabled=1
gpgkey=https://www.mongodb.org/static/pgp/server-4.2.asc
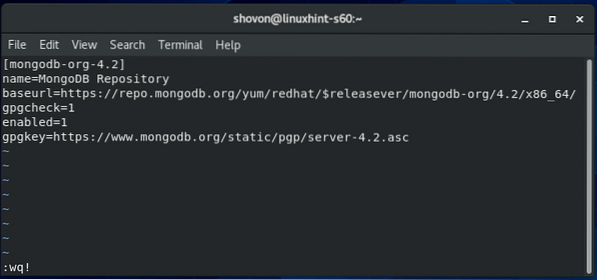
The final configuration file should look as shown in the screenshot below.
Now, to save the file, press
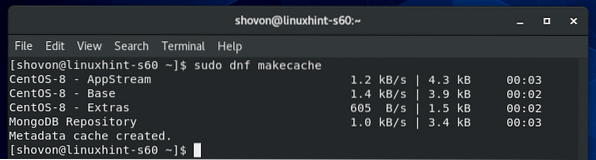
Now, update the CentOS 8 package repository cache with the following command:
$ sudo dnf makecache
The CentOS 8 package repository cache should be updated.
Installing MongoDB 4:
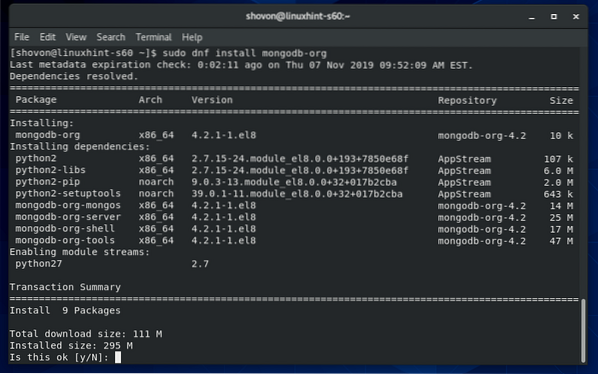
Now, you can install MongoDB 4 with the following command:
$ sudo dnf install mongodb-org
To confirm the installation, press Y and then press
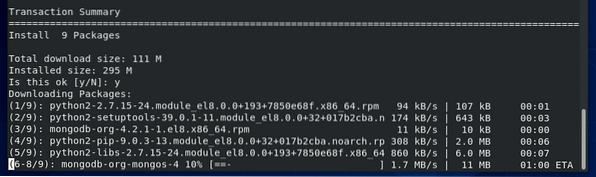
DNF package manager should download all the required packages from the internet.
You may be asked to add the GPG key of the official MongoDB package repository. Just press Y and then press
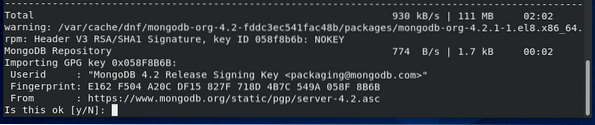
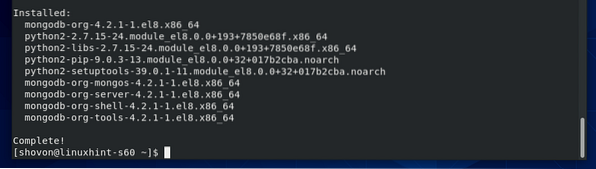
MongoDB 4 should be installed.
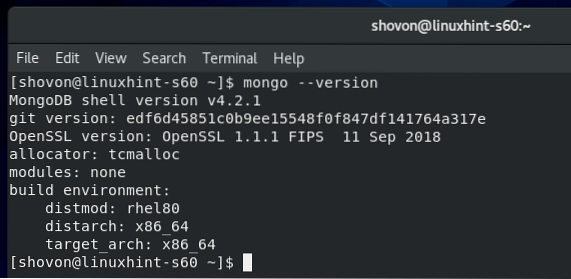
Now, to confirm whether the mongo client program works, run the following command:
$ mongo --versionThe command above should print the MongoDB client's version number as you can see in the screenshot below.
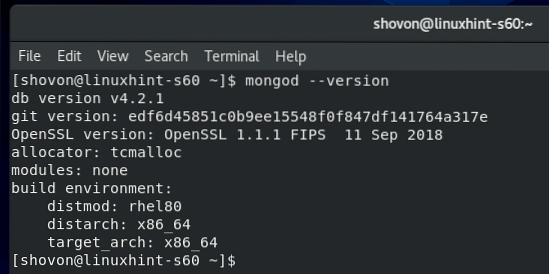
Now, to confirm whether the mongod daemon program works, run the following command:
$ mongod --versionThe command above should print the MongoDB server version number as you can see in the screenshot below.
Managing MongoDB Service:
You can check the status of the MongoDB service with the following command:
$ sudo systemctl status mongodIf it's inactive as in the screenshot below, then MongoDB service is not running.
If it's enabled as in the screenshot below, then MongoDB service will automatically start on system boot.

If MongoDB service is not running, then you can manually start MongoDB service with the following command:
$ sudo systemctl start mongod
The MongoDB service should be running.
$ sudo systemctl status mongod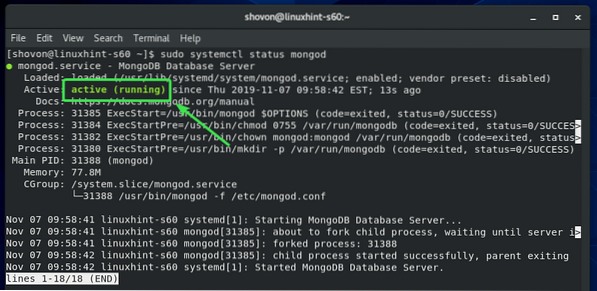
You can also stop the MongoDB service with the following command:
$ sudo systemctl stop mongodYou can restart the MongoDB service with the following command:
$ sudo systemctl restart mongodBy default, MongoDB service should be added to the system startup. So, it will automatically start on system boot. If you don't want that, you can remove MongoDB service from the system startup with the following command:
$ sudo systemctl disable mongodIf you later change your mind and want MongoDB service to start automatically on system boot, then add MongoDB service to the system startup again with the following command:
$ sudo systemctl enable mongodConnecting to the MongoDB Server from Mongo Shell:
MongoDB server comes with the Mongo shell by default. You can use Mongo shell to work with your MongoDB databases.
To start Mongo shell, run the following command:
$ mongo
Mongo shell should connect to the MongoDB server.
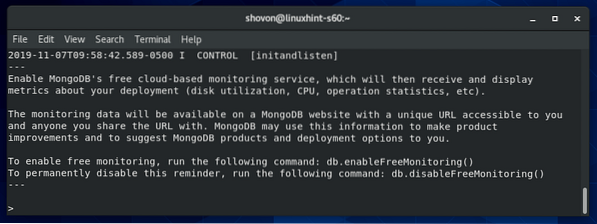
Now, you can run any valid MongoDB command here.
For example, you can list all the existing MongoDB databases as follows:
> show dbs;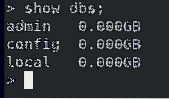
Once you're done working with your MongoDB database, you can exit out of the Mongo shell as follows:
> quit()
Allow Remote Connection to MongoDB Server:
By default, MongoDB does not allow remote connection to the database. It only accepts connection from localhost/127.0.0.1.
If you would like to connect to the MongoDB server remotely ( i.e from MongoDB IDEs such as MongoDB Compass, RoboMongo/Robo 3T etc.), you have to tell MongoDB to listen to the network interfaces configured on your CentOS 8 machine.
You also have to allow the MongoDB port 27017 (default) through the CentOS 8 firewall.
If you want MongoDB server to listen to the network interfaces of your CentOS 8 machine, you have to make some changes to the MongoDB configuration file /etc/mongod.conf.
First, open the MongoDB configuration file /etc/mongod.conf with vi text editor as follows:
$ sudo vi /etc/mongod.conf
The MongoDB configuration file should be opened.
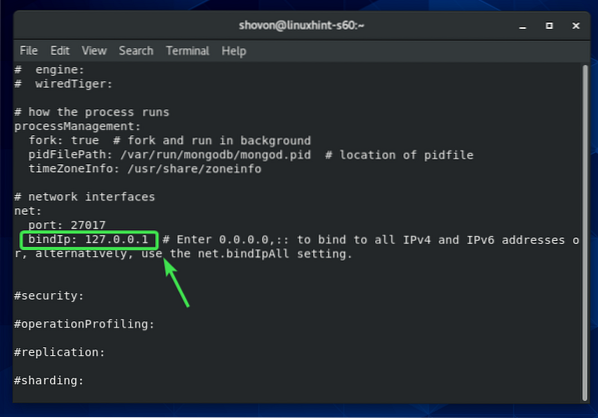
Now, scroll down a little bit and find the line bindIp: 127.0.0.1 as marked in the screenshot below. It should be in the net section of the MongoDB configuration file.
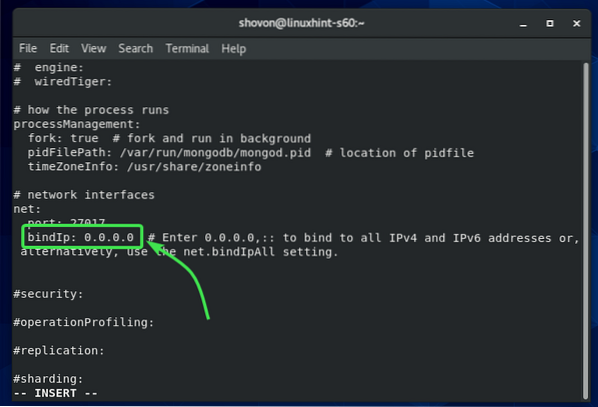
Now, press I to change to vi INSERT mode. Then, change bindIp: 127.0.0.1 to bindIp: 0.0.0.0 as shown in the screenshot below.
Once you're done, press
Now, restart the MongoDB service with the following command:
$ sudo systemctl restart mongodNow, MongoDB server should listen to all the network interfaces configured on your CentOS 8 machine.
Now, open the default MongoDB server port with the following command:
$ sudo firewall-cmd --add-service=mongodb --permanent
Once you're done, reload firewalld with the following command:
$ sudo firewall-cmd --reload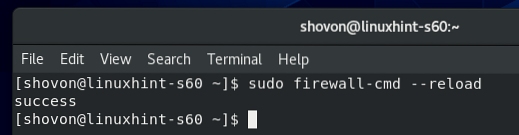
Now, MongoDB should be in the allowed services list of firewalld as you can see in the screenshot below.
$ sudo firewall-cmd --list-all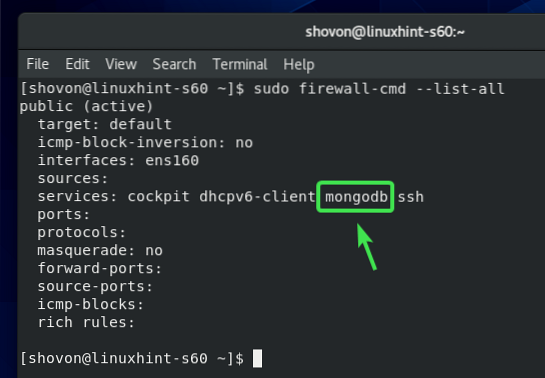
Now, you should be able to connect to the MongoDB server installed on your CentOS 8 machine remotely if you know the IP address of your CentOS 8 machine.
You can find out the IP address of your CentOS 8 machine with the following command:
$ nmcli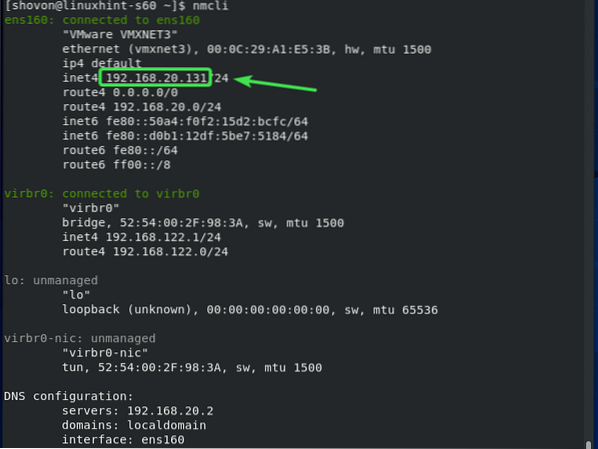
So, that's how you install MongoDB 4 on CentOS 8. Thanks for reading this article.


