In this article, I am going to show you how to install MongoDB 4.2 on Ubuntu 18.04 LTS and how to do basic MongoDB configuration. So, let's get started.
Adding GPG Key:
First, add the GPG key of the official MongoDB package repository on your Ubuntu machine with the following command:
$ wget -qO - https://www.mongodb.org/static/pgp/server-4.2.asc | sudo apt-key add -
The GPG key should be added.

Adding Official MongoDB Package Repository:
Now, add the official MongoDB package repository on your Ubuntu machine with the following command:
$ echo "deb [ arch=amd64 ] https://repo.mongodb.org/apt/ubuntu bionic/mongodb-org/4.2 multiverse" | sudo tee /etc/apt/sources.list.d/mongodb-org-4.2.list

Now, update the APT package repository cache with the following command:
$ sudo apt update
The APT package repository cache should be updated.
Installing MongoDB:
Now, you can install the latest stable version of MongoDB (v4.2) with the following command:
$ sudo apt-get install mongodb-org
Now, press Y and then press
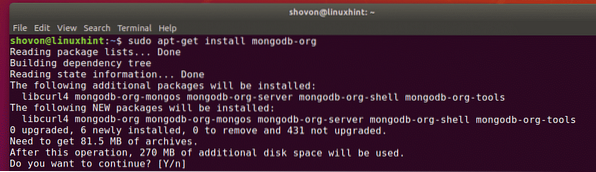
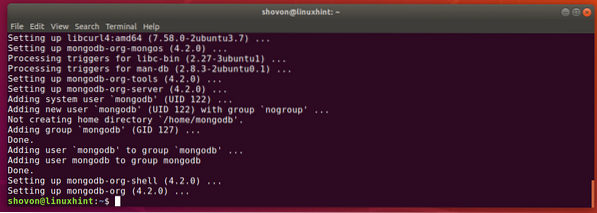
The APT package manager will download and install all the required packages. It will take a while to complete.

At this point, MongoDB should be installed.
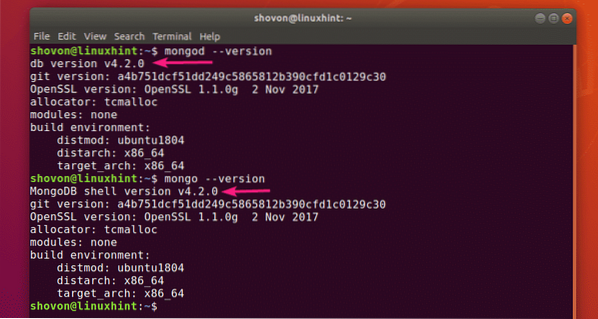
Now, check whether MongoDB is installed correctly as follows:
$ mongod --version$ mongo --version
As you can see, both the client and server binary of MongoDB is v4.2.0. So, MongoDB v4.2 is working just fine.
Starting and Stopping MongoDB:
Now, you can check whether MongoDB is running with the following command:
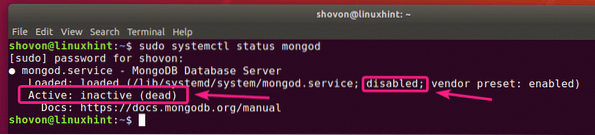
$ sudo systemctl status mongod
As you can see, MongoDB is not running. It's also disabled (not added to the system startup). So, it won't start automatically on boot as well.
You can start MongoDB with the following command:
$ sudo systemctl start mongod
Also, if you want MongoDB to start automatically on system boot, then add mongod service to the system startup with the following command:
$ sudo systemctl enable mongod
The mongod service should be added to the system startup.

Now, if you check the status of the mongod service again, it should be running. It should also be enabled.
$ sudo systemctl status mongod
If you change MongoDB configuration files, then you should always restart MongoDB for the changes to take effect. You can easily restart MongoDB with the following command:
$ sudo systemctl restart mongodIf you need to stop MongoDB for certain reason (i.e. taking database backup), then you can stop MongoDB with the following command:
$ sudo systemctl stop mongodOnce MongoDB is stopped, you can start it again with the following command:
$ sudo systemctl start mongodMongoDB Configuration Files:
MongoDB has a single configuration file /etc/mongod.conf
The default configuration of MongoDB looks as follows:
$ cat /etc/mongod.conf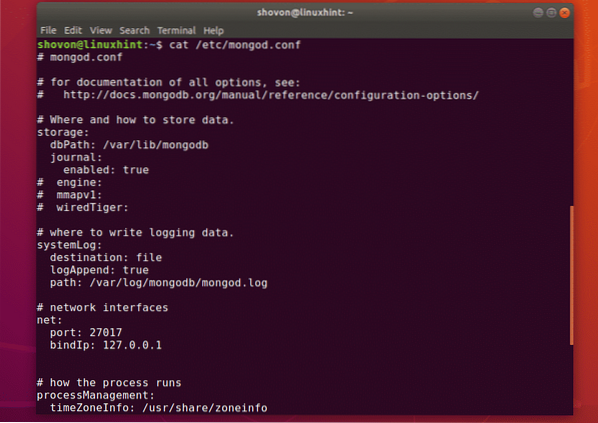
Changing MongoDB Default Data Directory:
In MongoDB configuration file /etc/mongod.conf, the dbPath parameter in the storage section defines which directory to use as the MongoDB database directory. The default database directory of MongoDB is /var/lib/mongodb.
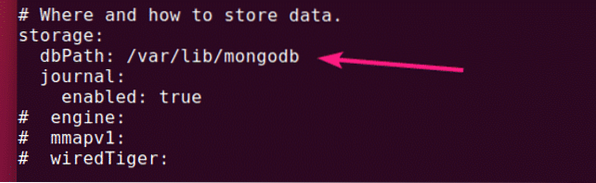
The owner and the group of the database directory of MongoDB must be mongodb. If you want to change the default dbPath of MongoDB, then make sure to change the owner and group of your desired database directory to mongodb. Otherwise, MongoDB may fail to start.
You can change the owner and group of your desired data directory to mongodb with the following command:
$ sudo chown -Rf mongodb:mongodb /new/dbPathChanging Port and Bind Address of MongoDB:
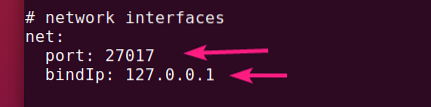
By default, MongoDB listens on the port 27017 and it binds itself with localhost/127.0.0.1. So, MongoDB won't be accessible from other computers on the network.
If you want MongoDB to listen to another port than 27017 for security reason, or some other purpose, then, you have to change the port parameter from the net section of the MongoDB configuration file /etc/mongod.conf.
If you want to access MongoDB from another computer on your network, then, change the bindIp parameter to the IP address of the desired network interface of your Ubuntu machine.
If you have multiple network interface card installed and you want MongoDB to accept connections from all of them, then you can either use 0.0.0.0 to allow access to every IP addresses available on your computer, or separate the IP addresses using comma (,).
For example, you have 2 network interfaces with the configured IP addresses 192.168.10.5 and 192.168.20.5, then, to allow connections to the MongoDB server from both of these networks, the bindIp parameter can be written as follows:
net:port: 27017
bindIp: 192.168.10.5,192.168.20.5
Accessing MongoDB Server:
To access the MongoDB server, you can use the mongo client program.
To access MongoDB server from the same computer where you've installed MongoDB, all you have to do is run the mongo client program as follows:
$ mongo
To access MongoDB server remotely, you have to pass in an additional -host parameter as follows:
$ mongo --host 192.168.10.5NOTE: You must have MongoDB client program installed on the computer from where you want to connect to the MongoDB server. You can also use a MongoDB IDE (i.e Robo 3T/Robomongo, MongoDB Compass etc.) to connect to the MongoDB server without installing the MongoDB command line client program.
You should be connected.
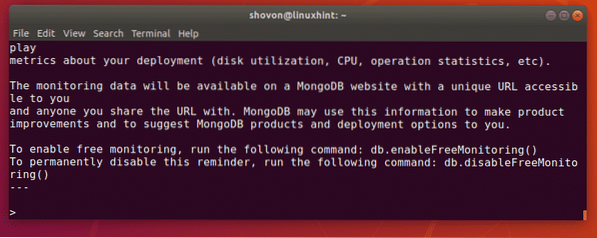
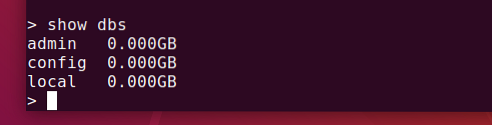
Now, you can run any MongoDB commands in the MongoDB shell.
Once you're done, you can exit out of the MongoDB shell as follows:
> quit()
So, that's how you install and configure MongoDB on Ubuntu 18.04 LTS. Thanks for reading this article.


