Installing Visual Studio Code
Visual Studio Code has installer for debian (.deb) and rpm (.rpm) based Linux distributions. Officially, no such installer is available for Arch Linux. You can download a .tar.gz file from the official website of Visual Studio Code at https://code.visualstudio.com/ and use it on any Linux distribution though. But it won't integrate well with the system.
Gladly, Visual Studio Code is available in the Arch User Repository (AUR). This is what I will do in this article.
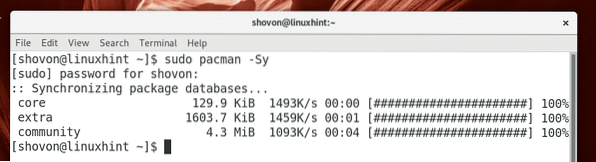
First update the pacman package repository cache with the following command:
$ sudo pacman -Sy
The pacman package repository cache should be updated.
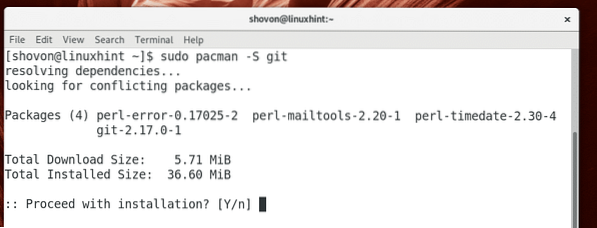
Now you have to install Git version control system. It is required to install packages from AUR and also for Visual Studio Code.
Run the following command to install Git:
$ sudo pacman -S git
Press y and then press
Git should be installed.
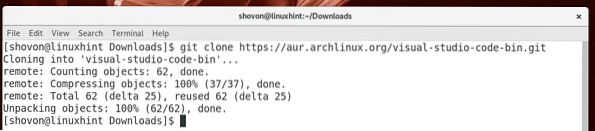
Now navigate to the ~/Downloads directory with the following command:
$ cd ~/Downloads
Now clone the Visual Studio Code's AUR repository with the following command:
$ git clone https://AUR.archlinux.org/visual-studio-code-bin.git
The AUR repository of Visual Studio Code should be cloned.
Now navigate to the visual-studio-code-bin/ directory with the following command:
$ cd visual-studio-code-bin/
Now run the following command to make a pacman package of Visual Studio Code:
$ makepkg -s
Now press y and then press
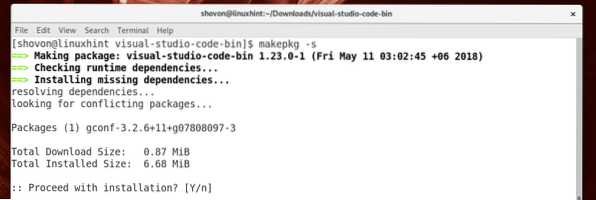
makepkg should download the .tar.gz archive of Visual Studio Code from its official website and convert it to a pacman package file (.pkg). It should take a while depending on your internet connection.

The pacman package should be created at this point.

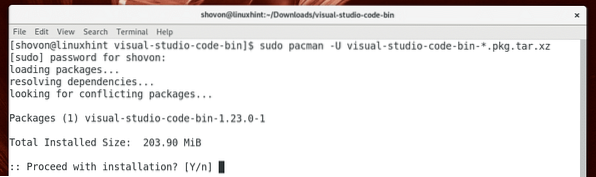
Now run the following command to install the generated pacman package with pacman package manager:
$ sudo pacman -U visual-studio-code-bin-*.pkg.tar.xz
Now press y and then press
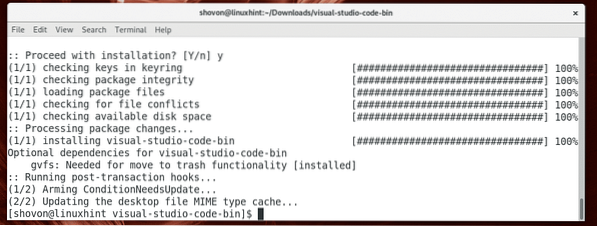
The installation should be complete at this point.
Now you can remove the downloaded files and clean up your ~/Downloads directory with the following command:
$ cd… / && sudo rm -rfv visual-studio-code-bin/
Starting Visual Studio Code
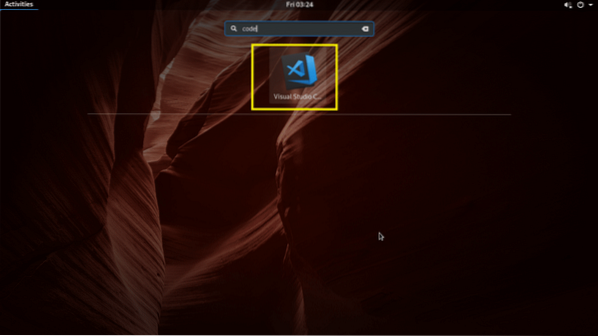
Now you can go to the Application Menu and look for Visual Studio Code there. You should see the Visual Studio Code icon as marked in the screenshot below. Click on it.
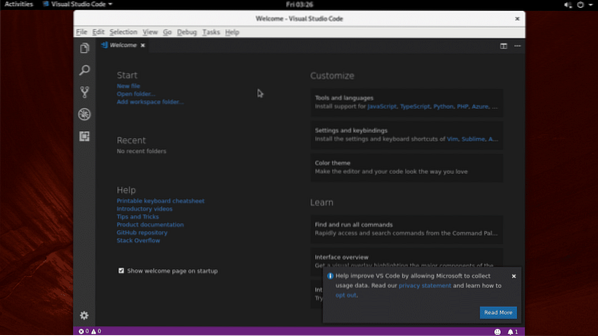
Visual Studio Code should start as you can see in the screenshot below.
Using Visual Studio Code
You can open a single file or a project directory on Visual Studio Code.
Opening a Single File:
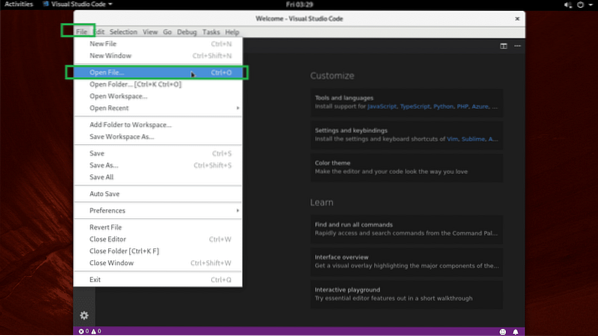
To open a single file, you click on File > Open File… as marked in the screenshot below. You can also use the keyboard shortcut
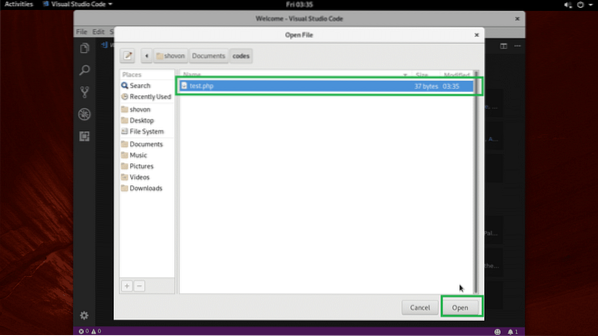
Then select a file and click on Open as marked in the screenshot below.
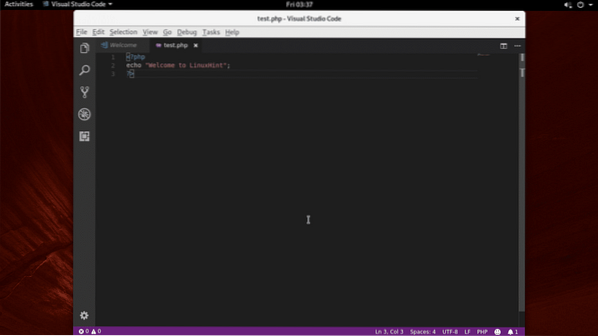
It should be opened.
Opening a Project Directory:
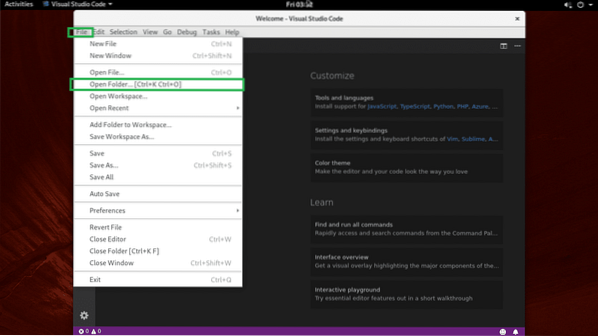
To open a project directory, click on File > Open Folder… as marked in the screenshot below.
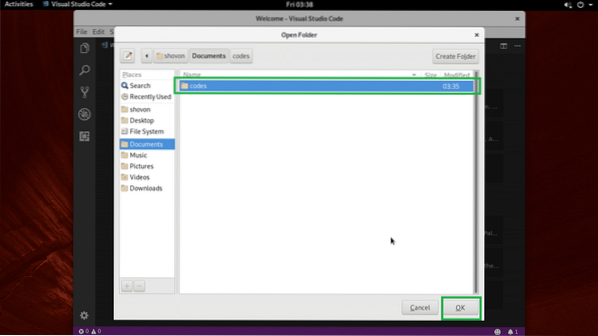
Now select a project directory and click on Open as marked in the screenshot below.
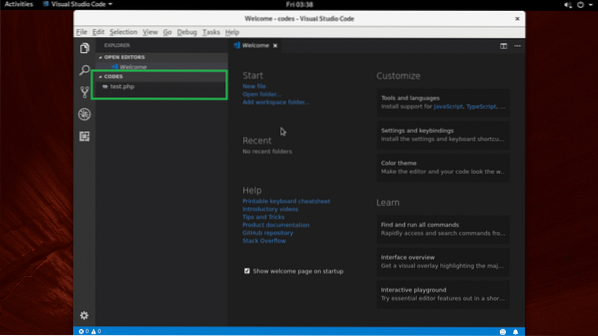
The project directory should be opened. All the files and directories inside your project directory should be listed as marked in the screenshot below.
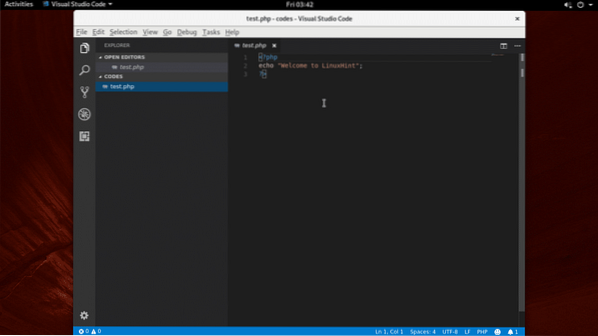
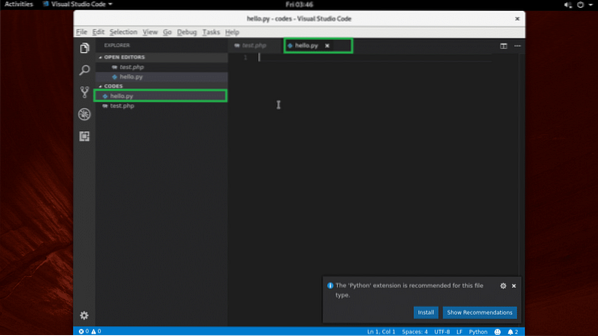
You can click on any file from the list to open it on the Code editor as you can see in the screenshot below.
You can click on either the yellow marked icon or orange marked icon to create a file or a folder respectively.
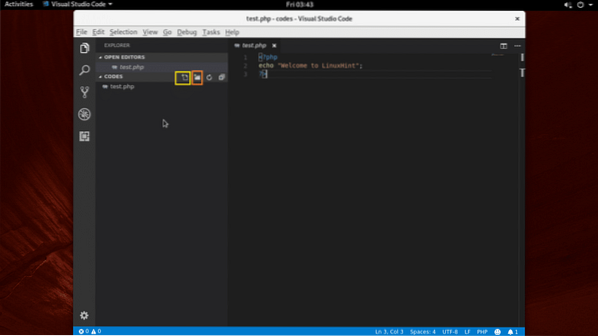
Once you click on any of these icons, you should see a blank text box as marked in the screenshot below. Just type in a file or directory name depending on the icon you clicked and press
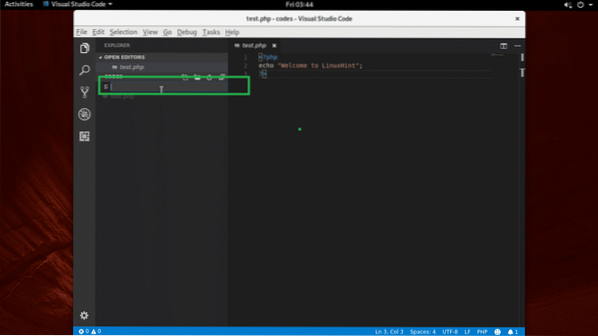
It should be created as you can see in the screenshot below.
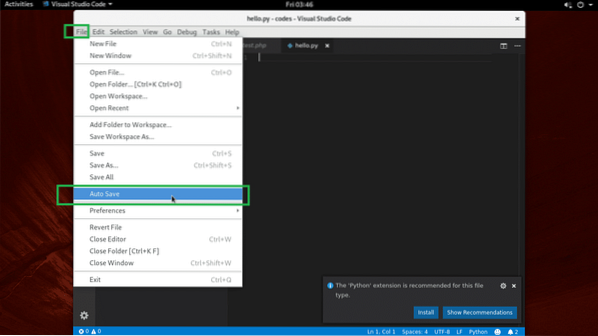
Enable Auto Save:
You can click on File > Auto Save to enable Auto Save. If you enable Auto Save, all the files that you changed using Visual Studio Code will be saved once the Visual Studio Code loses focus (that is you clicked on some other window than Visual Studio Code).
Changing Themes:
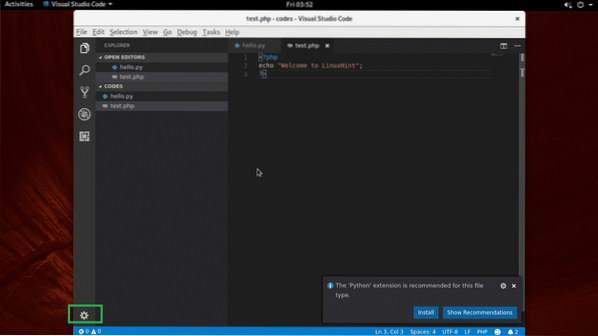
On Visual Studio Code, you can change the File Icon Theme and Color Theme. To change themes, click on the gear icon as marked in the screenshot below.
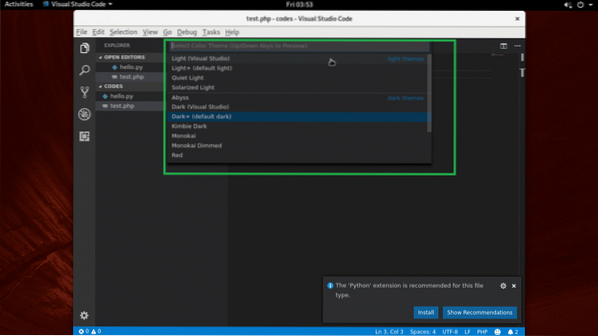
Select either Color Theme or File Icon Theme from the menu.

Now select any one of the Color Theme from the list as marked in the screenshot below.
It should be applied.
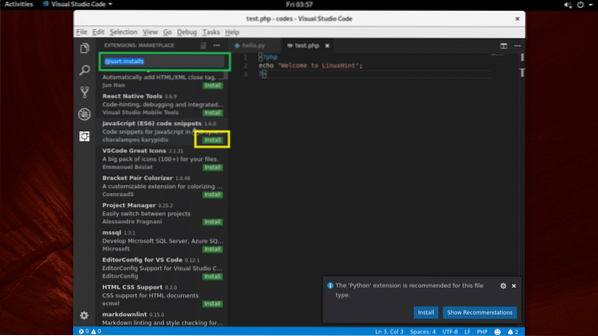
Installing Extensions
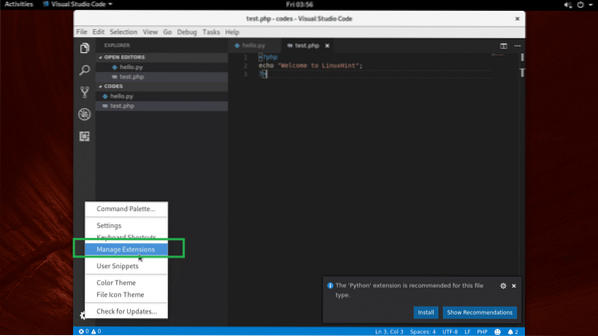
Visual Studio Code has many extensions. Click on the gear icon and click on Manage Extensions.
Then search and install any extension you want.
That's how you install and use Visual Studio Code on Arch Linux. Thanks for reading this article.


