Using Wine to Install Photoshop
There are numerous steps that need to be taken in order to use Photoshop on Linux. Let us go through them now.
Step 1: Checking to see which version of Ubuntu you have
Since there are 32 bit and 64 bit flavors of Wine available, the first thing you'll want to do before getting started is checking to see which version of Ubuntu you're currently using. To do this, first open the Terminal through either Ubuntu Dash or Ctrl+Alt+T shortcut. Once the Terminal is opened, enter the following command:
$ lscpu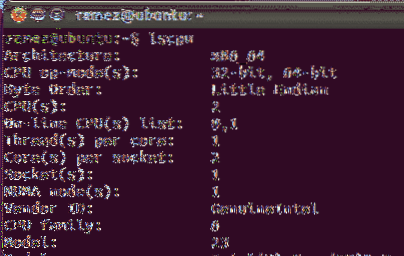
The CPU op-mode(s) entry tells you which bit version of Ubuntu you're currently running.
Step 2: Installing Wine
Before we move onto the process of installing Wine, let us first answer the question what is Wine? Wine is basically an application that allows access to users to run Windows applications on Linux. So all those Windows applications that you had become so accustomed to can now easily be accessed directly through Linux using Wine. You can easily find Wine in your Ubuntu Software Center. However, the version available there might not be the latest version. Hence we'll be using the Command Line to install it. First of all, if you're using a 64 bit flavor Ubuntu, it is better to enable the 32-bit extra libraries by running the following command:
$ sudo dpkg --add-architecture i386Next we have to download the Wine repository key and add it to our system. This can be done by the entering following two commands:
$ wget -nc https://dl.winehq.org/wine-builds/winehq.key$ sudo apt-key add winehq.key
Now we need to add the relevant repository from the WineHQ to our system. This will depend on which version of Ubuntu that you're using. To check this, enter the following command into the terminal:
$ lsb_release -a
The Description and Release entries tell you which version of Ubuntu you're currently running. Depending on this, you have to enter the following commands for adding the repositories.
For Ubuntu 19.10 Users:
$ sudo apt-add-repository 'deb https://dl.winehq.org/wine-builds/ubuntu/ eoan main'For Ubuntu 18.04 Users:
$ sudo apt-add-repository 'deb https://dl.winehq.org/wine-builds/ubuntu/ bionic main'For Ubuntu 16.04 Users:
$ sudo apt-add-repository 'deb https://dl.winehq.org/wine-builds/ubuntu/ xenial main'Next up update your packages using the following commands:
$ sudo apt updateWine currently has three packages available - stable, development and staging. Install the package that you're interested in using the following commands:
For Stable Branch:
$ sudo apt install --install-recommends winehq-stableFor Development Branch:
$ sudo apt install --install-recommends winehq-develFor Staging Branch:
$ sudo apt install --install-recommends winehq-stagingIf you're unsure over which package to choose from, we recommend that you install the Stable Version.
Step 3: Installing PlayOnLinux
One major flaw with Wine is that it seems really intimidating and complex to use. This is where PlayOnLinux comes into the picture. It simplifies all the complexity and makes installing and using Windows applications much easier. Since PlayOnLinux is just a front-end to Wine, in the background it uses Wine. Thus, it is necessary to install Wine as well. Similarly to Wine, we'll be using the Command Line to install PlayOnLinux. Once again there are different packages of PlayOnLinux available for different Ubuntu versions. Depending on what version you're running, you have to enter the corresponding following commands for installing PlayOnLinux:
For Ubuntu 19.10 Users:
Since there is no need to add any repository for this version, simply input the command for installation:
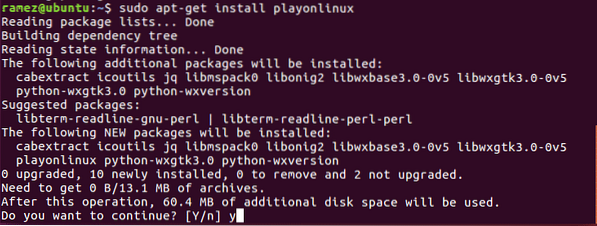
$ sudo apt-get install playonlinuxFor all other versions, however, it is necessary to first add the repository to our system and then install PlayOnLinux.
For Ubuntu 18.04 Users:
$ wget -q "http://deb.playonlinux.com/public.gpg" -O- | sudo apt-key add -$ sudo wget http://deb.playonlinux.com/playonlinux_bionic.list -O
/etc/apt/sources.list.d/playonlinux.list
$ sudo apt-get update
$ sudo apt-get install playonlinux
For Ubuntu 16.04 Users:
$ wget -q "http://deb.playonlinux.com/public.gpg" -O- | sudo apt-key add -$ sudo wget http://deb.playonlinux.com/playonlinux_xenial.list -O
/etc/apt/sources.list.d/playonlinux.list
$ sudo apt-get update
$ sudo apt-get install playonlinux
During the installation process, we'll be asked if we want to continue the process. Enter Y to continue and N to exit.
Step 4: Installing Photoshop using PlayOnLinux
After PlayOnLinux has been installed, run the program and we'll be prompted with a screen like this.
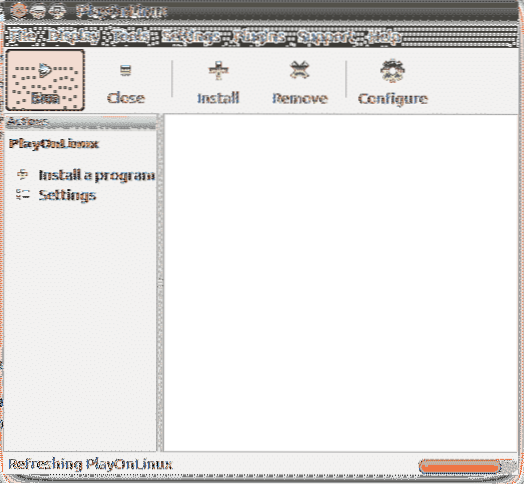
Now click on the Install icon situated on the top of the screen. Next, search for Photoshop in the search bar and choose Adobe Photoshop CS6 from the options available.
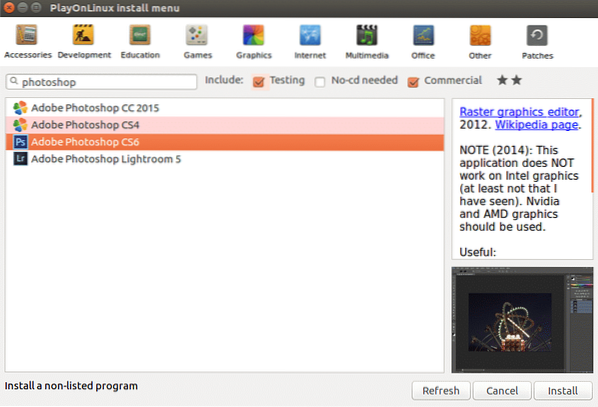
Press Install and now a prompt showing a PlayOnLinux wizard will appear.
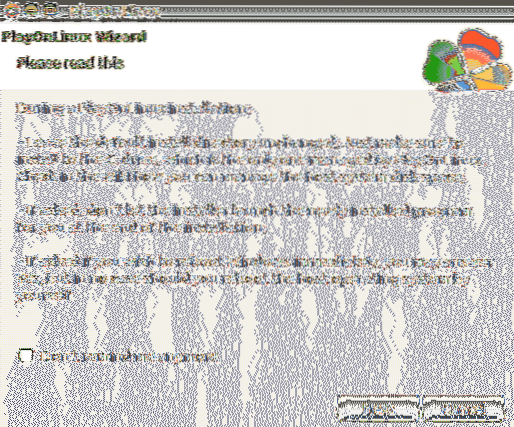
This appears before every PlayOnLinux installation so simply press Next and move on to the next step. Continue till you reach the stage where you're prompted to insert the Setup file.

After inserting the Setup.exe file, click on Next to continue. Now PlayOnLinux will create the virtual drives and will install numerous items necessary for Photoshop.
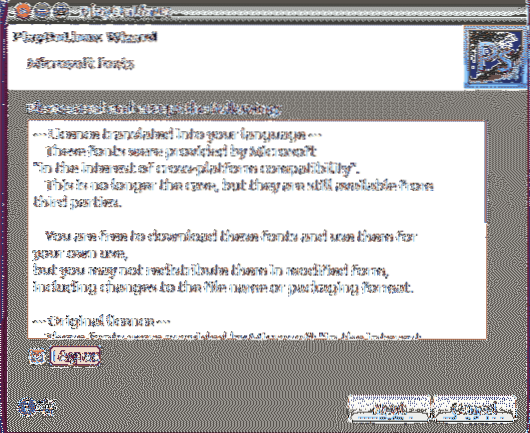
A prompt asking to install Microsoft fonts will also appear. Simply click on the I agree checkbox and continue Next.
Finally we'll be asked to install Photoshop. Click on Next to continue. This will take a little bit of time. If an error does occur during the process, wait a few minutes and try again.

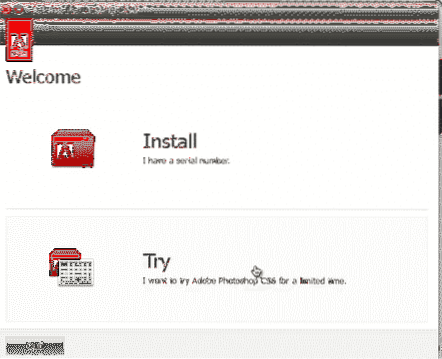
Once the initial set up is done, a prompt asking you to choose between Install and Try will appear. Go for Try if you don't have the full version. Whichever option you use, you'll need to sign in with your Adobe ID. Once you've signed in, complete the installation.
To use Photoshop, simply open PlayOnLinux and select Adobe Photoshop CS6. Finally click on Run and you're good to go.

Congratulations! You're now ready to use Photoshop on Linux.
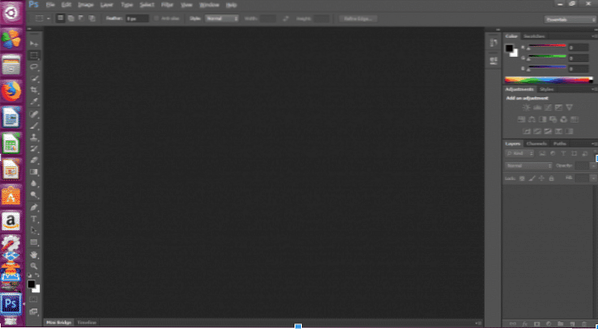
Preview of Photoshop on Linux
Adobe Photoshop vs. Linux Alternatives
With Linux developing so much over the years, it isn't a surprise that it has itself produced a variety of Photoshop alternatives. Gimp, Pinta and Inkscape are all flexible tools that have incorporated several core features of Photoshop and have gained a wide following over the years. However, they're still lacking in many features and effects that makes Photoshop so efficient to use. Photoshop offers so much more and is always evolving and growing. Hence it has become something of an industry standard and is widely used in the professional design studios. Thus, it is really delightful to be able to run Photoshop in Linux using Wine and PlayOnLinux.


