TFTP is used in places where you don't need much security. Instead, you need a way to easily upload files to and download files from the server. CISCO devices use TFTP protocol to store configuration files and CISCO IOS images for backup purposes. The network boot protocols such as BOOTP, PXE etc uses TFTP to boot operating systems over the network. Thin clients also use TFTP protocol for booting operating systems. Many electronics circuit boards, microprocessors also use TFTP to download firmware into the chip. Overall, TFTP has many uses even today.
In this article, I am going to show you how to install and configure TFTP server on Ubuntu. So, let's get started.
Installing TFTP Server:
In this article, I am going to install the tftpd-hpa TFTP server package on Ubuntu (Ubuntu 19.04 in my case). The package tftpd-hpa is available in the official package repository of Ubuntu. So, you can easily install it with the APT package manager.
First, update the APT package repository cache with the following command:
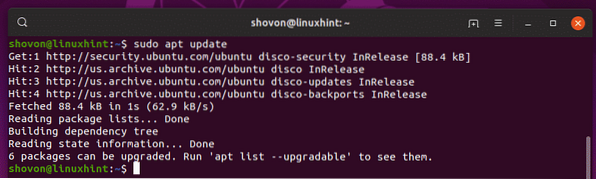
$ sudo apt update
The APT package repository cache should be updated.
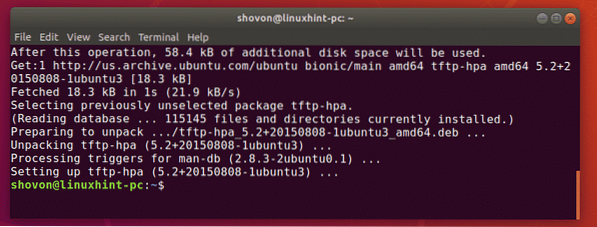
Now, install the tftpd-hpa package with the following command:
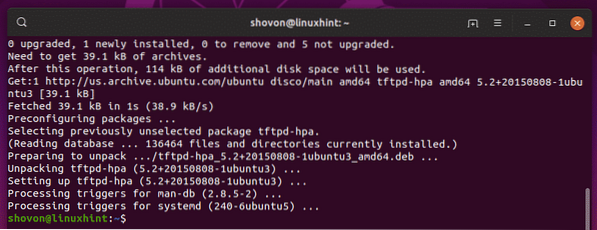
$ sudo apt install tftpd-hpa
tftpd-hpa package should be installed.
Now, check whether the tftpd-hpa service is running with the following command:
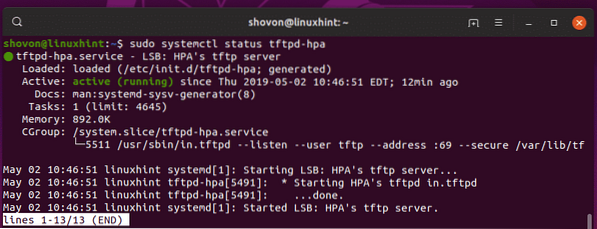
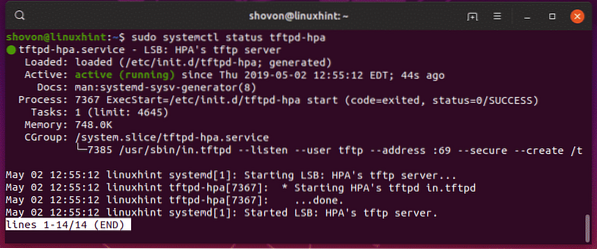
$ sudo systemctl status tftpd-hpa
The tftpd-hpa service is running. So, TFTP server is working just fine. In the next section, I will show you how to configure it.
Configuring TFTP Server:
The default configuration file of tftpd-hpa server is /etc/default/tftpd-hpa. If you want to configure the TFTP server, then you have to modify this configuration file and restart the tftpd-hpa service afterword.
To modify the /etc/default/tftpd-hpa configuration file, run the following command:
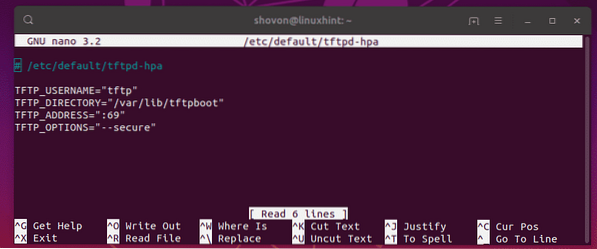
$ sudo nano /etc/default/tftpd-hpa
The configuration file should be opened for editing. This is the default configuration of the TFTP server.
Here, TFTP_USERNAME is set to tftp. It means the TFTP server will run as the user tftp.
TFTP_DIRECTORY is set to /var/lib/tftpboot. It means /var/lib/tftpboot is the directory on this server which you will be able to accessing via TFTP.
TFTP_ADDRESS is set to :69. It means TFTP will run on port 69.
TFTP_OPTIONS is set to -secure. This variable sets the TFTP options. There are many options that you can use to configure how the TFTP server will behave. I will talk about some of them later. The -secure option means change the TFTP directory to what is set on the TFTP_DIRECTORY variable when you connect to the TFTP server automatically. This is a security feature. If you hadn't set the -secure option, then you would have to connect to the TFTP server and set the directory manually. Which is a lot of hassle and very insecure.
Now, I only want to change the TFTP_DIRECTORY to /tftp and add the -create option to the TFTP_OPTIONS. Without the -create option, you won't be able to create or upload new files to the TFTP server. You will only be able to update existing files. So, I think the -create option is very important.
The final configuration file should look as follows. Now, press

Now, you have to create a new directory /tftp. To do that, run the following command:
$ sudo mkdir /tftp
Now, change the owner and group of the /tftp directory to tftp with the following command:
$ sudo chown tftp:tftp /tftp
Now, restart the tftpd-hpa service with the following command:
$ sudo systemctl restart tftpd-hpa
Now, check whether the tftpd-hpa service is running with the following command:
$ sudo systemctl status tftpd-hpa
As you can see, the tftpd-hpa service is running. So, the configuration is successful.
Testing TFTP Server:
Now, to access the TFTP server, you need a TFTP client program. There are many TFTP client programs out there. You most likely will not need one other than for testing the TFTP server because the devices that will use the TFTP server will have the client program already installed on it. For example, CISCO routers and switches already have a TFTP client program installed.
For testing, I am going to use the tftp-hpa TFTP client in this article. I am going to upload an ISO image to the TFTP server and retrieve it later just to verify whether the TFTP server is working as expected.
To install the tftp-hpa TFTP client on Ubuntu, run the following commands:
$ sudo apt update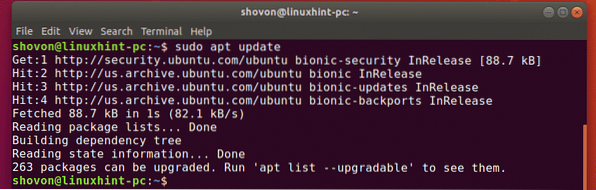

The tftp-hpa client program should be installed.
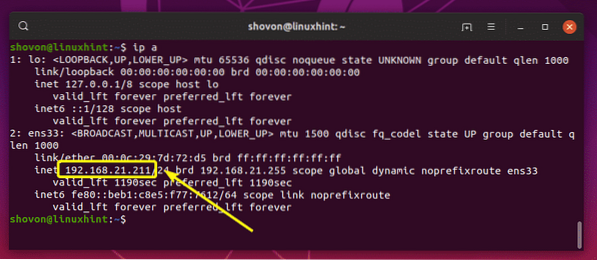
Now, run the following command on your TFTP server to find the IP address of the TFTP server.
$ ip aAs you can see, the IP address of my TFTP server is 192.168.21.211. It will be different for you, so make sure to replace it with yours from now on.
Now, from your other computer, connect to the TFTP server with the following command:
$ tftp 192.168.21.211
You should be connected.

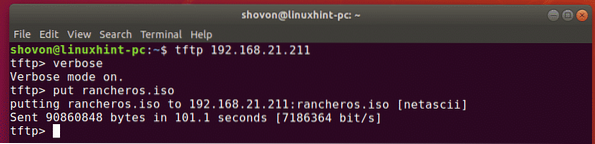
Now, enable verbose mode with the following command:
tftp> verbose
Now, to upload a file (rancheros.iso) from the current working directory (from where you ran tftp command), run the following command:
tftp> put rancheros.isoAs you can see, the file is being uploaded to the TFTP server.

The file is uploaded.
I removed the file from my computer. Now, let's try to download it from the tftp server.
To download the file (rancheros.iso) from the tftp server, run the following command:
tftp> get rancheros.isoThe file is being downloaded.

The file is downloaded.

The TFTP server is working as expected.
Finally, run the following command to exit out of the tftp shell.
tftp> quit
So, that's how you install and configure TFTP server on Ubuntu. Thanks for reading this article.


