And what better way to start learning than on an easy-to-use Python IDE which provides you with an editor, where you can edit your source code, an interpreter and a compiler, and an interface on which you can see your output, all in one place? Jupyter Notebook is an IDE which provides beginners in Python (and even experienced Python developers) with an environment designed to show clear-cut results and analysis.
Jupyter Notebook - the all-rounder of editors
You might even argue, once you start using Jupyter, that its “notebooks” are the most comfortable integrated development environments to code in. These notebooks are also very powerful learning tools. They are equipped with a human-readable text editor where you can design code descriptions complete with images and diagrams, and code cells which separate logical units of your program. If all of the utilities of a notebook are put to good use, you can create documents which execute entire programs and also provide an easy to understand analysis and description side-by-side with the code.
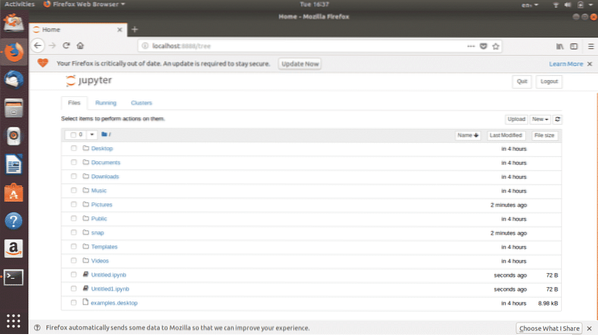
Fig. 1: Jupyter Notebook homepage
Jupyter is a web-based IDE and opens in the browser. You can change the default browser it opens on to a browser of your choosing. Jupyter Notebook can be installed in your Linux system where it creates notebooks in a workplace on your disk or it can be used online to edit code at https://jupyter.org/. Once you create a notebook in Jupyter by clicking on “New” , the following editor opens up:
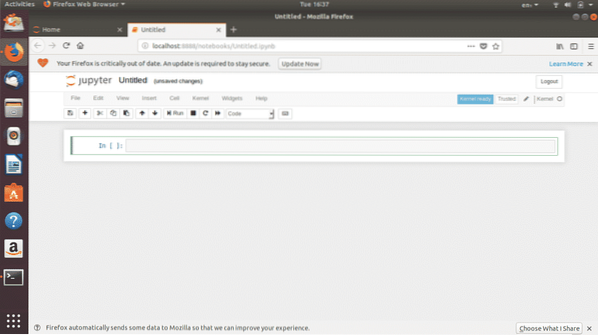
Fig. 2: Untitled notebook
This simple-looking interface is incredibly powerful in its features. Let us start with a basic introduction first.
Getting Started
In Fig. 3, the empty notebook that you see is the layout that you will be working with when learning Python on Jupyter.
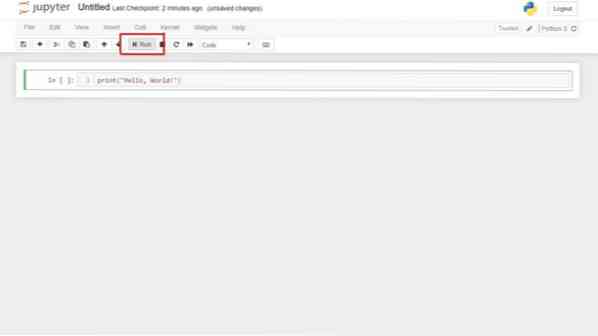

Fig. 4: Run a code cell
To run a code cell, all you have to do is select the cell you want to run and either click on “Run” or press Shift + Enter. This, along with the “interrupt the kernel” button beside it, is what you will be clicking on the most. Speaking of “interrupt the kernel,” if you find yourself stuck in an infinite loop, this might come in handy. Abort mission before things get even messier!
And while we are on the topic of kernels, let's further explore one of the most important components of the notebook - the Kernel. In the simplest terms, Python kernels have the responsibility of executing code. All the options you will need with regards to the Kernel are here:
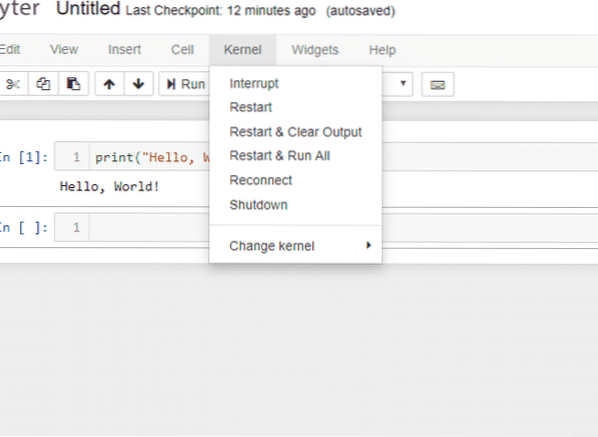
Fig. 5: Kernel
A Python kernel, being a computational unit which executes code, can be interrupted to halt the execution of code, restarted, reconnected, and shut down. Advancing into more options involving the kernel, one can even change kernels to switch from one version of Python to the other (such as from Python 2 to Python 3).
As we mentioned earlier, notebooks are used for much more than just writing code. You can utilize them to create a full-fledged document with paragraphs, equations, functions, and images. To get started with this, you will need to familiarize yourself with “markdown” cells.
Selecting a cell and then selecting Cell > Cell Type > Markdown will convert a code cell into a text cell. Here, you can write descriptions and analysis. It is good practice to look up the documentation of Jupyter Notebooks to unlock all the different ways in which you can utilize this feature. One exciting thing that I discovered when I started with notebooks was that after you convert a cell to markdown, the “Insert Image” option in the “Edit” dropdown gets activated. Here is a demo of what a markdown cell looks like:

Fig. 6: A markdown cell
Notice that this text sits above a regular code cell. This is how you can add meaning to logical code units.
This introduction just scratched the surface of what you can do with notebooks. The best advice would be to explore it on your own and discover the rest of its features which fit your purposes.
Installing Jupyter
On Linux systems, Jupyter Notebook can be installed both through its command line interface and its graphical user interface. The command line interface rests on its Terminal. To install Jupyter, you would first have to install or update Python and then install Python notebook.

Fig. 7: Command to install Python notebook
Installing Jupyter Notebook from the GUI is fairly easier. Just look up Project Jupyter on Ubuntu Software and click “Install”.
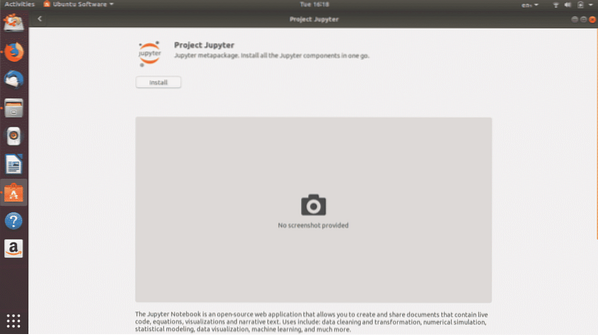
Fig. 8: Project Jupyter in Ubuntu Software (GUI installation)
Python is the most powerful programming language for data science. It is also an easy-to-learn language and an IDE like Jupyter Notebook makes it seamless to get used to programming in Python.