Installing the apps offline comes handy at times when you want to deploy the same app in multiple machines or when you have a lousy internet connection. Today, we show you an option to install apps while you are offline by using a free app, Camicri Cube.
Camicri Cube downloader is a web-based application that connects to the Ubuntu package manager. Then you can use it to search for all your required apps, download them alongside all needed dependencies and finally install them offline on your machine.
Offline apps installation on Ubuntu
In this tutorial, we are going to walk you through installing the Camicri Cube application, and we shall use it to download apps to install them offline.
Step 1. To download the Camicri Cube application, make sure that the wget command is installed on your machine. If it is not installed, install the wget:
sudo apt install wget
Now download the Camicri Cube using the wget command.
For the 32-bit:
wget https://launchpad.net/cube-server/4.0/4-0.1/+download/cube4_0.1-0_Linux32.zip
For the 64-bit:
wget https://launchpad.net/cube-server/4.0/4-0.1/+download/cube4_0.1-0_Linux64.zip
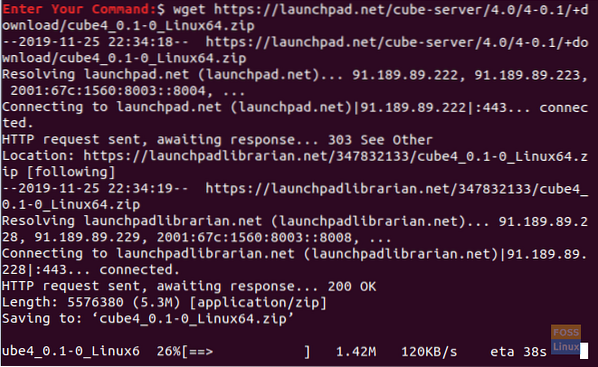
Step 2. After the download finishes, you will find the Cube archive in your current directory.
ls

Step 3. Extract the archive using the unzip command. If the unzip command is not installed, you can install it using the following command.
sudo apt install unzip
Now you can install the Cube application.
unzip cube4_0.1-0_Linux64.zip
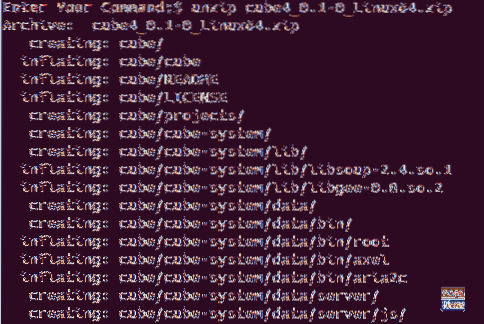
Step 4. After the extraction is complete, you should see a new directory called cube is created in your current location.

Step 5. Move to the new cube directory.
cd cube

Step 6. Now let's start the Cube application:
./cube

When the Cube application starts, another terminal should open. Please make sure not to exit this terminal to keep the Cube process running normally.
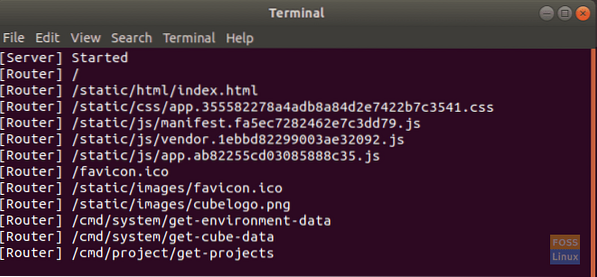
If everything is running fine, a Cube window should be launched in your default web browser. It should look like the below screenshot.
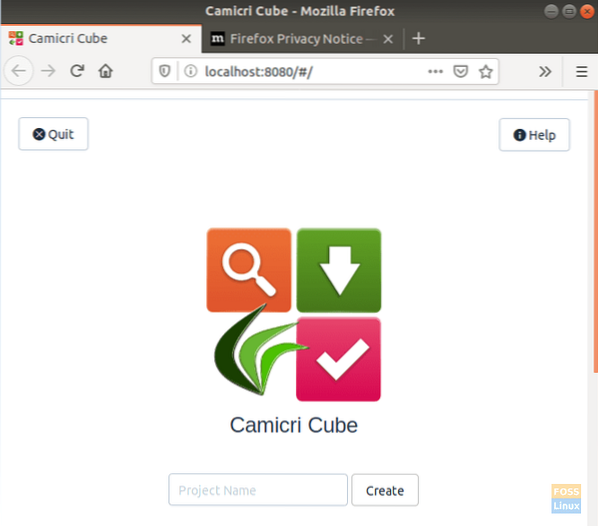
Step 7. Next, you can create a new project. Let's give it a name “offline-apps” then press “Create” to create the project.

As you can see in the below screenshot, you will be able to see the process of creating a new project.

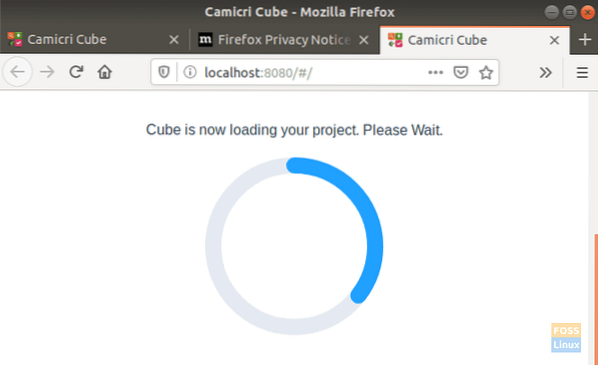
When the creating process of the project completes successfully, you will get a message like the below one.

The Cube will now load your new project in a new tab.
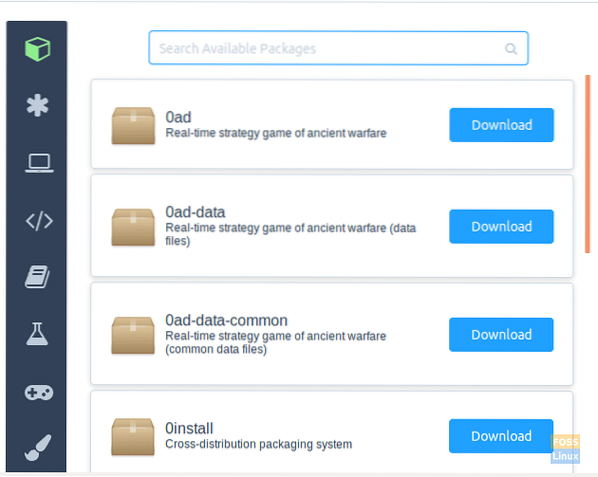
Step 8. You can now start searching for applications and download them.
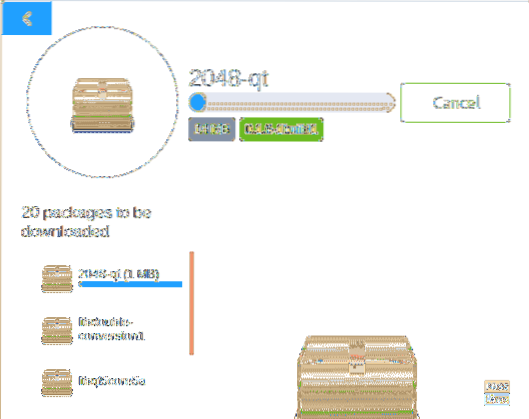
Step 9. In this guide, I have chosen a simple game, which is “2048,” to use it during the next of our tutorial. As you notice, the application will be downloaded alongside all the required dependencies.
Step 10. After the download is done, you can list the content of the cube directory that is found in your home directory to check for the downloaded applications.
ls

Navigate to your created project.
cd projects/offline-apps

List the content of the downloaded packages.
ls data/packages

Step 11. Next, you can install the downloaded applications offline on any Ubuntu PC. Copy the directory of the downloaded apps and run the below command to install the apps in the offline mode.
sudo dpkg -i data/packages/*.deb
In the above command, we have not specified the package name, instead, we will install the packages in this directory and this to make sure to install the required dependencies.
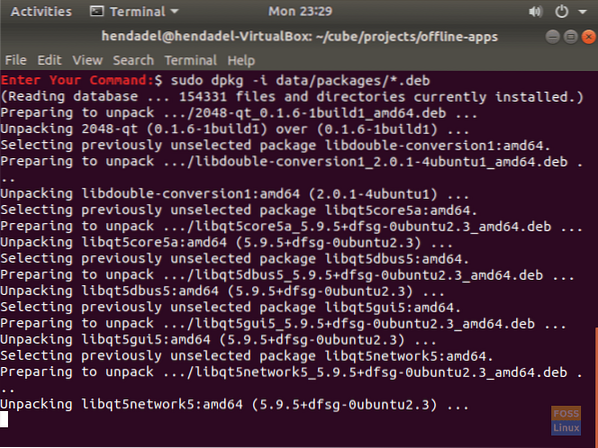
As you can see in the below screenshot, the installation finishes successfully.

Step 12. Congratulations, your application has installed offline successfully. Now you can start using it.

That's all about installing the apps offline on your Ubuntu PC. That's it for now, and for any questions, leave a comment, and we will be glad to help you.
 Phenquestions


