In this article, I will show you how to upgrade your existing Ubuntu 18.04 LTS to Ubuntu 18.10. Let's get started.
Upgrading Ubuntu 18.04 LTS to Ubuntu 18.10:
In this section of the article, I will show you how to upgrade your Ubuntu 18.04 LTS desktop to Ubuntu 18.10 (currently in Beta) Desktop operating system.
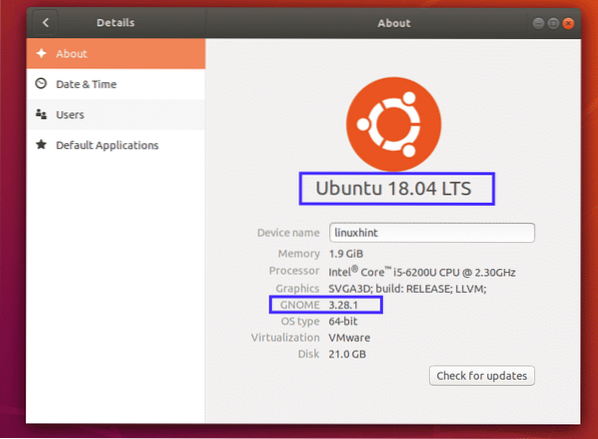
First, check the version of Ubuntu you're using before you go through the upgrade process. That way, you will be able to verify whether the upgrade worked or not.
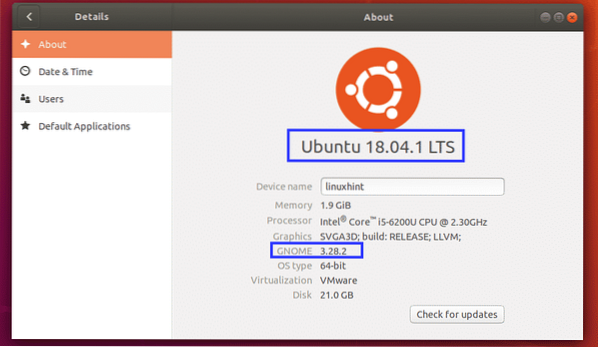
As you can see, from the About (Settings > Details > About) tab, I am using Ubuntu 18.04 LTS GNOME 3.28.1 desktop environment.
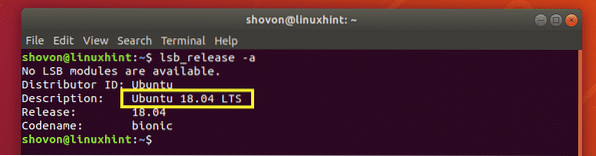
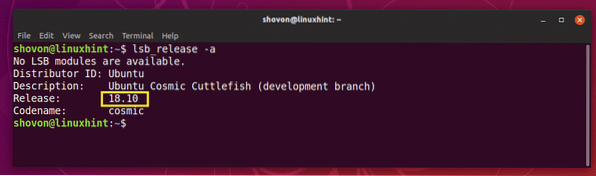
To get the same information from the command line interface, open up a Terminal and run the following command:
$ lsb_release -aAs you can see, I get the same information here.
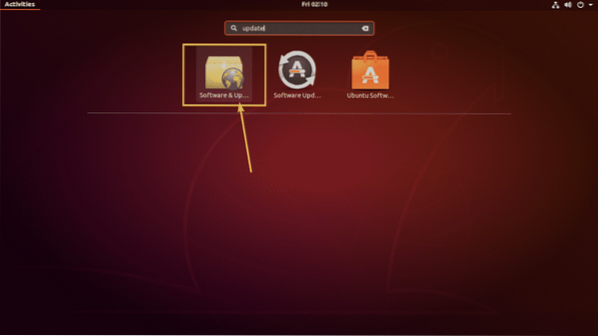
Now, search for Software & Updates app from the Application Menu and click on the Software & Updates app as marked in the screenshot below.
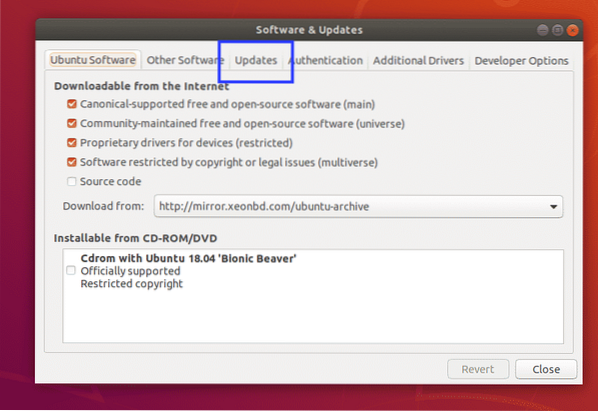
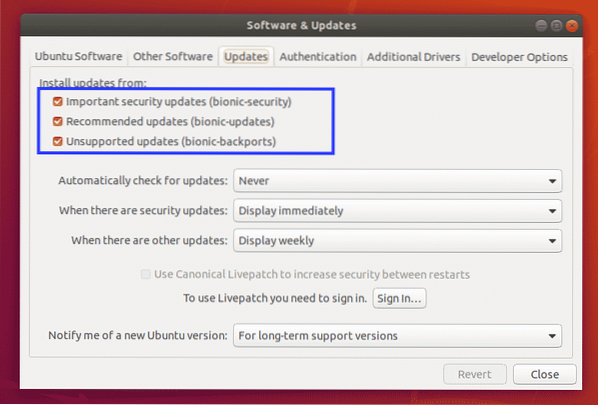
Software & Updates app should open up. Now click on the Updates tab as marked in the screenshot below.
From the Updates tab, make sure the check boxes are marked as shown in the screenshot below.
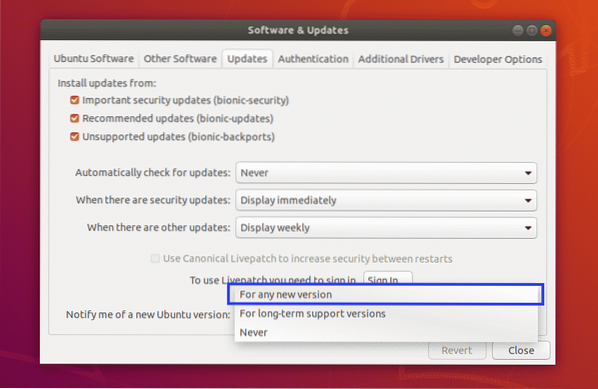
Also, change Notify me of a new Ubuntu version to For any new version as marked in the screenshot below.
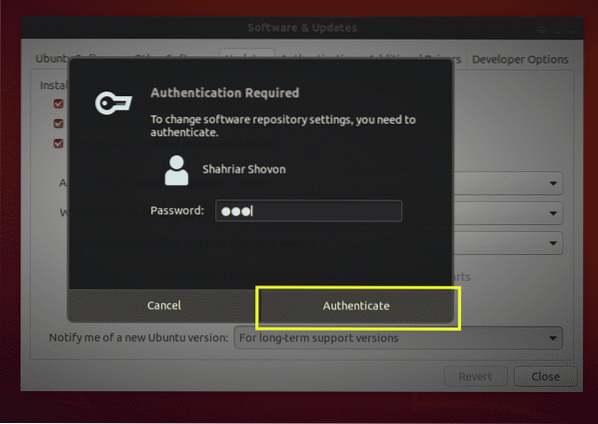
Now type in your password and click on Authenticate.
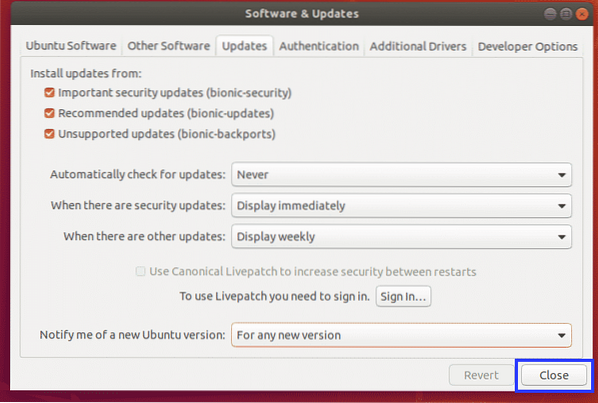
Now click on Close to exit out of Software & Updates app.
Now you have to make sure all the software packages are up to date on your Ubuntu 18.04 LTS before you upgrade your Ubuntu 18.04 LTS to 18.10. This is very important because if all the softwares are not up to date, then you may face problems in the upgrade process.
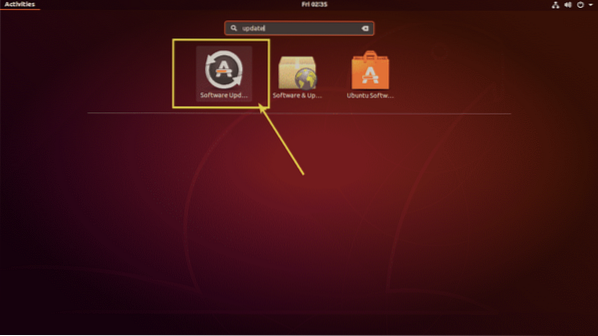
On Ubuntu 18.04 LTS, you can use the Software Updater app to update all the software packages very easily. Look for Software Updater from the Application Menu and then click on the Software Updater icon as marked in the screenshot below.
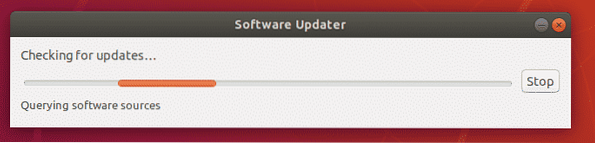
Software Updater should check for softwares updates for your Ubuntu 18.04 LTS operating system.
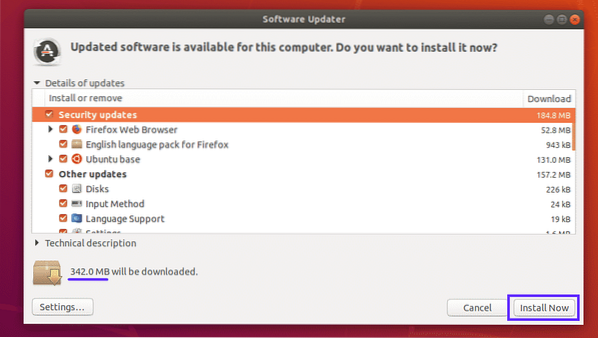
If any software update is available, it should show up in the Software Updater app as you can see in the screenshot below. About 342 MB of internet data will be used to download the required packages for the software update. If your using limited internet plan (such as Mobile broadband), make sure you have enough internet data available. Once you're done reviewing everything, click on Install Now to start the software update process.
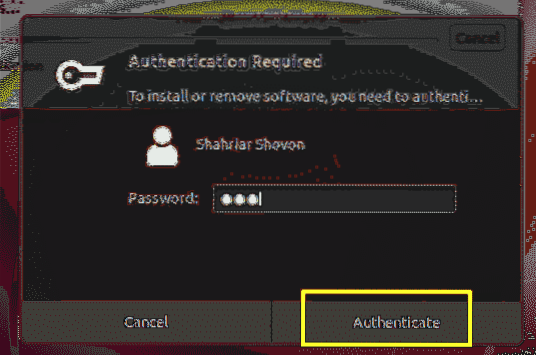
Now type in your password and click on Authenticate.
Software Updater app should download and install all the required packages.

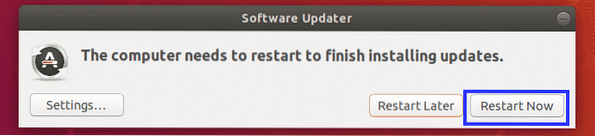
Once the software update is complete, you should see the following window. Now click on Restart Now.
Once your computer starts, your Ubuntu 18.04 LTS should be updated to the latest stable version (18.04.1 LTS at the time of this writing) as you can see in the screenshot below. The GNOME version is also upgraded from 3.28.1 to 3.28.2 (at the time of this writing).
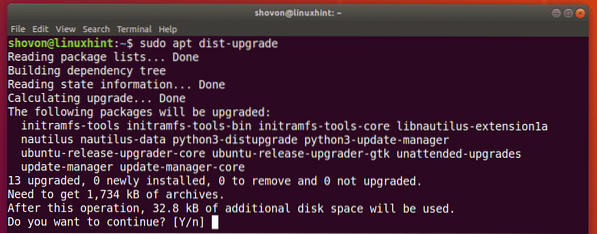
The Software Updater app may not update some of the packages on your Ubuntu 18.04 LTS desktop. To make sure these are updated as well, open up a Terminal (press

Now press y and then press
If you see the following message, just keep the default and press
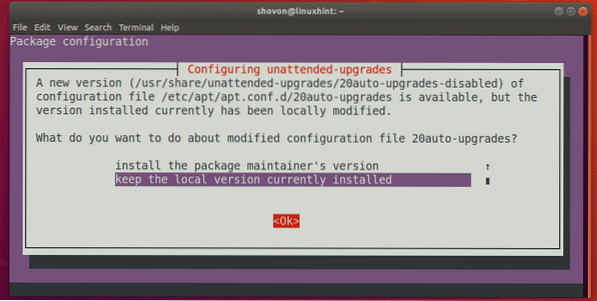
The packages are updated.
Now reboot your computer with the following command:
$ sudo rebootYour Ubuntu 18.04 LTS desktop is now ready to be upgraded to Ubuntu 18.10.
Just open a Terminal from the Application Menu or by pressing
NOTE: As Ubuntu 18.10 is in Beta now, you have to run sudo do-release-upgrade -d in order to upgrade to Ubuntu 18.10 from Ubuntu 18.04. But once Ubuntu 18.10 is released, please run sudo do-release-upgrade without the -d flag.

Ubuntu 18.10 package repository is being added and APT package repository cache is being updated.
When you see the following prompt, press y and then press
Now press

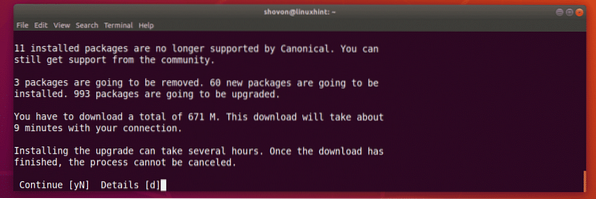
The release upgrade has started. It should take a while to complete.

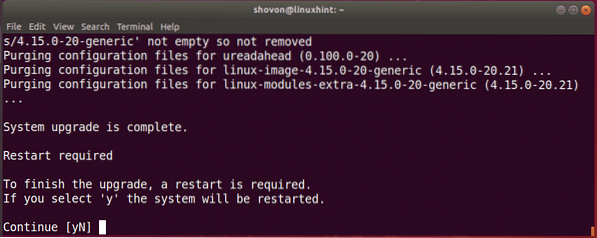
Press y and then press
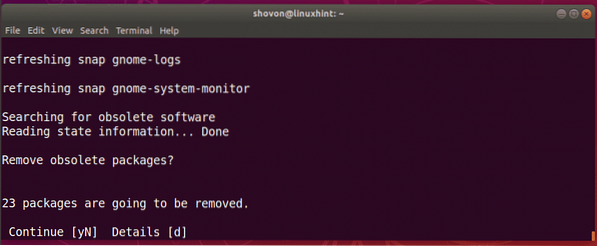
Now press y and then press
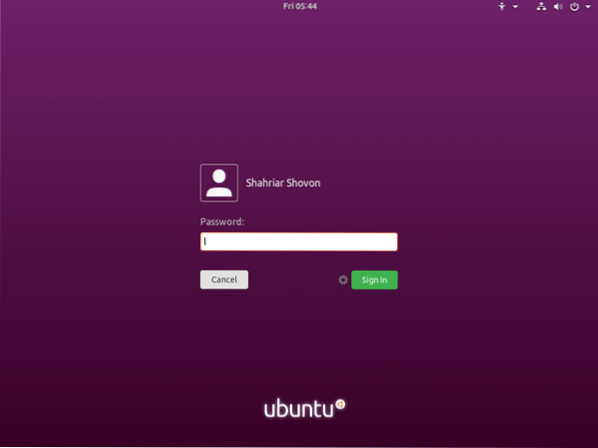
Now you should be booted into the Ubuntu 18.10 login screen as you can see in the screenshot below.
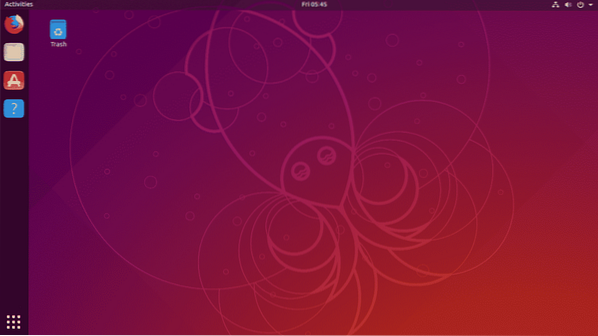
Once you login, you should see the following window. This is the default look and feel of Ubuntu 18.10. Ubuntu 18.10 got a new theme and icon set. I love it.
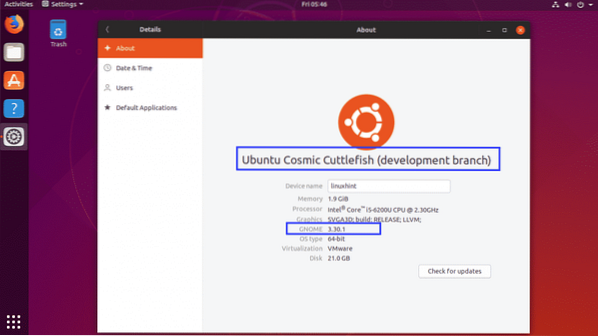
As you can see, I am using Ubuntu 18.10 Cosmic Cuttlefish development branch or Beta version with GNOME 3.30.1
Congrats! You've successfully upgraded to Ubuntu 18.10 from Ubuntu 18.04 LTS.
Upgrading to Ubuntu 18.10 from 18.04 from the Terminal:
You can also upgrade to Ubuntu 18.10 from 18.04 LTS from the command line.
First, open up a Terminal by pressing
Now open the /etc/apt/sources.list file with the following command:
$ sudo nano /etc/apt/sources.list
Make sure at least the marked package repositories are enabled.

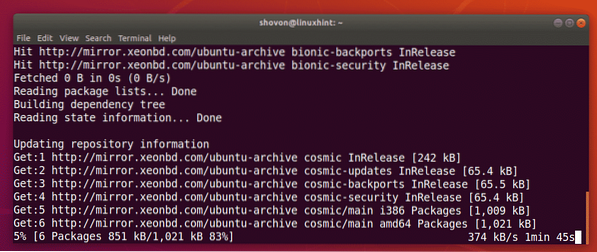
Now update the APT package repository cache with the following command:
$ sudo apt update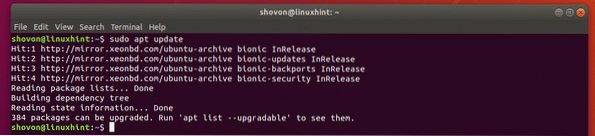
Now update all the packages with the following command:
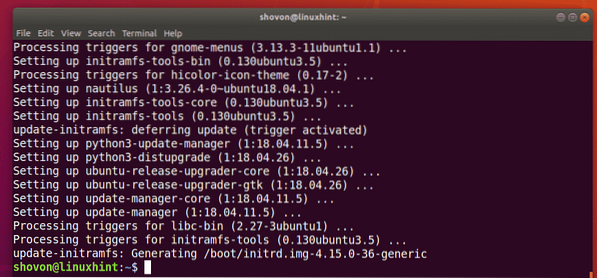
$ sudo apt upgradeNow update the kernel and some of the system packages with the following command:
$ sudo apt-dist-upgradeOnce these upgrades are complete, reboot your computer with the following command:
$ sudo rebootNow upgrade your Ubuntu 18.04 LTS to Ubuntu 18.10 Cosmic Cuttlefish with the following command:
$ sudo do-release-upgrade -dNOTE: Once Ubuntu 18.10 is released, remove the -d flag from the command. The reason is explained in the earlier section of this article above.
Once the release upgrade is complete, reboot your computer with the following command:
$ sudo rebootYou should be booted into Ubuntu 18.10.
So that's how you upgrade Ubuntu 18.04 LTS to Ubuntu 18.10. Thanks for reading this article.


