Default Port Number of Vue CLI
When you run a Vue project using the npm run serve command, the port number 8080 is automatically assigned to the Vue project, and it runs on that port number. While running a Vue.js project, the terminal shows the output something like this:
$ npm run serve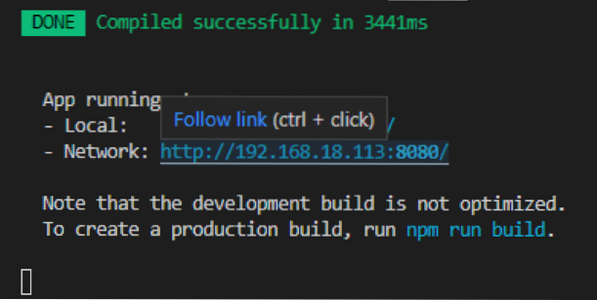
In the screenshot given above, the default port assigned is 8080, where the project is running. In a rare scenario, if port 8080 is busy, port 8081 is assigned to the Vue project, and this is how it continues until it finds the free port number. But, what if you want to change and assign some other port number of your own choice. Let's see and learn how to change the default Port Number in the Vue CLI project.
Change the Default Port Number of Vue CLI
Well, there are two ways to change the default assigned a port number to the Vue.js project. One is to change the port number temporarily, and the second one is to permanently change the port number. So, let's begin with the first method of changing the port number of Vue CLI.
Method 1: Change Port Number Temporarily
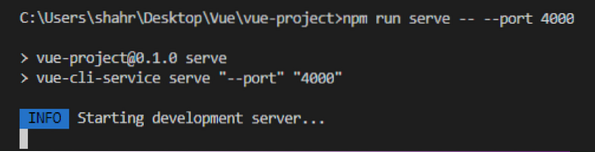
The port number of the Vue CLI project can easily be changed while running the Vue.js project using the npm run serve; you simply have to append - -port with the port number of your desire to the npm run serve command as shown in the command given below:
Now, when the project is compiled successfully, you can see that the port number is changed to 4000.

You can witness in the screenshot given above that the Application is running at port 4000, but this port is assigned temporarily until the app is running. Once you terminate the batch and run the project without providing the port to the npm run serve command, then the default port 8080 will be assigned again, or otherwise, you have to assign the port every time you run the application. Luckily, we have another method provided by Vue.js, using which we can permanently change the port number of our Vue project, so let's go ahead and see how to change the port number of the Vue CLI project permanently.
Method 2: Change Port Number of Vue CLI project permanently
If you are interested in changing the default port number of your Vue.js project permanently. Simply follow the steps given below, and you will have your own desired port number assigned to your Vue.js project.
Step 1: Create a new vue.config.js file at the root directory
First of all, you need to create a new file at the root directory of your project with the name vue.config.js
Step 2: Add Port Number in the vue.config.js configuration file
After creating the configuration file, open it up and provide your desired port number as a key-value pair inside the devServer object in the module.exports as shown in the code snippet below:
module.exports =devServer:
port: 3000
Once you have done that, save the application by pressing CTRL + S keyboard shortcut keys and start the application.
Step3: Run the Application
Now, start the application using the npm run serve command and without appending any port number.
$ npm run serve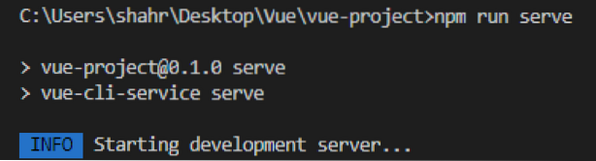
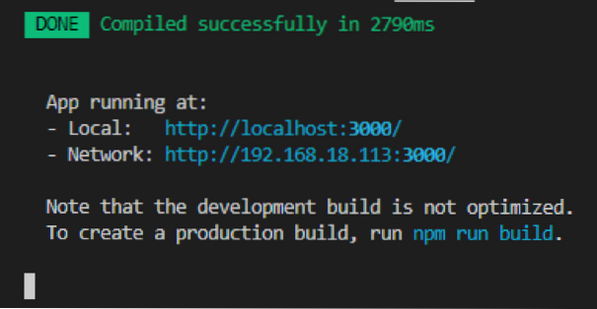
You will witness that the port number 3000 is assigned successfully, and the application is running on your provided port number in the vue.config.js file.
This is how you can change or set the port number of your own choice in the Vue CLI project.
Conclusion
This post has learned two different ways to change or set the Port Number temporarily and permanently in a Vue CLI project and explained in a profound and easy-to-understand step-by-step method.


