We have reached the end of another year, almost. People are eagerly waiting to make and then break new year resolutions!
Many of us like to keep a physical calendar of the current year on our work desk although a significant number of PC and smartphone prefer digital calendars on their devices.
There are people who would like to make personalized physical calendars by including custom photos of their loved ones.
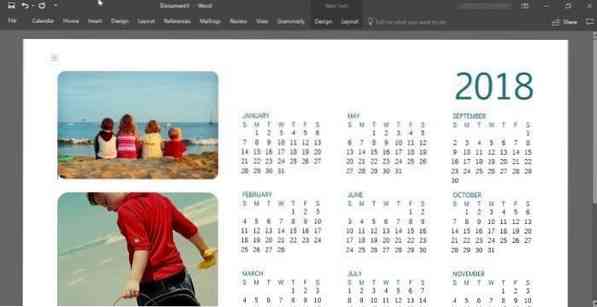
Microsoft Word allows you to create your own fully customized calendars with a few mouse clicks. You can select a custom calendar template from tens of free templates, include your own custom picture on the calendar, choose a font and font color of your desire, select a calendar background, and more.
Create calendar using Microsoft Office Word or Excel
In this guide, we will see how to create a custom calendar using Microsoft Word or Excel program.
Step 1: Start Microsoft Office Word or Excel program.
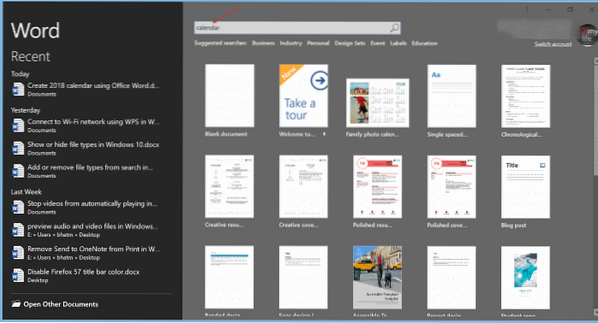
Step 2: At the start page of Office Word or Excel, type Calendar in the search box and then press Enter key to see all available calendar templates.
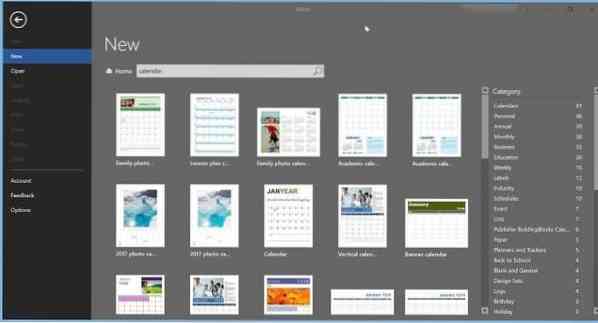
As you can see in the picture above, hundreds of calendar templates available for download. There are weekly, monthly, annual and a few more types of calendar templates. Click on a filter on the right-side to see calendars available in that category.
Family photo calendars, academic calendars, birthday and anniversary calendars, monthly and weekly planning calendars, fiscal year calendars, weekly appointment calendars, and many more types of calendar templates available. Go through all of them and select a template that you like and meets your requirements.
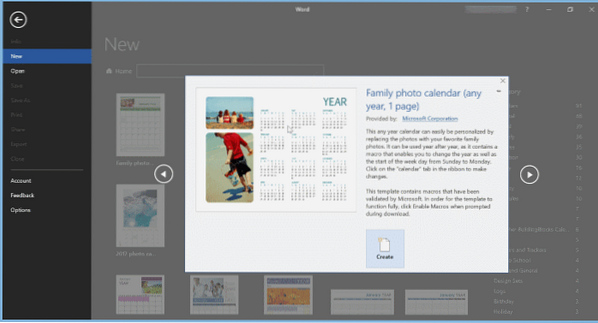
Select a template of your choice.
Step 3: You will see a small dialog with details about the calendar. Click the Create button to download the template onto your computer.
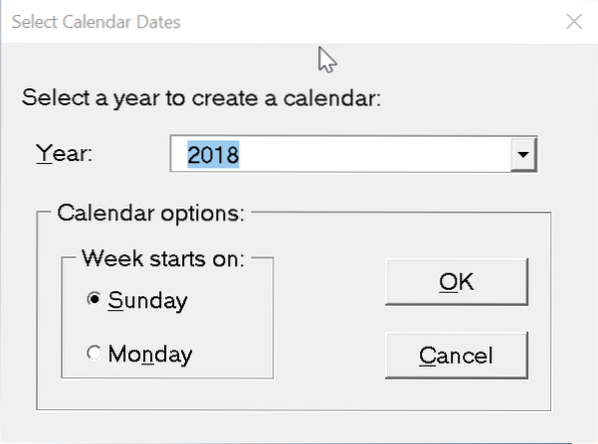
Step 4: Next, you will see the following dialog with options to select the year, month (if you have selected month), and start the week with either Sunday or Monday.
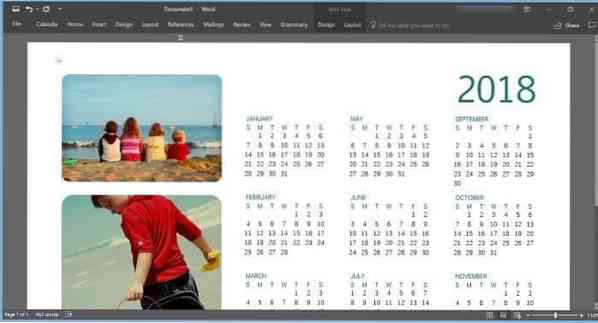
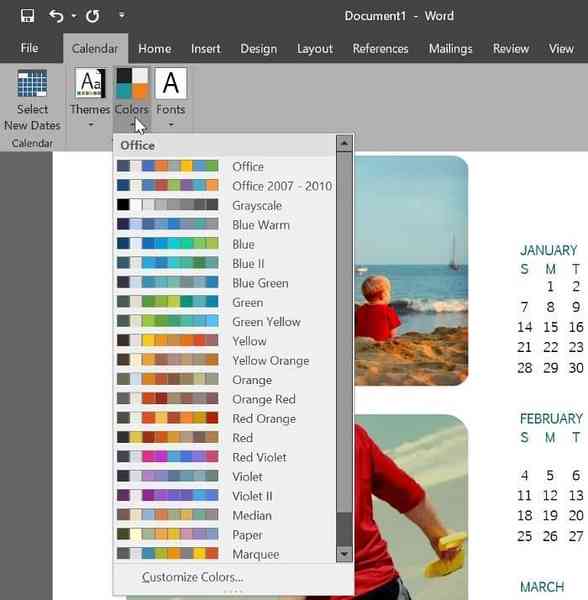
Step 5: Now that you have created a calendar, its' time to customize it by adding your company logo, your name, and other details. Use the new Calendar tab to see all available options.
Step 6: Finally, save the calendar. If you wish to take a hard copy of it, use the print option.


