The KVM, or Kernel Virtual Machine, is the virtualization solution for Linux. It is a Linux kernel module that allows the Linux kernel to act as a hypervisor program like VMware ESXi or VSphere.
Earlier it was impossible to get KVM running on the Raspberry Pi using the Raspberry Pi OS (also known as Raspbian). This is because KVM only works on a 64-bit operating system. Raspberry Pi OS was a 32-bit operating system. Another reason was that Raspberry Pi 3 and earlier models had only 1 GB of memory, and this is insufficient to run KVM. Docker was a better solution for devices with 1 GB of memory.
At the time of this writing, it is possible to run KVM on the Raspberry Pi using the Raspberry Pi OS. Because Raspberry Pi OS officially ships with a 64-bit kernel, and the Raspberry Pi 4 has an 8 GB model (it has 8 GB of memory). Sadly, the 64-bit Raspberry Pi OS kernel is not enabled by default. You have to enable it manually.
In this article, I am going to show you how to enable the 64-bit Raspberry Pi OS kernel and install KVM on the Raspberry Pi OS.
So, let's get started!
Things You Will Need:
To follow this article, you will need the following things to set up your Raspberry Pi 4 in headless mode:
- Raspberry Pi 4 (8 GB version recommended, 4 GB version will also work) single-board computer
- USB Type-C power adapter
- 32 GB or higher capacity MicroSD card with Raspberry Pi OS (with the desktop environment) flashed
- Network connectivity on the Raspberry Pi 4
- Laptop or desktop computer for VNC remote desktop access to the Raspberry Pi 4
If you don't want to set up your Raspberry Pi 4 in headless mode, you will also need:
- Monitor
- HDMI or micro-HDMI cable
- Keyboard
- Mouse
If you need any assistance on flashing the Raspberry Pi OS image on the MicroSD card, check my article How to Install and Use Raspberry Pi Imager.
If you're a Raspberry Pi beginner and you need any assistance on installing Raspberry Pi OS on your Raspberry Pi 4, check my article How to Install Raspberry Pi OS on Raspberry Pi 4.
Also, if you need any assistance on the headless setup of Raspberry Pi 4, check my article How to Install and Configure Raspberry Pi OS on Raspberry Pi 4 Without External Monitor.
Upgrading Raspberry Pi OS
Before enabling the 64-bit kernel and installing KVM on the Raspberry Pi OS, it's a good idea to upgrade all the existing packages of your Raspberry Pi OS. This will update the kernel if there is any new version of the kernel available or fix known bugs (if there are any).
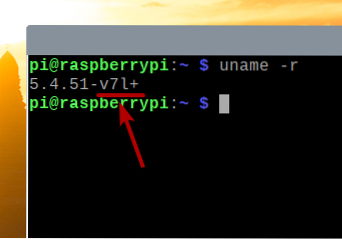
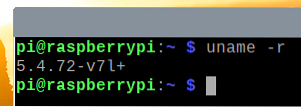
Let's check the kernel version before upgrading all the existing packages of Raspberry Pi OS.
$ uname -rAs you can see, I am running the kernel version 5.4.51 compiled for the ARMv7l architecture.
Now, let's upgrade all the existing packages of Raspberry Pi OS.
First, update all the APT package repository cache with the following command:
$ sudo apt update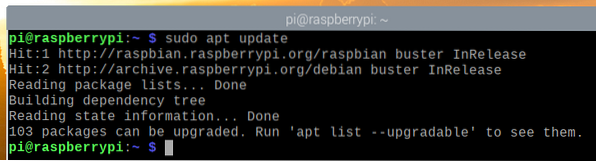
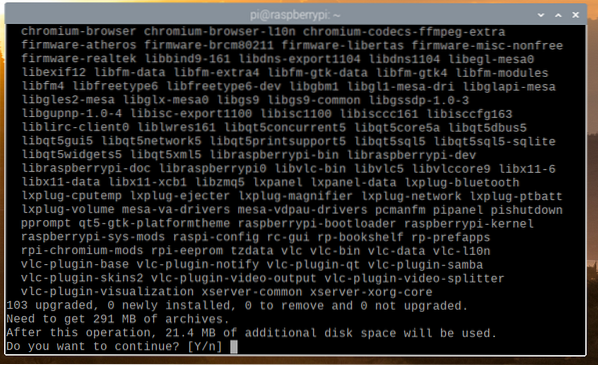
To upgrade all the existing packages (including the kernel), run the following command:
$ sudo apt full-upgrade
To confirm the installation, press Y and then press <Enter>.
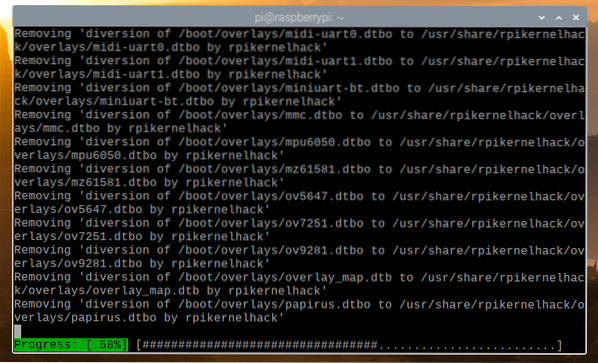
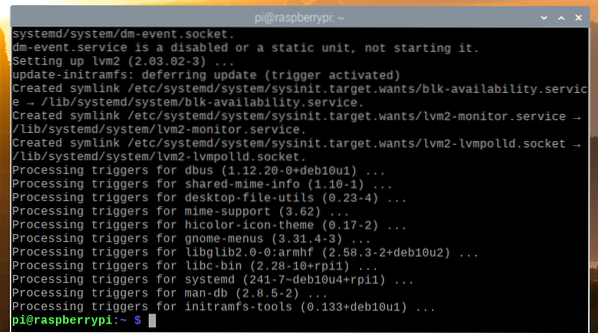
The APT package manager will download all the required packages from the internet but it will take a while to complete.
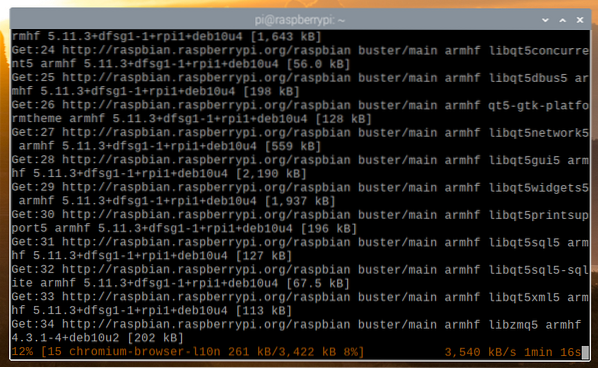
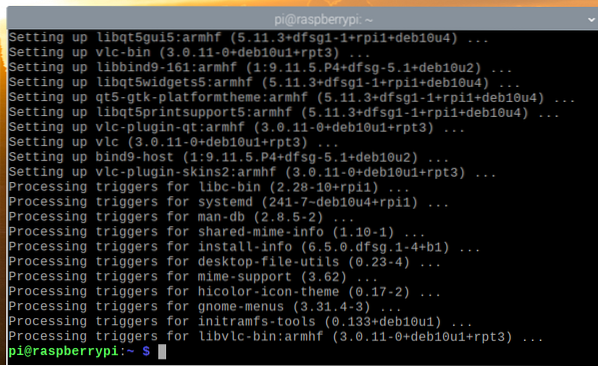
Once the download is complete, it will automatically install them. It will take a while to complete.
At this point, all the updates should be installed.
For the changes to take effect, reboot your Raspberry Pi 4 with the following command:
$ sudo reboot
Once your Raspberry Pi 4 starts, you may see that the kernel version has been updated.
Enabling 64-bit Kernel on Raspberry Pi OS
On the latest release of Raspberry Pi OS, the 64-bit kernel is distributed along with the 32-bit kernel by default. The 64-bit kernel is still in beta. So, it is not set as the default kernel on the Raspberry Pi OS.
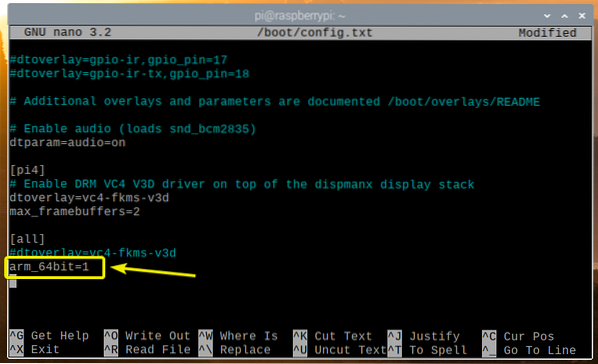
To use the 64-bit kernel on the Raspberry Pi OS, open the /boot/config.txt file with the nano text editor as follows:
$ nano /boot/config.txt
Add arm_64bit=1 at the end of the /boot/config.txt file as marked in the screenshot below.
Once you're done, press
For the changes to take effect, restart your Raspberry Pi 4 with the following command:
$ sudo reboot
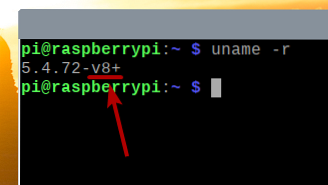
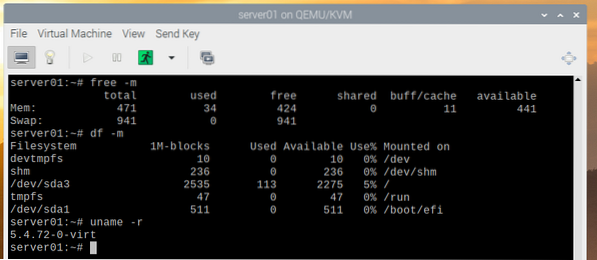
Once your Raspberry Pi 4 starts, check the kernel version with the following command:
$ uname -rYou should see v8+ at the end of the kernel version, as you can see in the marked section of the screenshot below. It means we are using the 64-bit kernel.
The file /dev/kvm should also be available, as you can see in the screenshot below.
$ sudo ls -lh /dev/kvm
Installing KVM/QEMU:
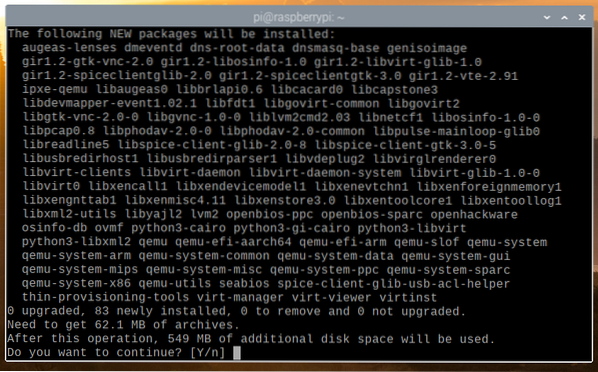
Once the 64-bit kernel is enabled, you can install KVM, QEMU, and Virtual Machine Manager with the following command:
$ sudo apt install virt-manager libvirt0 qemu-system
To confirm the installation, press Y and then press <Enter>.
The APT package manager will download all the required packages from the internet. It may take a while to complete.
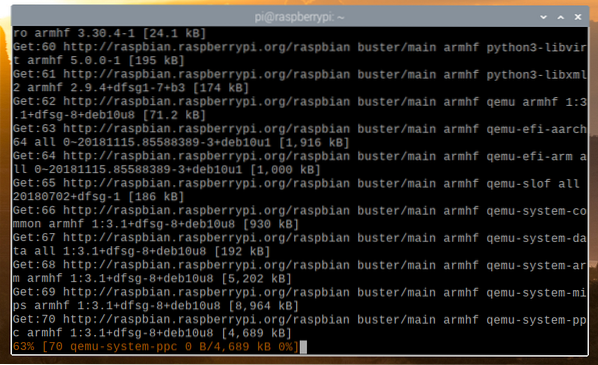
Once the packages are downloaded, the APT package manager will install them. It may take a while to complete.

At this point, all the required packages should be installed.
Now, add the pi user to the libvirt-qemu group with the following command:
$ sudo usermod -aG libvirt-qemu $(whoami)
For the changes to take effect, reboot your Raspberry Pi 4 with the following command:
$ sudo reboot
Once your Raspberry Pi 4 boots, start the default KVM network with the following command:
$ sudo virsh net-start default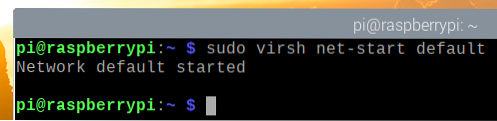
To make sure that the default KVM network starts automatically on boot, run the following command:
$ sudo virsh net-autostart default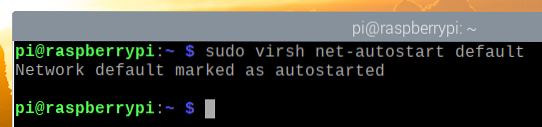
Downloading Alpine Linux ISO Installation Image
In this article, I will be installing Alpine Linux on a KVM virtual machine to test KVM on the Raspberry Pi OS.
NOTE: At the time of this writing, KVM acceleration or hardware acceleration is not available on Raspberry Pi OS. Operating systems will run in emulation mode in a KVM virtual machine. So, we won't get much performance out of it. This is why I picked Alpine Linux for the demonstration. It is also a very lightweight operating system. Even though the virtual machine will run in emulation mode, we can still test it out. Hopefully, in a later update of the Raspberry Pi OS, KVM acceleration or hardware acceleration will be available. But, right now, this is as far as we can go.
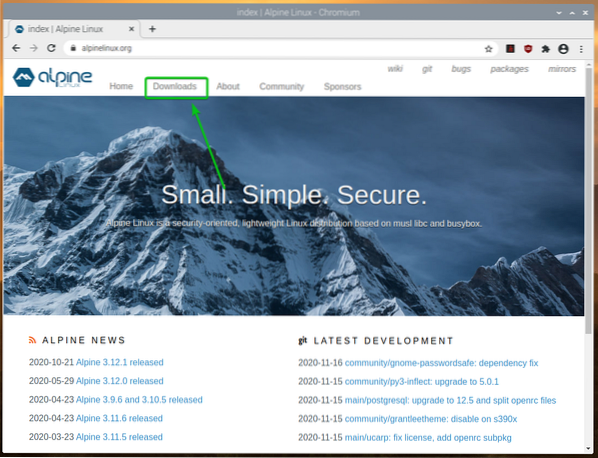
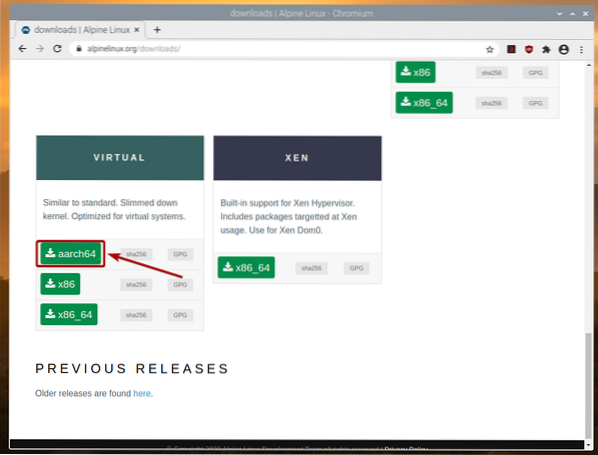
To download the Alpine Linux ISO installation image, visit the official website of Alpine Linux.
Once the page loads, click on Downloads.
Once the page loads, scroll down a little bit and click on the VIRTUAL aarch64 download link as marked in the screenshot below.
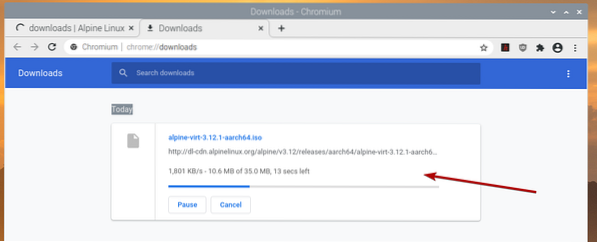
Your browser should start downloading the Alpine AARCH ISO installation image. It may take a few seconds to complete.
Moving the Alpine Linux ISO Image to the KVM Image Directory:
Once the Alpine ISO image is downloaded, you should be able to find it in the ~/Downloads directory.
$ ls -lh ~/Downloads
Move the Alpine ISO image to the /var/lib/libvirt/images directory as follows:
$ sudo mv -v ~/Downloads/alpine-virt-3.12.1-aarch64.iso /var/lib/libvirt/images/
Creating an Alpine Linux KVM Virtual Machine
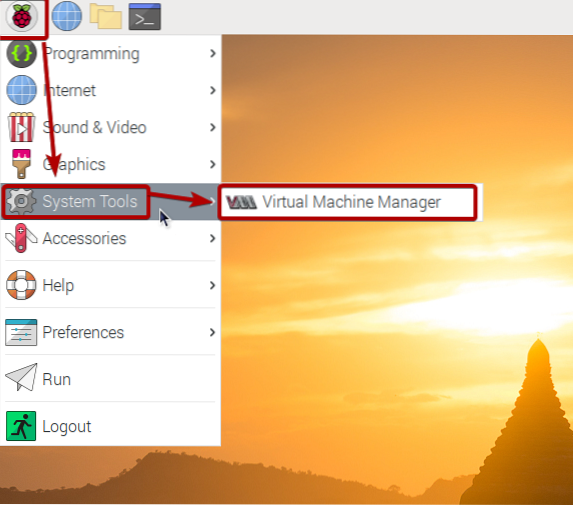
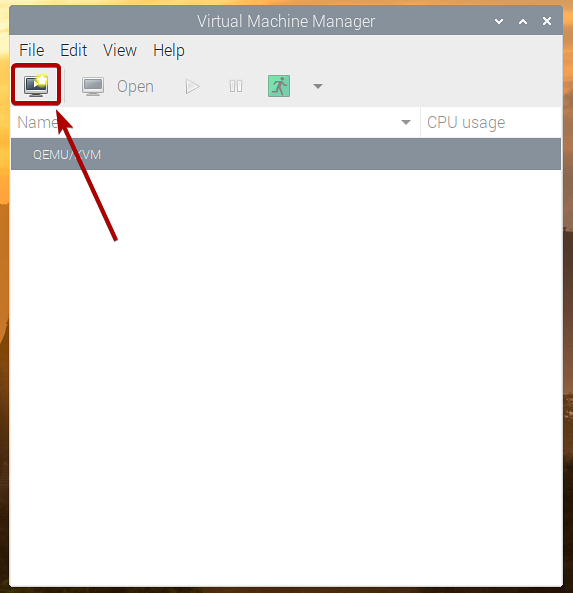
To create an Alpine Linux KVM virtual machine, start Virtual Machine Manager from Raspberry Pi Menu > System Tools > Virtual Machine Manager, as marked in the screenshot below.
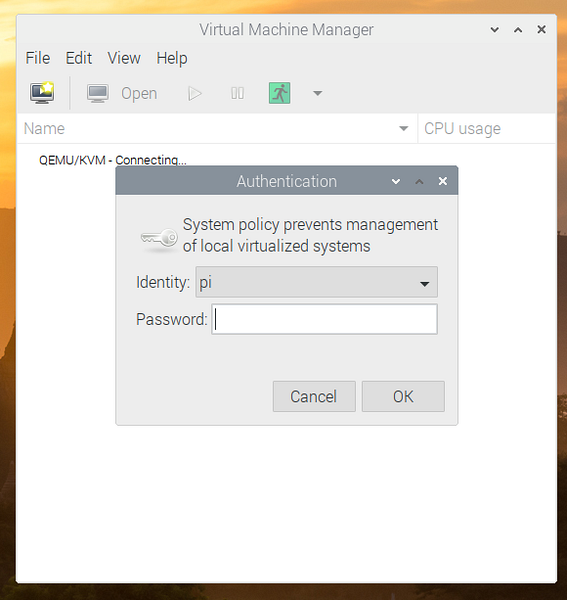
Type in your login password and press <Enter>.
Now, click on the marked icon ( ), as shown in the screenshot below.
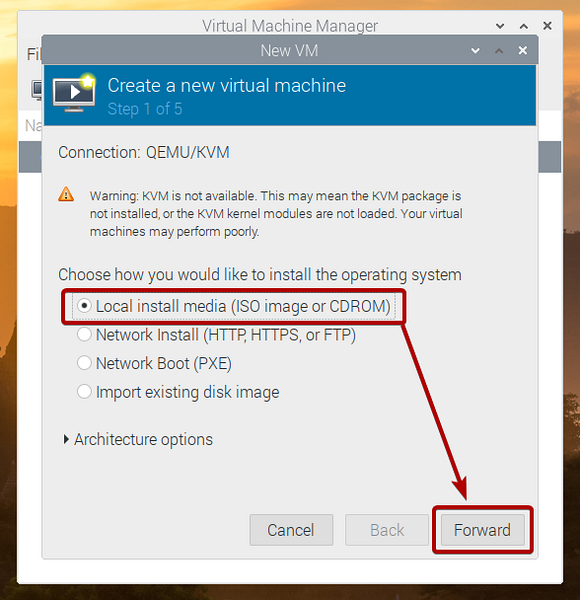
Select Local install media (ISO image or CDROM) from the list and click on Forward.
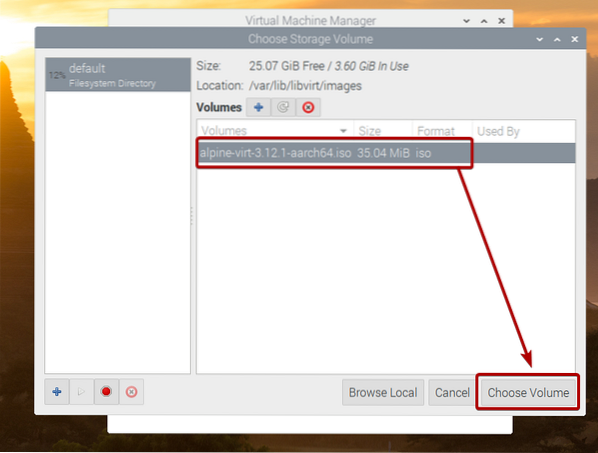
Click on Browse…

Select the Alpine ISO image from the list and click on Choose Volume.
Uncheck the Automatically detect from the installation media/source checkbox.
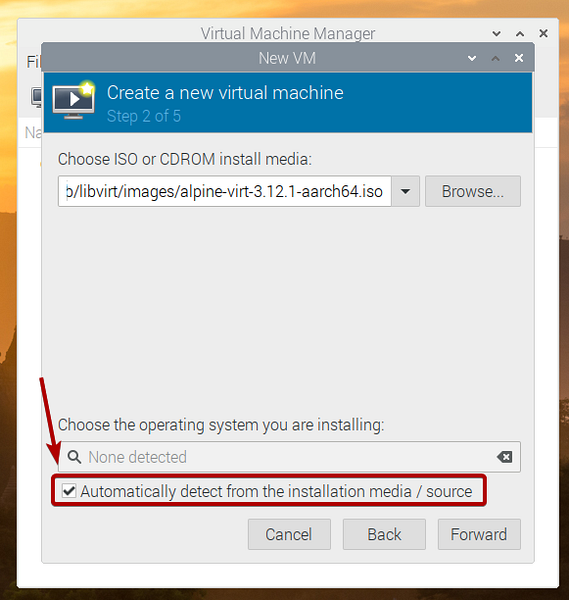
Search for alpine and select Alpine Linux 3.8 (or higher if it's available by the time you read this article) from the list.
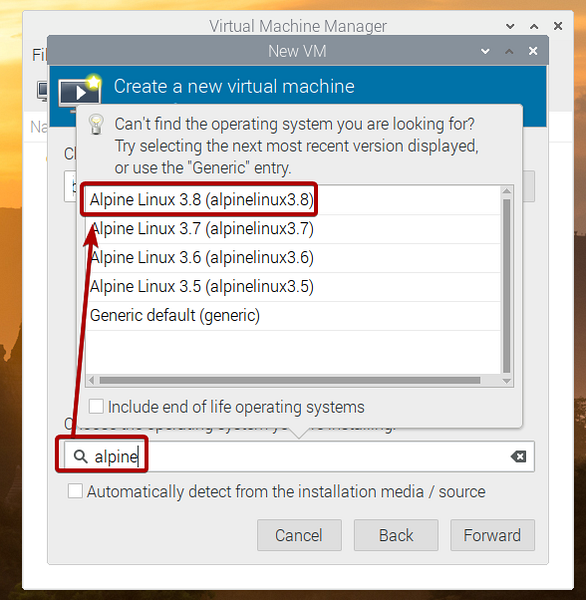
Click on Forward.

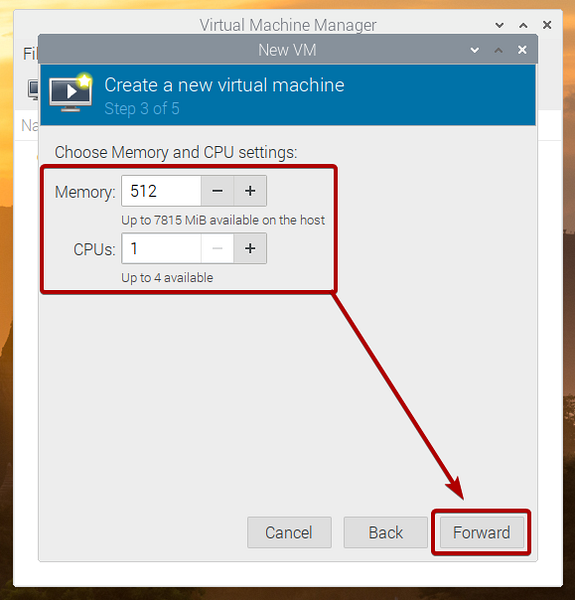
Set the amount of memory and the number of CPU cores you want for this virtual machine.
Once you're done, click on Forward.
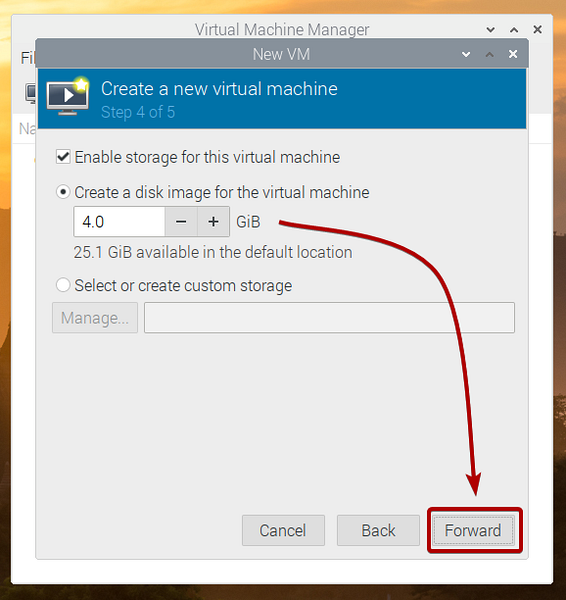
Set the disk size of this virtual machine and click on Forward.
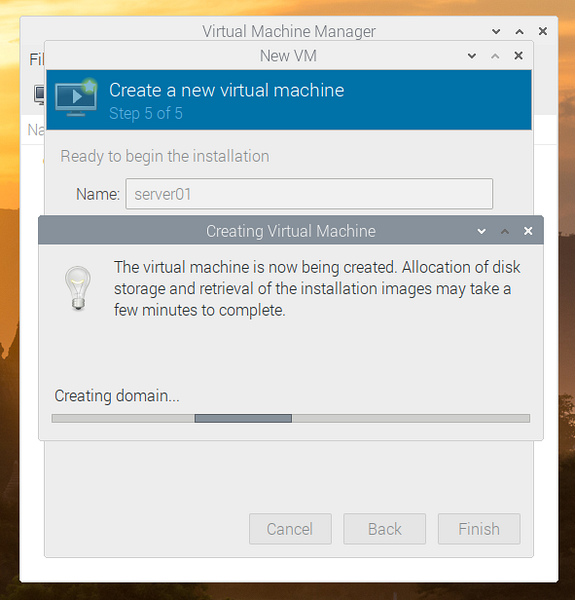
Type in a name for the virtual machine and click on Finish.
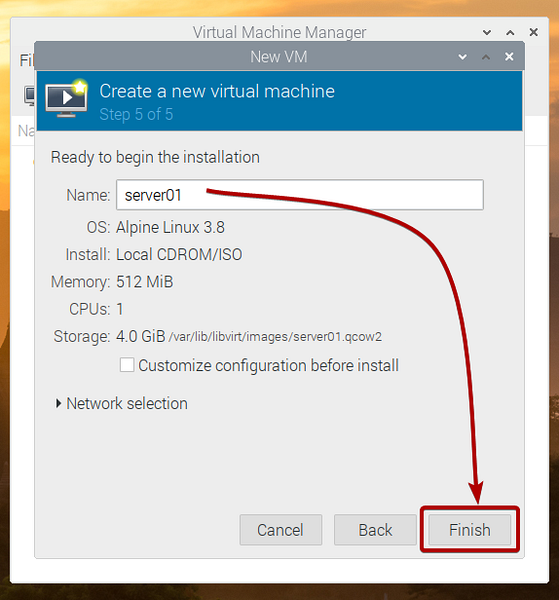
The virtual machine is being created. It may take a few seconds to complete.
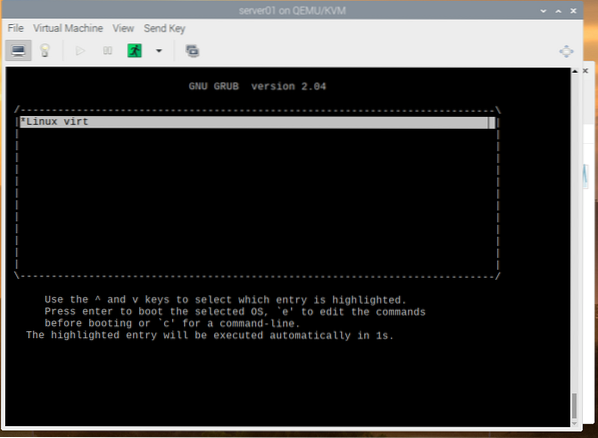
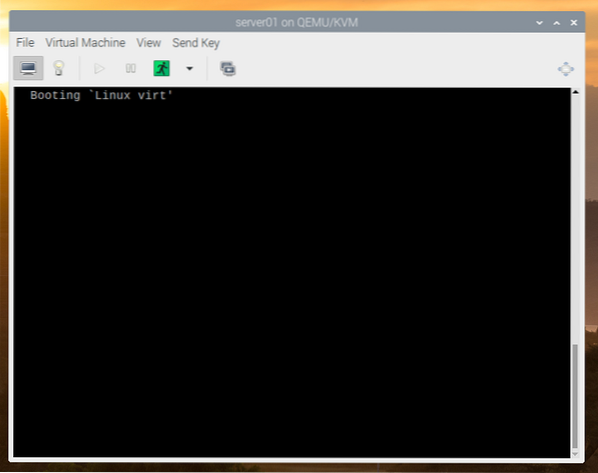
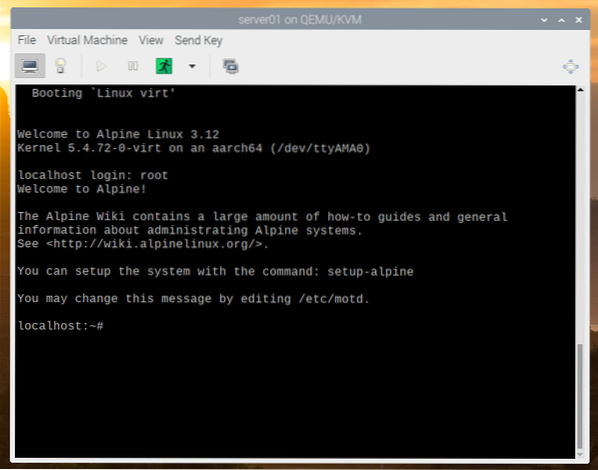
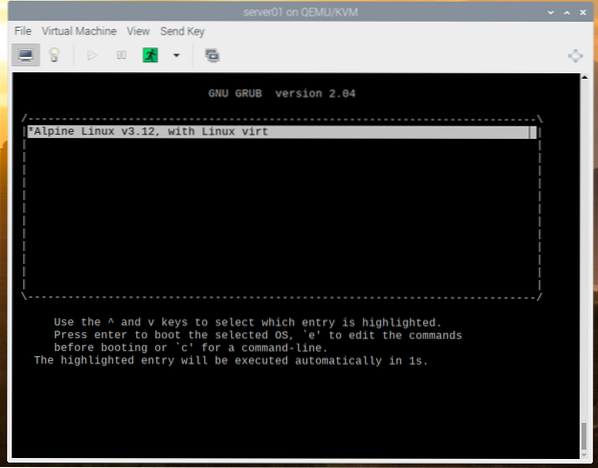
Once the virtual machine is created, it should boot from the Alpine ISO installation image, as you can see in the screenshot below.
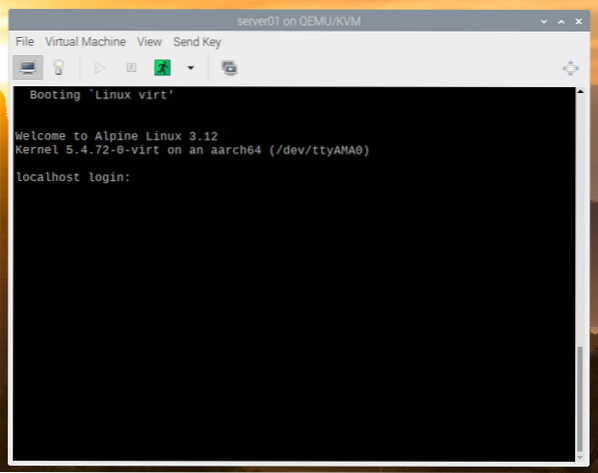
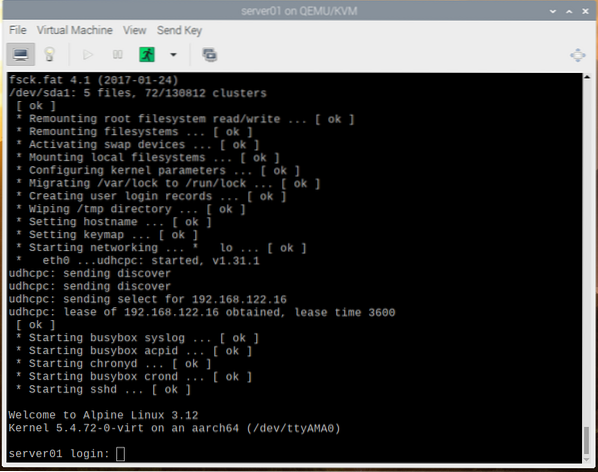
After a few seconds, you should see the Alpine Linux login window.
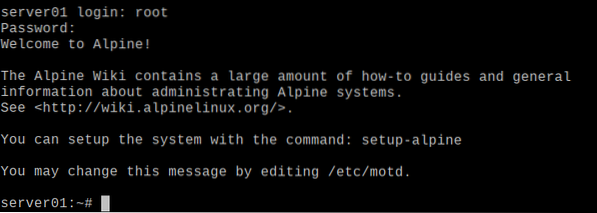
The default username is root. By default, no password is set for the root user. So, just type in root and press <Enter>.
You should be logged in. You can try out Alpine Linux from here.
If you like Alpine Linux and want to install it permanently on the hard disk of the virtual machine, run the following command:
$ setup-alpine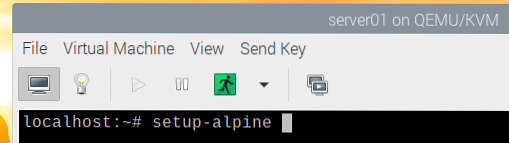
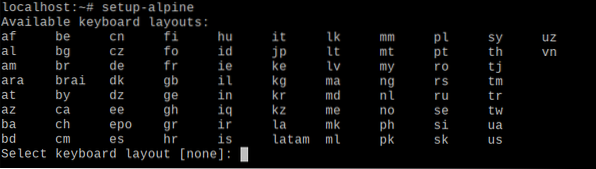
Alpine Linux setup is being initialized. It may take a few seconds.

Shortly, you should see the following window.
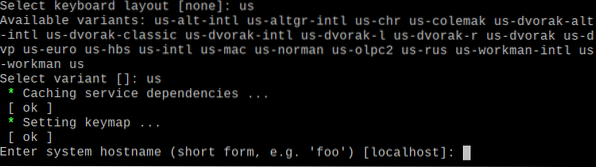
To set a keyboard layout, type in the 2-letter keyboard layout code from the list and press <Enter>.
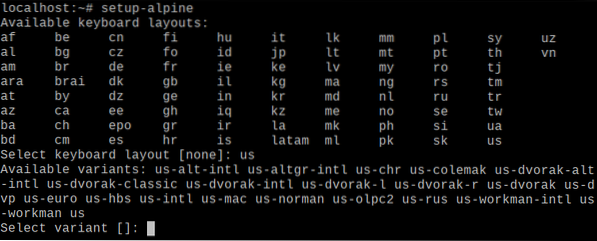
To set a keyboard layout variant, type in the keyboard layout variant code from the list and press <Enter>.
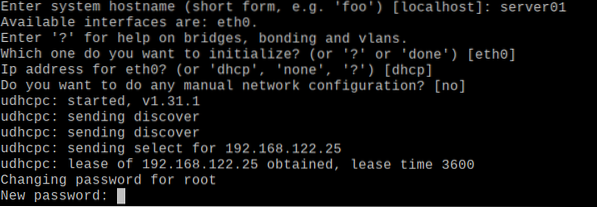
Type in the hostname and press <Enter>.
Press <Enter>.

Press <Enter>.

Press <Enter>.

Type in your desired root login password and press <Enter>.
Re-type the root login password and press <Enter>.

The setup wizard is being initialized. It may take a few seconds.

Once you see the following window, press <Enter>.

Press <Enter>.

Press <Enter>.

You may see the following error while installing Alpine Linux on the disk.
At times, Alpine Linux fails to connect to the internet and fetch the Alpine package repository mirror database. This is when you see this error. Luckily, it's easy to solve.
Press f and then press <Enter> as many times as you see this error.
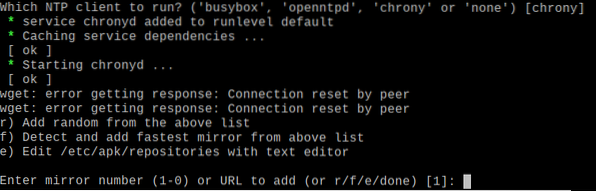
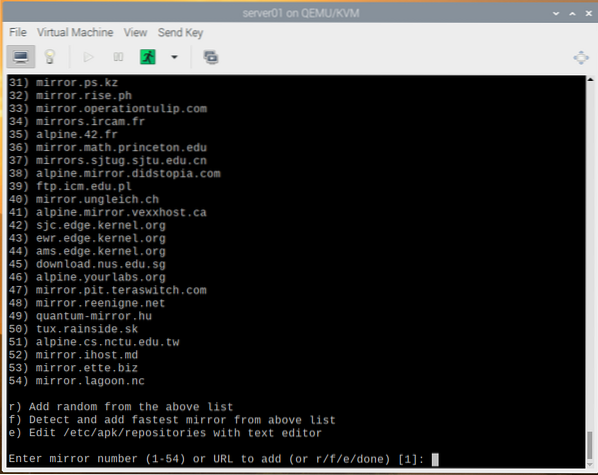
Once you see the mirror list, select one of the mirrors (by typing in the mirror number) and press <Enter>.
You can also press f and then press <Enter> to let Alpine automatically pick the fastest mirror.
Once a mirror is selected, you should see the following window.
Press <Enter>.

OpenSSH server should be installed.

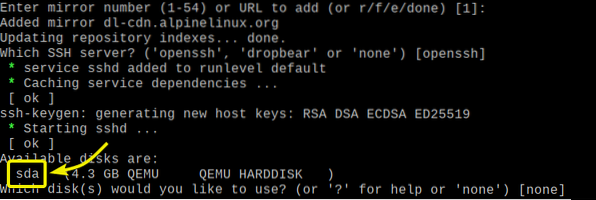
Now, Alpine should tell you to select a disk where you want to install Alpine Linux.
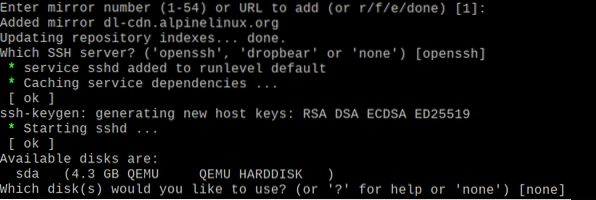
We want to install it on the virtual hard disk sda. So, type in sda and press <Enter>.
Type in sys and press <Enter>.

Press y, and then press <Enter> to confirm the installation.
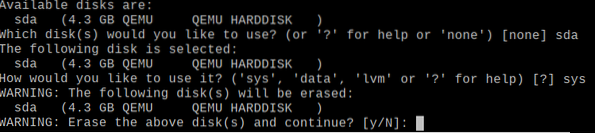
Alpine is being installed on the virtual hard drive. It may take a few minutes to complete.

At this point, Alpine should be installed.
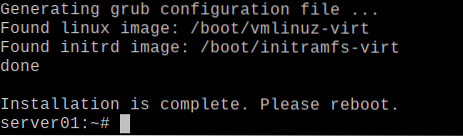
Reboot the virtual machine with the following command:
$ sudo reboot
The next time the virtual machine boots, it will boot Alpine Linux from the virtual hard disk.
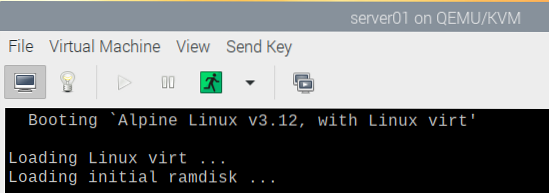
Alpine Linux is being booted from the virtual hard disk.
Once Alpine Linux is booted, you should see the login window.
Type in root as the username and the login password you've set earlier to login to Alpine Linux.
You should be logged in to Alpine Linux.
Once you're logged in, you should be able to run any command you want.
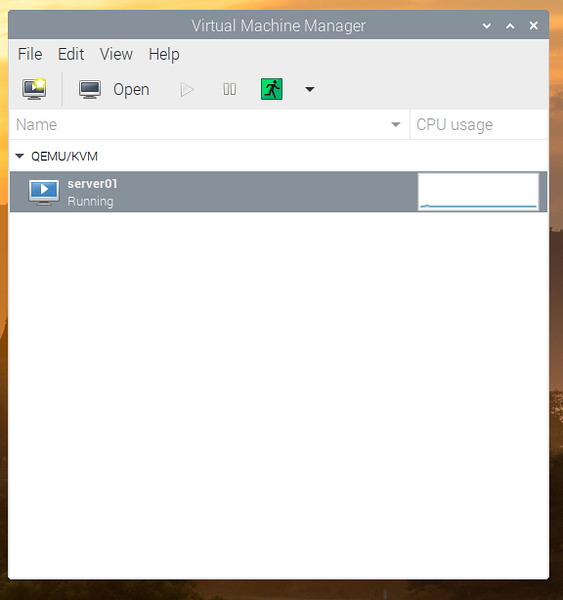
The Virtual Machine Manager app should show all the KVM virtual machines you've created in the dashboard. You can control your virtual machines from here.
Conclusion
In this article, I have shown you how to enable the Raspberry Pi OS 64-bit kernel and install KVM on the Raspberry Pi OS. I have also shown you how to install Alpine Linux as a KVM virtual machine on the Raspberry Pi OS. On Raspberry Pi OS, hardware acceleration for the KVM virtual machines is still not available. It may be available in a future update of the Raspberry Pi OS. But for now, you can only run lightweight operating systems in KVM virtual machines. If you want to run hardware accelerated KVM virtual machines on your Raspberry Pi 4 right now, use Fedora 33 as the KVM host on your Raspberry Pi 4.


