OpenVPN is a free VPN service for secure remote access of your server/machine. It gives you the capability to encrypt your web traffic and route it securely. OpenVPN enables you to have complete control of your tunneled traffic because the server and client both are under your surveillance.
It will not only unblock all sites at a locally restricted internet connection ad-free but will also protect your traffic at an insecure open/public Wi-Fi.
Requirements
Following are the few requirements for setting up OpenVPN;
- Ubuntu Server (preferably on any cloud)
- The server should have an Open Port to listen for incoming VPN connections
- Client Machine (preferably with Bash Environment)
Setting up OpenVPN
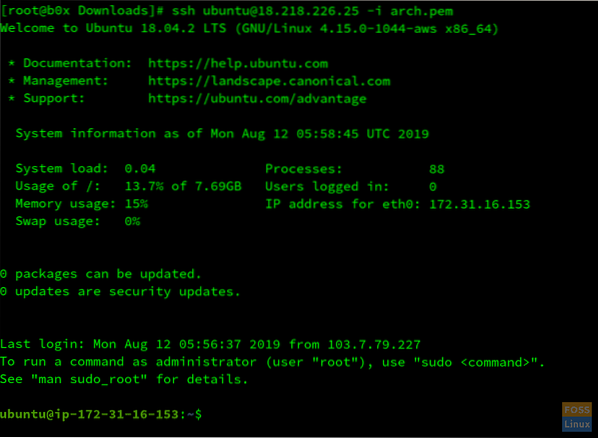
Connect to your Ubuntu Server using ssh or any other remote access protocol.
$ ssh ubuntu@[ip address of your Ec2 Instance] -i key.pem

Update your server. Run the following command;
$ sudo apt update && sudo apt upgrade -y
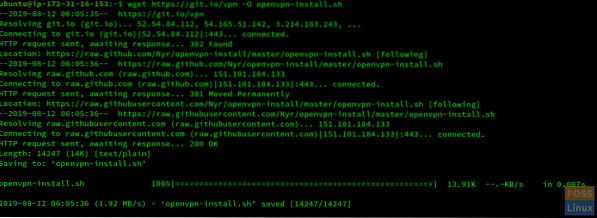
Now download the OpenVPN script with the following command;
$ wget https://git.io/vpn -O openvpn-install.sh

You have to run the script and provide the details it asks. Enter the following command;
$ sudo bash openvpn-install.sh
It has automatically detected your private IP. Press Enter. It will prompt you to provide your public IP.

Now it will ask you to specify the protocol [TCP, UDP]. TCP is recommended. To choose TCP, Enter 2.

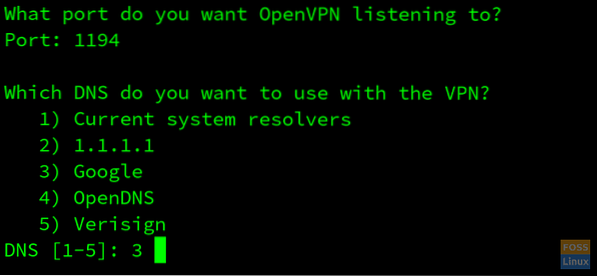
Now OpenVPN will ask you the listening port. Specify an open port.

You have to configure the DNS services you intend to use. Recommended DNS are Google & Open DNS.

Your OpenVPN server has successfully been configured. Now give a name to your client script. Press Enter & wait for the installation to complete.

Transfer this file to your client machine. There are a lot of ways to transfer files on the command line. We will be making python server on Ubuntu to transfer our file from server to client.
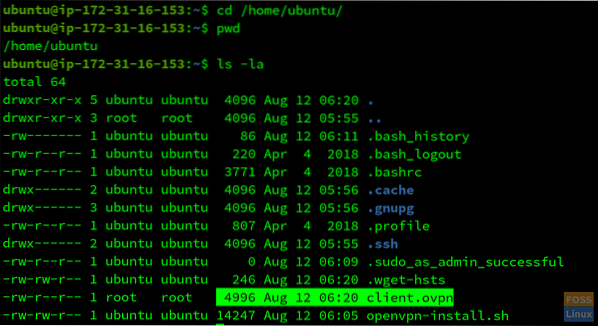
Switch to the directory where the client.ovpn file is stored. In this case, it is stored in /home/ubuntu/ directory.
$ cd /home/ubuntu/
Enter$ ls-la to confirm that file exists in the current directory.

To start a simple python server, enter the following commands.
In the case of python2, enter;
$ sudo python -m SimpleHTTPServer
In the case of Python3, enter;
$ sudo python3 -m http.server

Our server is listening on port 8000. Go to your client machine terminal and download the client.ovpn file by entering the following command;
$ wget http://18.218.226.25:8000/client.ovpn

Remember to replace the Public IP, Port number, and the name of your file.
Now your file has successfully been transferred. You can initiate the connection by entering on your client machine;
$ sudo openvpn client.ovpn
To confirm your OpenVPN is running, go to Google & write “My IP.” If the IP is the same as the Public IP of your server, you have successfully configured the OpenVPN.
Conclusion
OpenVPN is a free service, contains no ads and encrypts our traffic hence bypassing URL & Content-based firewall/Proxy filters. It is easy to configure and gives us control of our tunneled traffic.
 Phenquestions


