Installing Apache Kafka
First update the package repository cache of your Ubuntu server with the following command:
$ sudo apt-get update
The package repository cache should be updated.

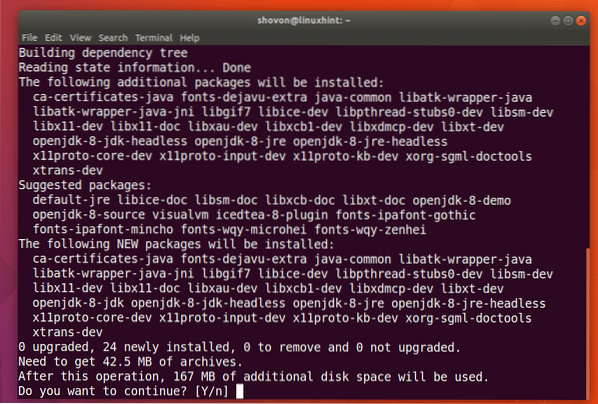
Apache Kafka depends on Java. You can install OpenJDK 8 on Ubuntu 17.10 from the official package repository.
Run the following command to install OpenJDK 8 on Ubuntu 17.10:
$ sudo apt-get install openjdk-8-jdk
Now press 'y' and then press
OpenJDK 8 should be installed.
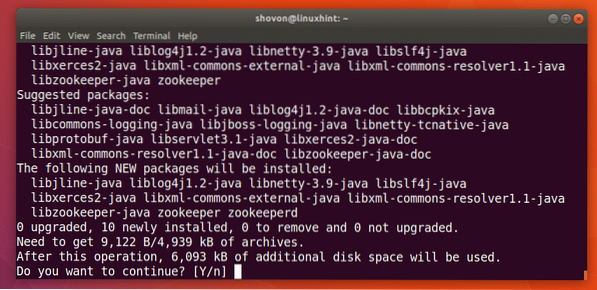
Now you have to install zookeeper. It is available in the official package repository of Ubuntu.
To install zookeeper, run the following command:
$ sudo apt-get install zookeeperd
Now press 'y' and then press
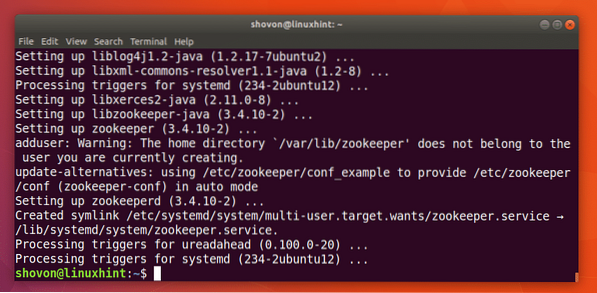
zookeeper should be installed.
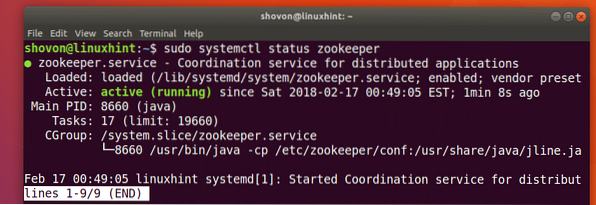
You can run the following command to check whether zookeeper is running:
$ sudo systemctl status zookeeperAs you can see from the screenshot below, zookeeper is running.
If it's not running on your machine for some reason, you can start zookeeper with the following command:
$ sudo systemctl start zookeeper
You should add zookeeper to the system startup. So it will start automatically on boot.
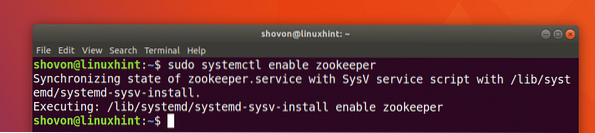
Run the following command to add zookeeper to the system startup:
$ sudo systemctl enable zookeeper
zookeeper should be added to the system startup as you can see from the screenshot below.
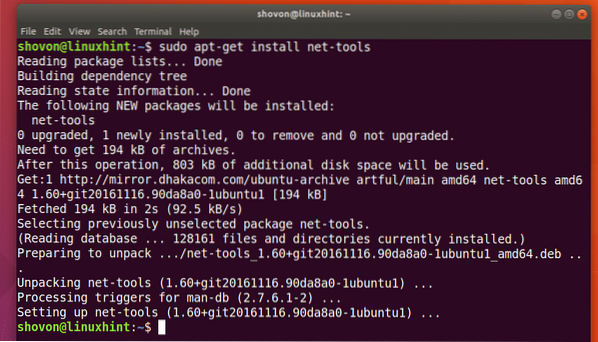
I need netstat command which is provided by the net-tools package.
Now install net-tools package with the following command:
$ sudo apt-get install net-tools
net-tools package should be installed.
Now you can run the following command to check whether zookeeper is running on port 2181.
$ sudo netstat -tulpen | grep 2181As you can see it is running on port 2181.

Now run the following command to navigate to the ~/Downloads/ directory in your users HOME directory:
$ cd ~/Downloads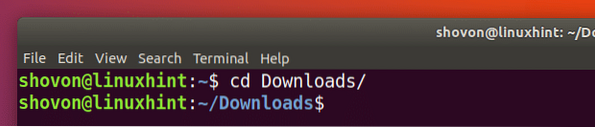
Now you have to Download Apache Kafka. At the time of writing, the latest version of Apache Kafka is v1.0.0.
Run the following command to download Apache Kafka 1.0.0 with wget:
$ wget http://www-eu.apache.org/dist/kafka/1.0.0/kafka_2.12-1.0.0.tgz
Apache Kafka compressed archive should be downloaded.

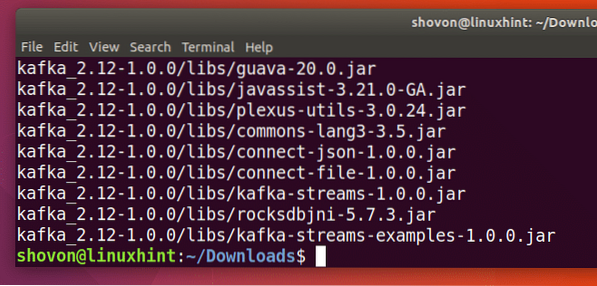
As you can see from the output of ls command, the filename of Apache Kafka archive is kafka_2.12-1.0.0.tgz

Now create a directory Kafka/ in the /opt directory with the following command:
$ sudo mkdir /opt/KafkaA directory /opt/Kafka should be created. This is where I will extract the archive.

Now extract the Apache Kafka archive in the /opt/Kafka directory with the following command:
$ sudo tar xvzf kafka_2.12-1.0.0.tgz -C /opt/Kafka
The archive should be extracted.
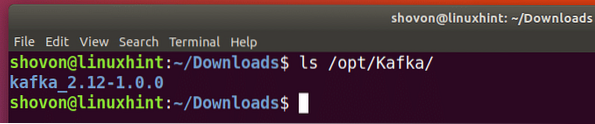
You can run the following command to check the directory name:
$ ls /opt/KafkaNote that directory name.
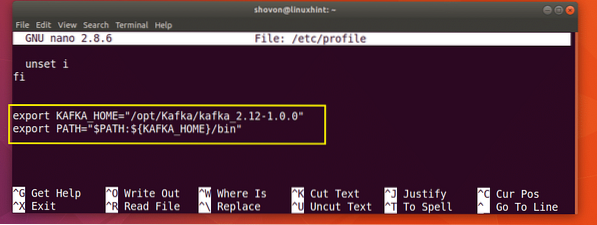
Now open /etc/profile with the following command:
$ sudo nano /etc/profile
Add the following lines to the end of the file and save it.
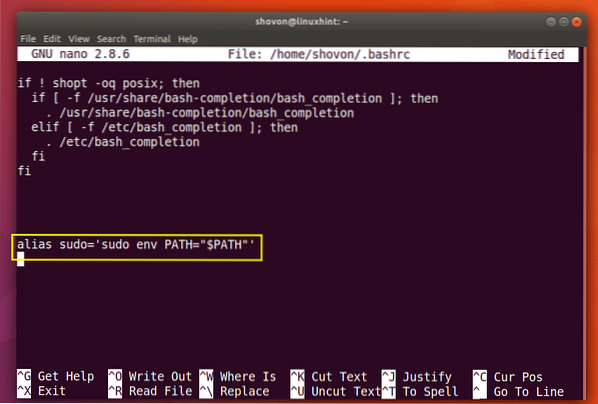
Now open the ~/.bashrc file with the following command:
$ sudo nano ~/.bashrc
Add the marked line to the end of the file as save it.
Now restart your computer with the following command:
$ sudo reboot
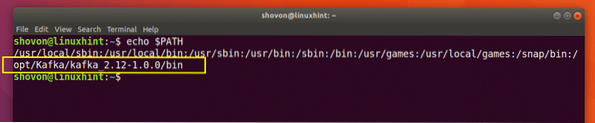
Once your computer starts, you can check whether the environment variables are added as follows:
$ echo $KAFKA_HOME
Now for making our life easier, make a symbolic link of Kafka server.properties file as follows:
$ sudo ln -s $KAFKA_HOME/config/server.properties /etc/kafka.properties
As you can see from the screenshot below, the symbolic link is created.

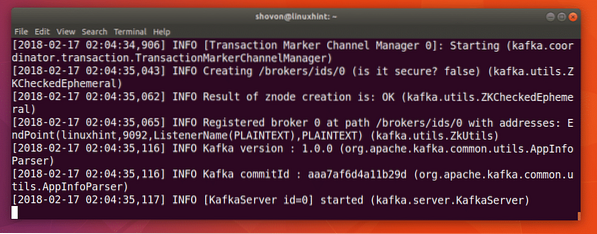
Now you can start Apache Kafka server with the following command:
$ sudo kafka-server-start.sh /etc/kafka.properties
Apache Kafka server should be started.
Testing Apache Kafka Server
You can create a test Topic testing on Apache Kafka server with the following command:
$ sudo kafka-topics.sh --create --zookeeper localhost:2181 --replication-factor 1--partitions 1 --topic testing
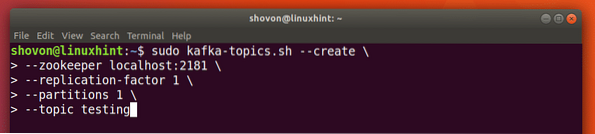
A testing topic should be created as shown in the screenshot below.

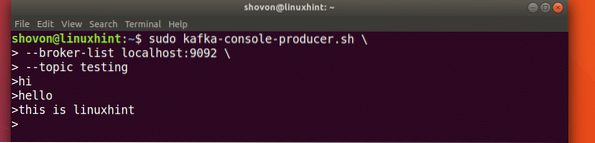
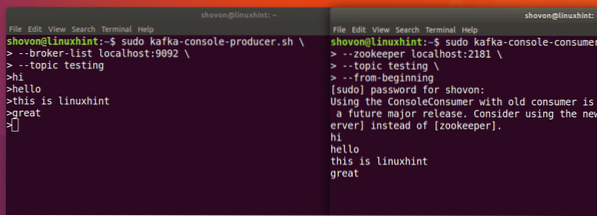
Now run the following command to use Kafka Producer API to send some message to the testing topic:
$ sudo kafka-console-producer.sh --broker-list localhost:9092 --topic testing
Once you press

Just type in something and press
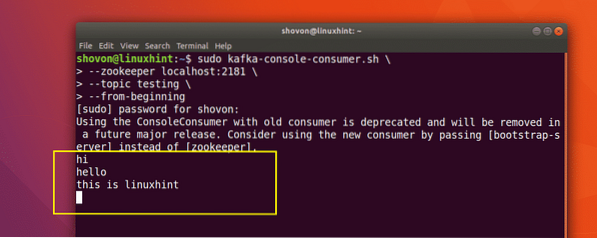
Now you can use the Kafka Consumer API to fetch the messages/lines from the testing topic with the following command:
$ sudo kafka-console-consumer.sh --zookeeper localhost:2181 --topic testing --from-beginning

You should be able to see the messages or lines you have written using the Producer API as marked in the screenshot below.
If you write a new message using the Producer API, it should also be displayed instantly on the Consumer side as shown in the screenshot below.
So that's how you install Apache Kafka and verify its working on Ubuntu 17.10 Artful Aardvark. Thanks for reading this article.


