In the software development industry, Git has emerged as a revolutionary version control system. Git was developed by Linus Torvald (the creator of Linux) and has now become the world's most popular version control system. Git has outshined every other version control system, including CVS and Subversion.
A version control system is a system that keeps a record of the changes in a file (or multiple files) over a period of time. This is so that a user may return to a previous version of the system's software whenever necessary. This article shows you how to install and configure Git in Ubuntu 20.04 LTS.
First, we will get started with the installation using the APT method.
Installing Git Using APT Cache
Before installing Git in Ubuntu, first, update your Ubuntu system's package repository.
$ sudo apt update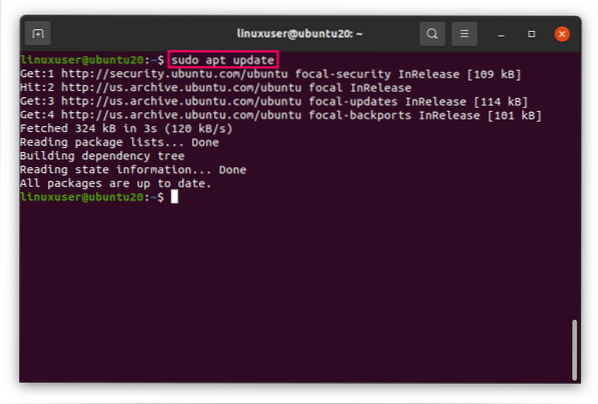
And now, upgrade the APT cache, as well.
$ sudo apt upgrade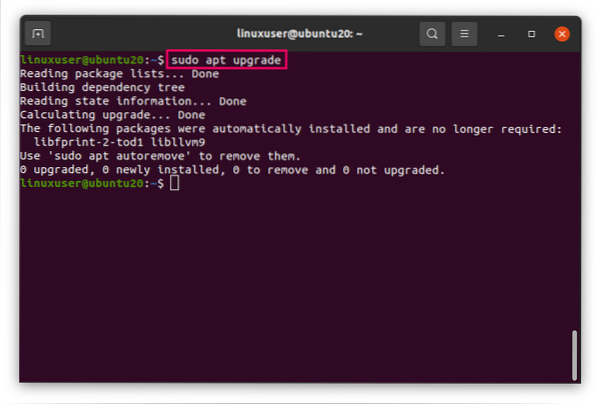
After updating and upgrading the system's package repository, install Git using the following simple command.
$ sudo apt install git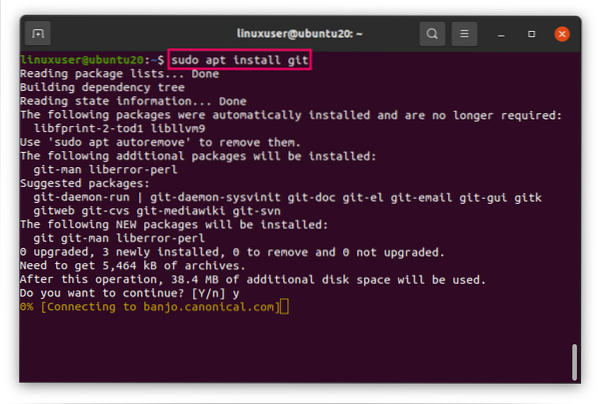
The installation of Git has now begun. Git will be installed onto your Ubuntu system shortly.
Once Git is installed, issue the following command to verify the installation and check the version of Git.
$ git --version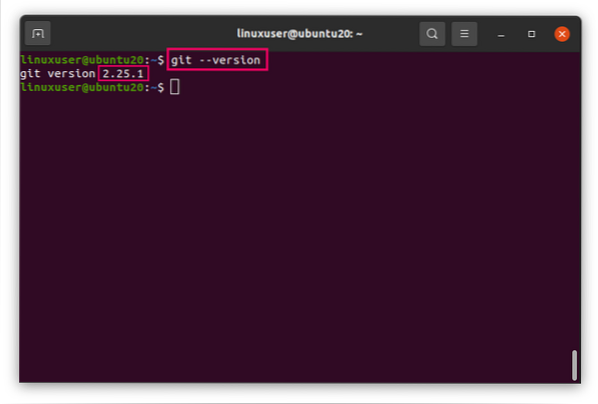
As you can see, version 2.25.1 of Git has been installed.
Next, we will configure Git in Ubuntu.
Configuring Git in Ubuntu 20.04
Now, after installing Git, to commit these changes and comment, you will first need to configure it. The git config command is used to configure Git.
To configure the username, issue the following command.
$ git config --global user.name "Your User Name"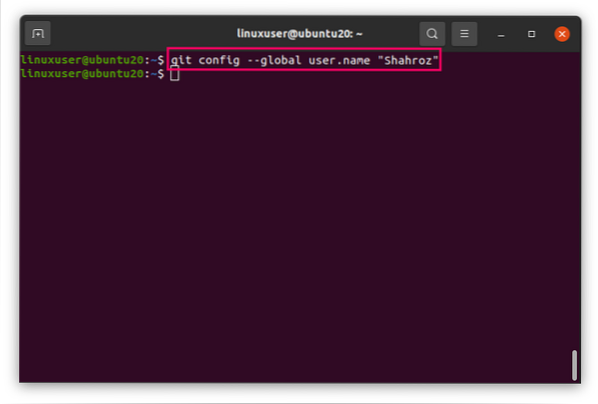
After setting the username, set the email, as well.
$ git config --global user.email "Your Email Address"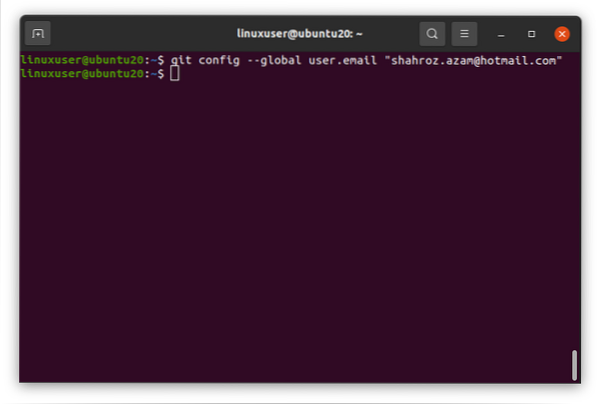
Once you are done setting your username and email, you can check these configurations by entering the following command.
$ git config --list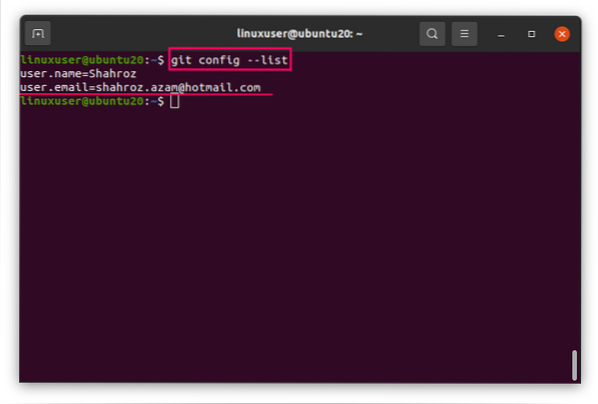
This command will list the configuration settings stored in the Git configuration file ~/.gitconfig.
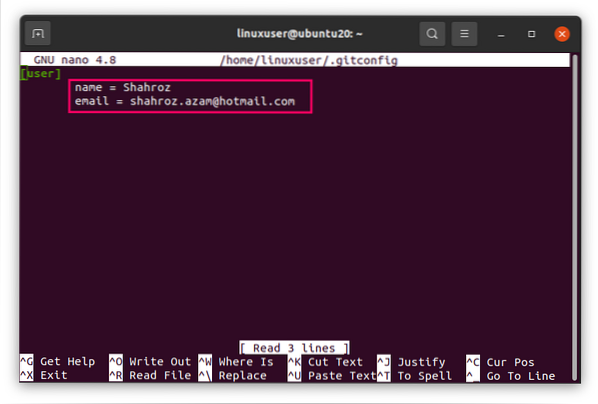
To configure more, you can directly edit the Git configuration file by opening it using the nano editor with the following command.
$ sudo nano ~/.gitconfig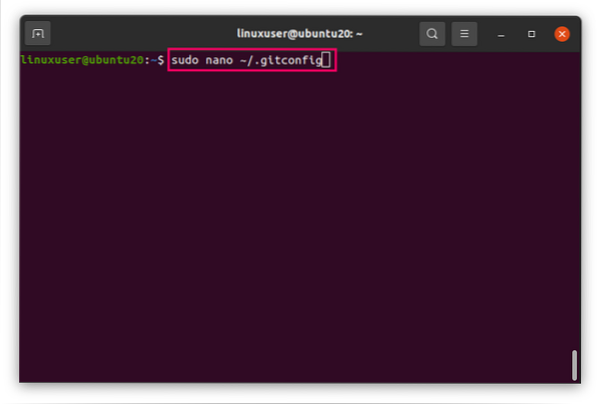
Otherwise, you can issue the following command in the terminal to learn more about how to configure Git.
$ git config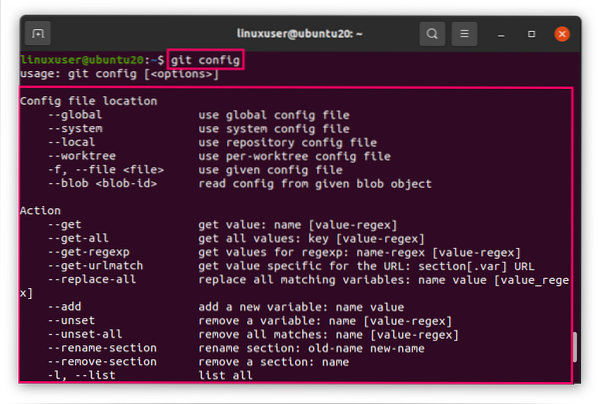
Wrapping Up
This article showed you how to install Git in Ubuntu 20.04 LTS using the APT package repository. The article also showed you how to start using Git by configuring the Git configuration file.


