Prerequisites
Before starting this tutorial you much do the following tasks.
- Make the system up-to-date
Run the following command to update the current centos operating system.
$ sudo yum -y update
- Install Java
Run the following command to check java is installed or not. If java is installed then it will show the version information of installed java. By, default, java is installed on centos server.
$ java -version
The above output shows java is installed in the current system and the version is “1.8.0_181”. But if java is not installed in your operating system then run the following command to install java.
$ sudo yum install java-1.8.0-openjdf-develJenkins Installation
Step-1: Download and install Jenkins package
Go to the following URL address to download the latest package for installing Jenkins.
https://pkg.jenkins.io/redhat-stable/
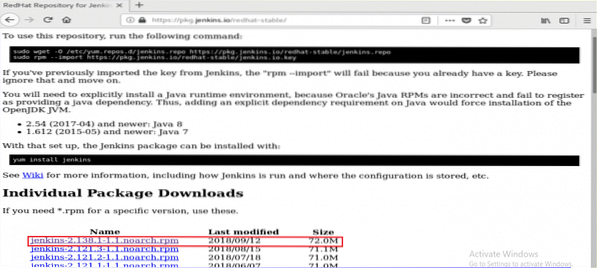
After download, install the package by running the following command.
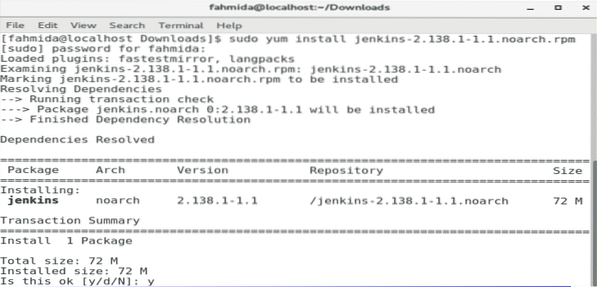
$ sudo yum install jenkins-2.138.1-1.1.noarch.rpm
During the installation, it will ask for permission to start the installation. Type 'y' to start the process.
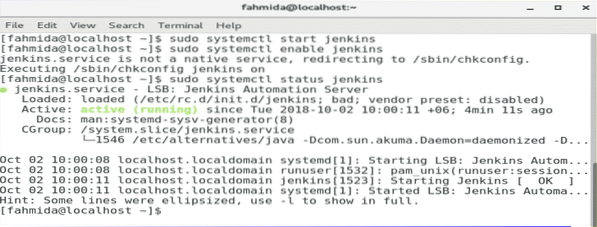
Step-2: Start and Enable Jenkins Service
Run the following systemctl commands to start, enable and check the status of Jenkins service.
$ sudo systemctl start jenkins$ sudo systemctl enable jenkins
$ sudo systemctl status jenkins
The following output will display if all the commands work successfully.
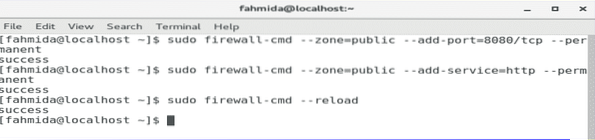
Step-3: Add the ports 8080 in firewall and http service.
$ sudo firewall-cmd --zone=public --add-port=8080/tcp --permanent$ sudo firewall-cmd --zone=public --add-service=http --permanent
$ sudo firewall-cmd -reload
If the 8080 port and http service are enabled properly then the following screen will appear with success message.
Step-4: Get the admin password
Run the following command for getting the default password to setup Jenkins. Save the password to use it in the next step.
$ sudo grep -A 5 password /var/log/jenkins/jenkins.log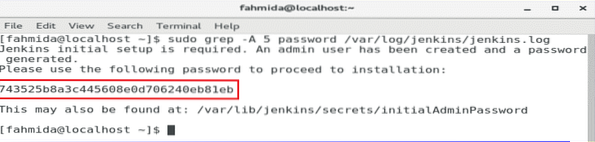
Step-5: Access the Jenkins Web portal
To start the setup process of Jenkins and open the web portal, type your IP address of the server with port 8080 in the address bar of your browser.
http://[ip-address]:8080
The IP address of my server is 10.0.2.15. So, I have used the following URL address to access Jenkins web portal.
http://10.0.2.15:8080
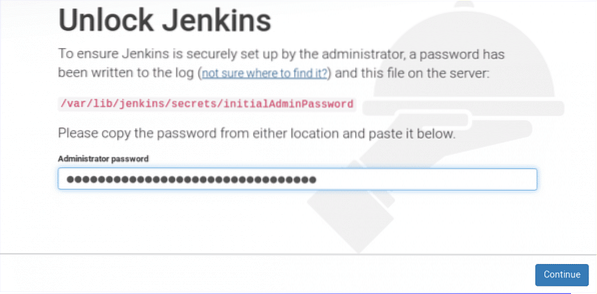
The following screen will appear after entering the URL address. Copy and paste the password that you have saved in the previous step. Click on Continue button.
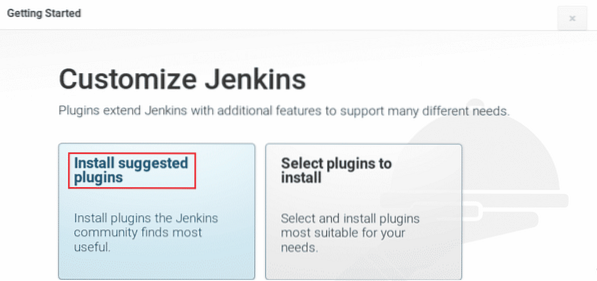
Two option will appear to install plugins. Select “Install suggested plugins” option.
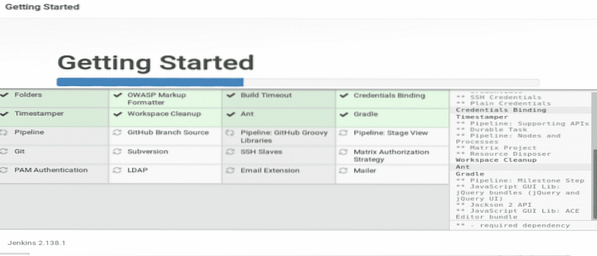
Plugins installation process will start and the following screen will appear. You have to wait for sometimes in this stage.
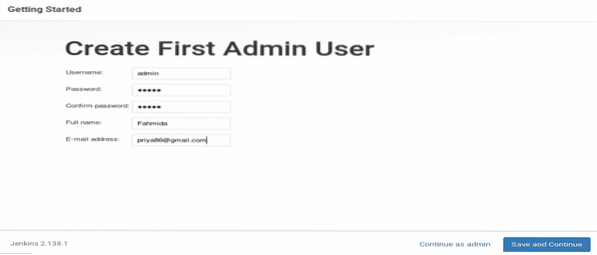
After completing plugins installation process, it will ask for creating a new admin user account. Create a new user account by filling up the following form and clicking 'Save and Continue' button.
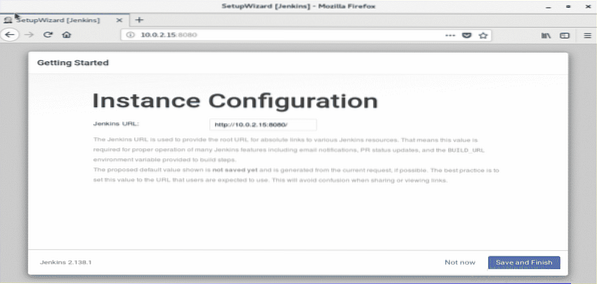
In the next step, it will ask for valid Jenkins URL to link with various Jenkins Resources. Enter the URL and click on 'Save and Finish' Button.
If all the above steps are completed properly then the following screen will appear.
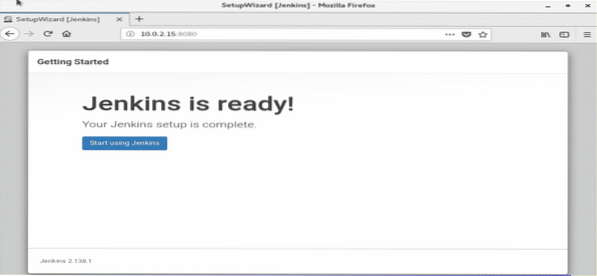
Click on 'Start using Jenkins' button to open Jenkins dashboard.
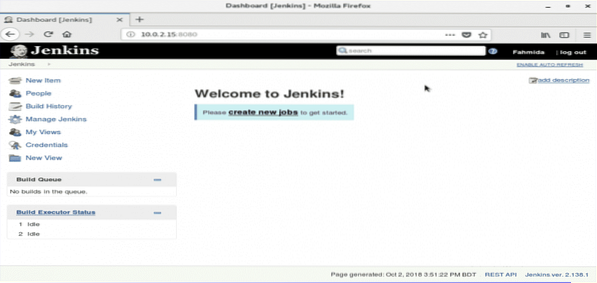
If the above screen appear then your Jenkins is properly ready to use. Congratulation.


