It's proven superiority has a high price: Slackware is not user friendly, not designed for that, but if you have free time to experiment and learn, any step using Slackware will probably be a great Unix class. Another important info is Slackware is not maintained by the open source community but by Patrick Volkerding, it's founder, he releases Slackware's new versions when he wants, after a couple of years without upgrades users don't know if the system was or wasn't discontinued until Patrick suddenly releases it.” (Source: Linuxlist)
This tutorial will show you how to install Slackware so you can get started quickly on becoming a Slackware linux expert. Let's get started with the installation now.
Get Slackware:
You can find Slackware's torrents at http://www.slackware.com/getslack/torrents.php , for this tutorial I installed the 32bit version after failing with 64 on a VM.
Installing Slackware:
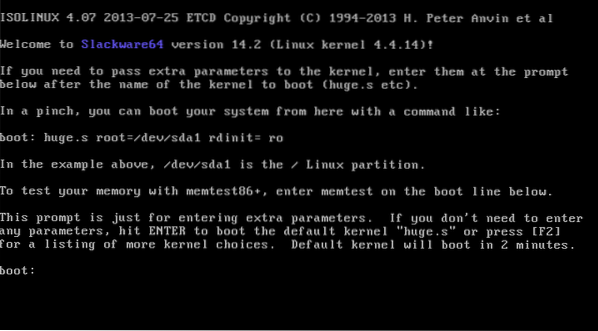
1) Press enter when meeting the first screen shown below.
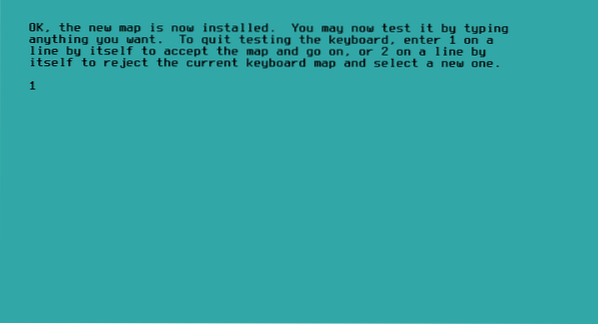
2) If you want an English US keyboard configuration press ENTER, otherwise press 1, Ill press 1 to show the screens:

3) Select any keyboard configuration you want and press OK

4) Confirm your choice by pressing 1 and ENTER
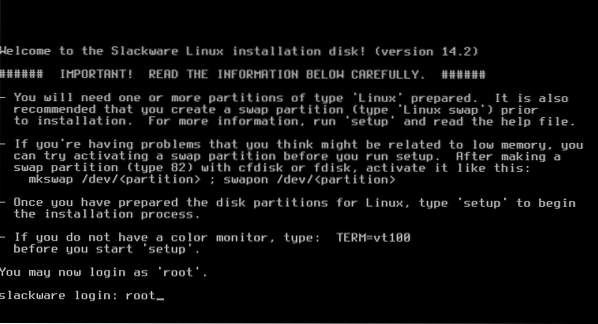
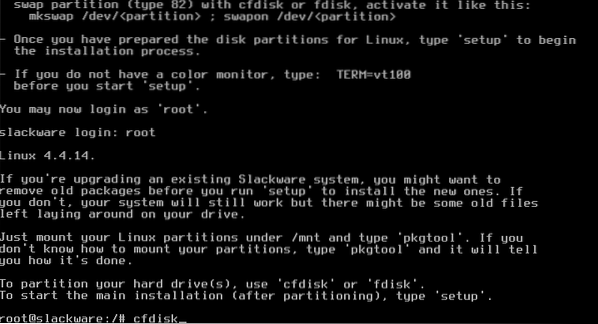
5) Login as root
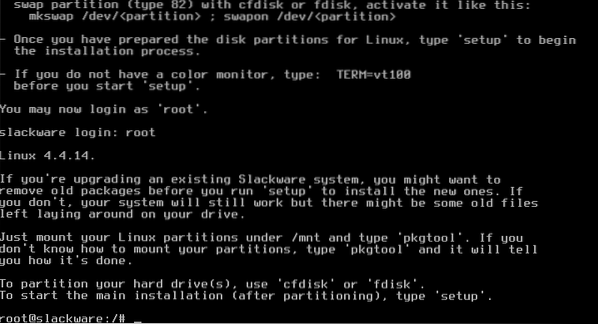
6)Now you can choose between fdisk and cfdisk, cfdisk is a lot easier, i'll use it. Type:
cfdisk
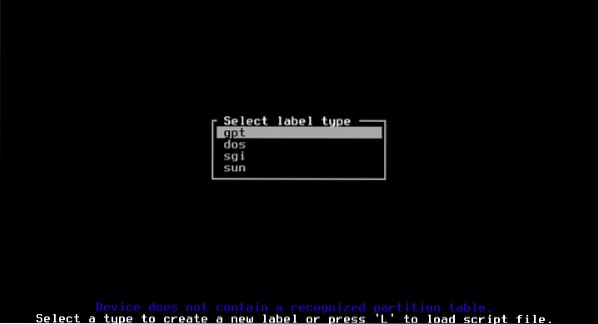
7)For new computers select gpt and for old ones dos.
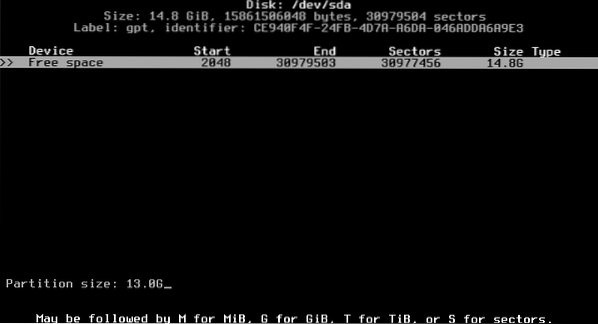
8) Select the free space and press ENTER on New.

9) Give the space you want, you use GB units as shown below by adding “G”
10) Then on the free space we create another partition for swap

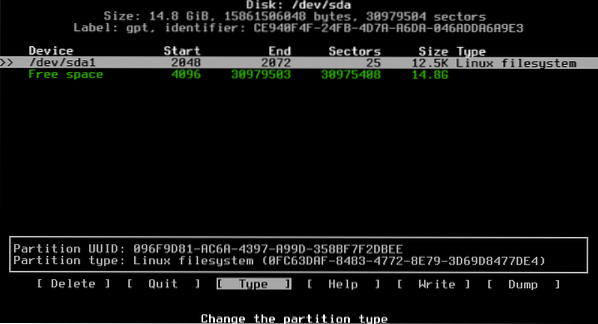
11) Now, we select the first partition, and press enter on TYPE
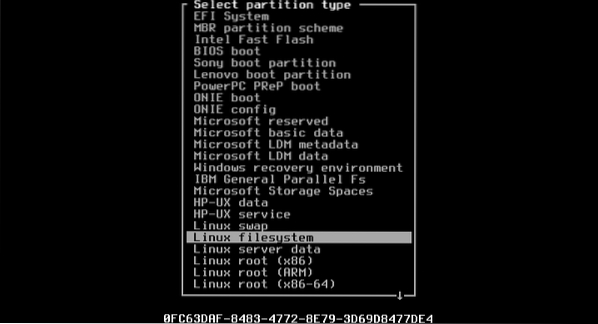
12)Then we'll select the second partition to set as Swap
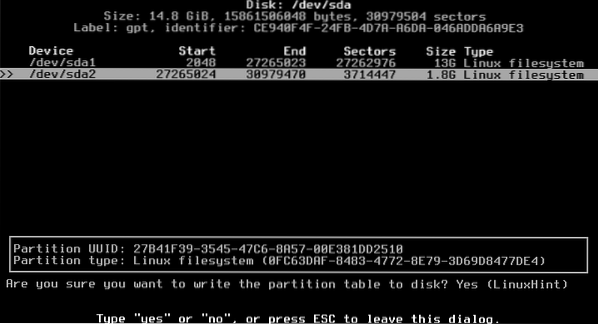
13) Now we'll write the partition table by pressing enter on WRITE and replying “yes” when asked

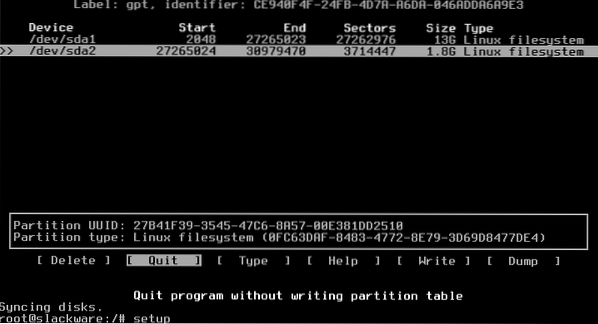
14) Quit cfdisk

15)We are back to the console, type:
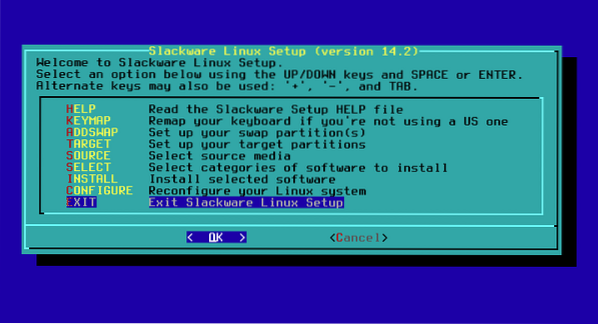
setup
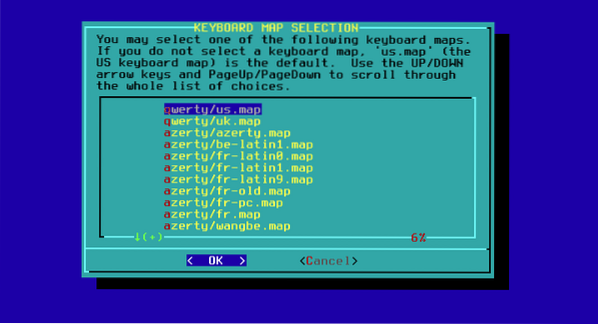
16) KEY MAP
Now we'll start a sequence of steps, select KEYMAP and press ENTER

Select again your keyboard
Confirm again by pressing 1 and ENTER

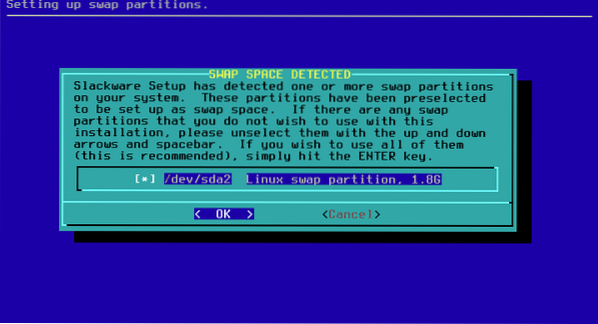
17) ADDSWAP: Select YES
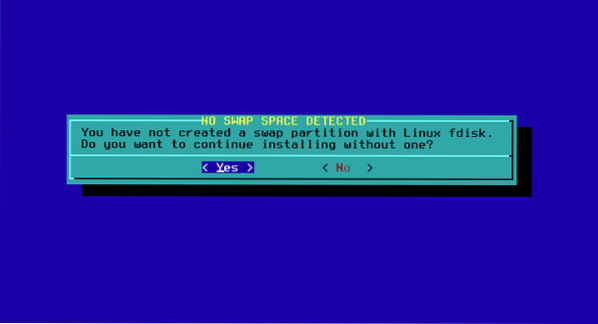
The installer will detect the Swap partition you defined when in cfdisk automatically.
Here you choose
Press OK and NO


18) TARGETHDD
Select your root partition , EXT and format.
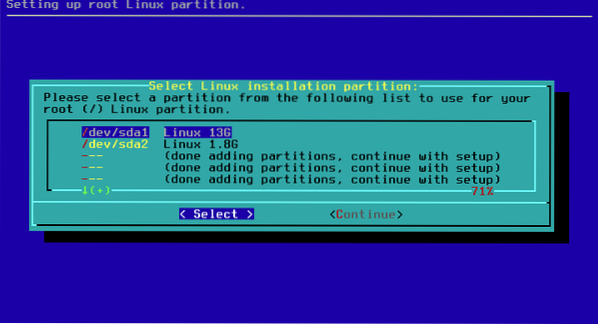
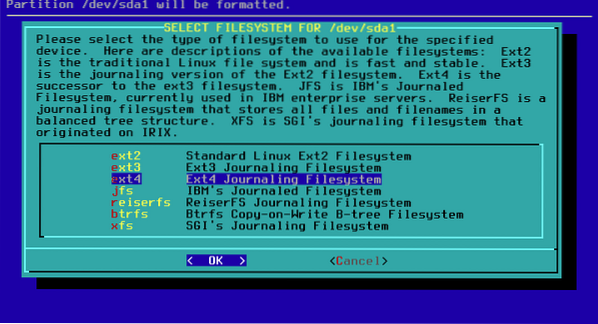


Press ok.
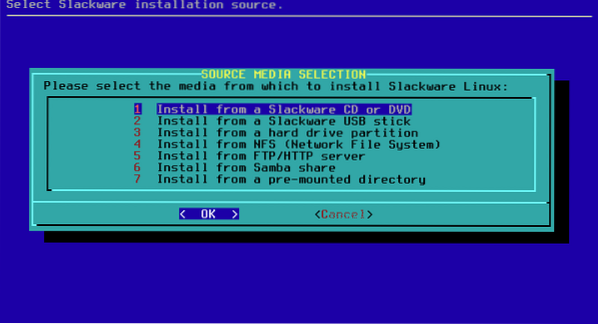
19) Source
Select auto and the recommended option

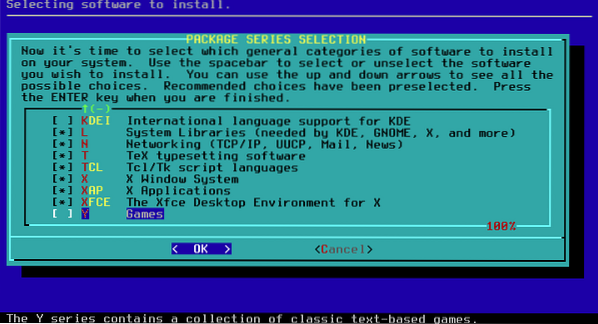
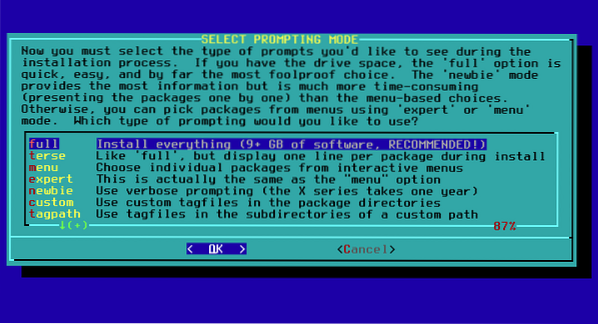
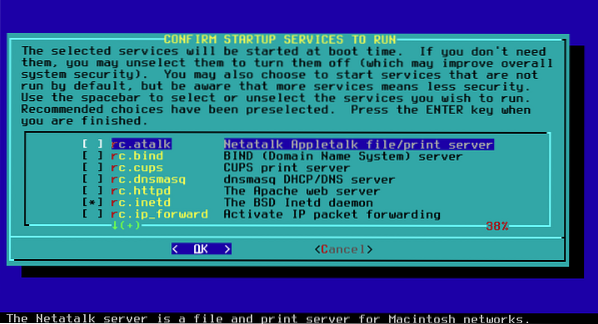
Now select the packages you want to install or unselect these you don't want, if you don't know uncheck Games and press OK and after that FULL.
Installation will begin and last for few minutes.

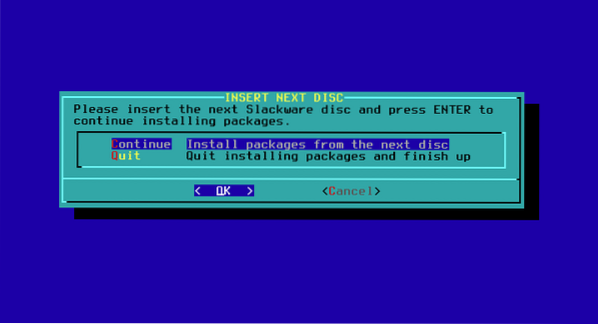
If you are using disc 1 installer, it will ask for the second one, you can attach it or move down to Quit and OK. The first disk is enough and contains all necessary packages to start.
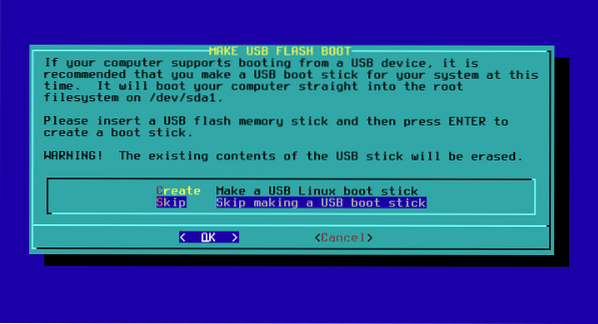
You will be asked if you want to create a USB stick, say no.
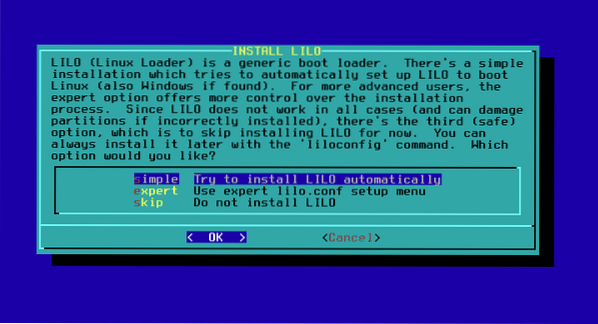
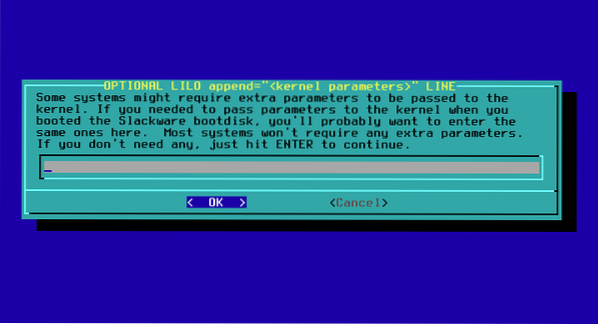
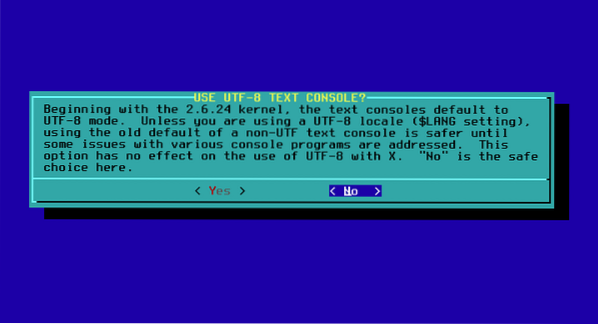
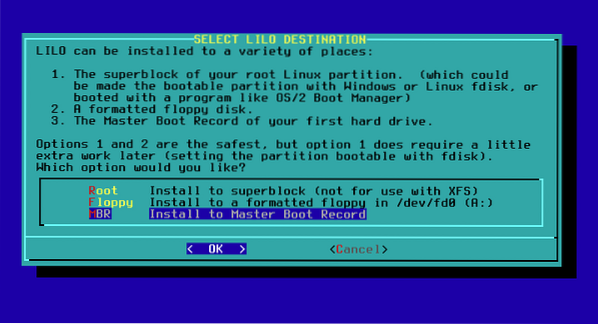
Now you'll be asked if you want to install LILO, if you are installing Slackware on a clean disk Install LILO, if you already have a master boot loader don't, I'm installing Slackware on a VM so I will proceed installing LILO, Standard and without additional parameters in the following 3 steps:
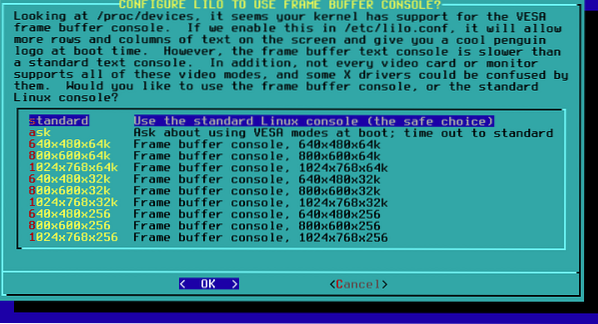
Select NO
Select the master boot record to install (MBR) LILO.
Select your mouse, normally the default option works.
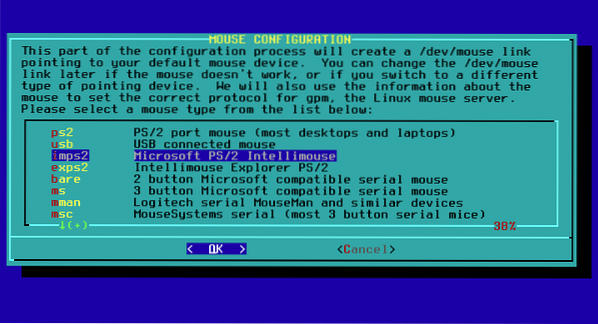
Confirm your mouse choice

When asked if configure the network say YES.

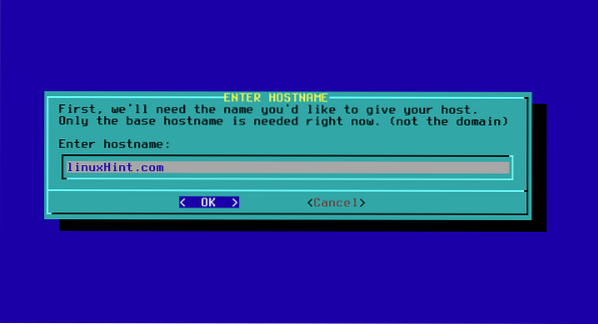
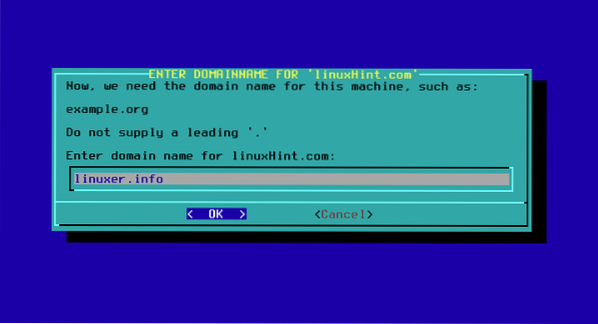
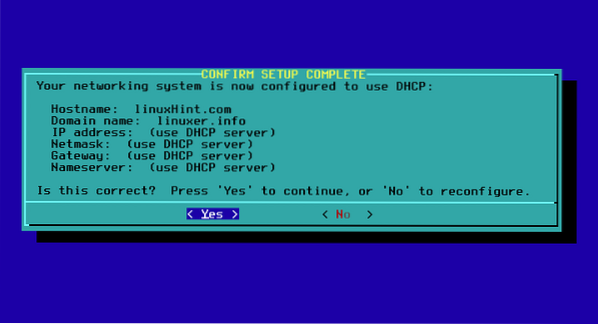
Input your hostname and domain name and leave DHCP default options and press “YES”.
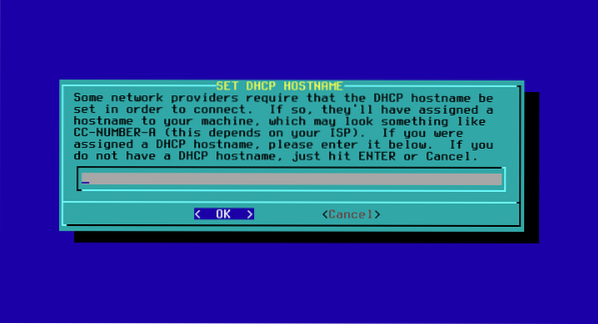
I left the default and pressed OK.
Select NO to fonts.

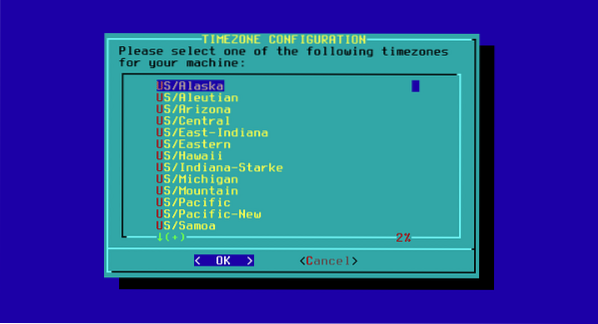
Select your timezone
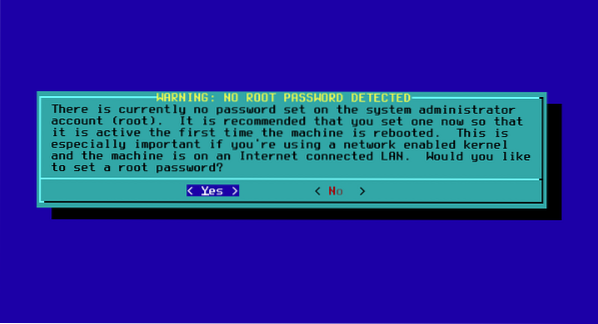
Select your root password.
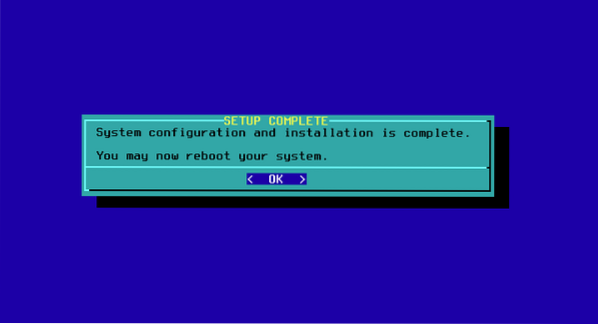
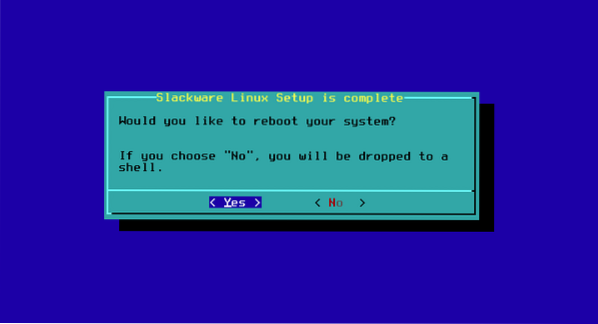
You'll be back to the main menu, go to EXIT, OK and YES, if you are dropped to a shell you'll run reboot and your new system will start.
I hope you enjoy Slackware!


