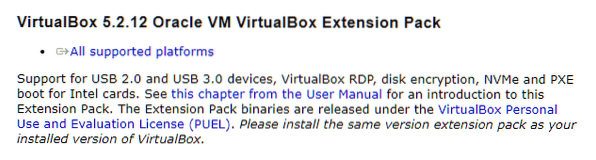
Functionalities such as USB 2.0 and 3.0 support, full disk encryption for your virtual disk images and even physical disk passthrough are available within this pack. A few extra functionalities include NVMe support, Remote Desktop and PXE boot for Intel chips.
Installation
To get your copy of the extension pack, visit the official VirtualBox site and scroll down to the Oracle section and download the extension pack for your running version of VirtualBox. Click on “All supported platforms” to get this file.
The file is about 20 MB in size and has the extension .vbox-extpack which is the same exact file for any host operating system be it Windows, Linux or macOS.
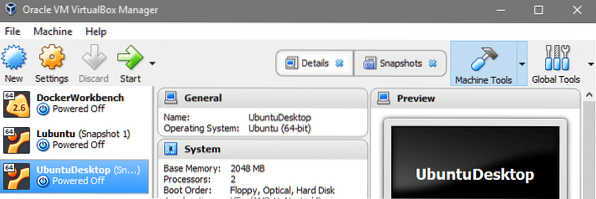
Once the file is downloaded, open up your VirtualBox manager, from the top menu select File → Preferences (Top-left corner) and a new VirtualBox Preferences window will pop up.
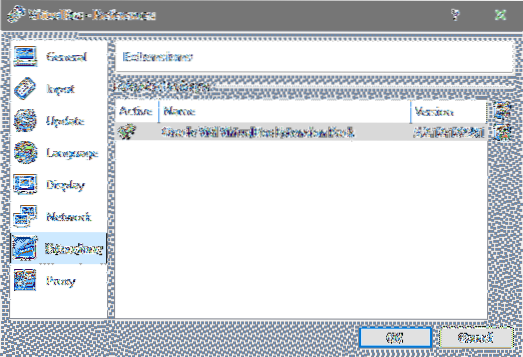
In this Window, select the Extensions option from the left-side menu.
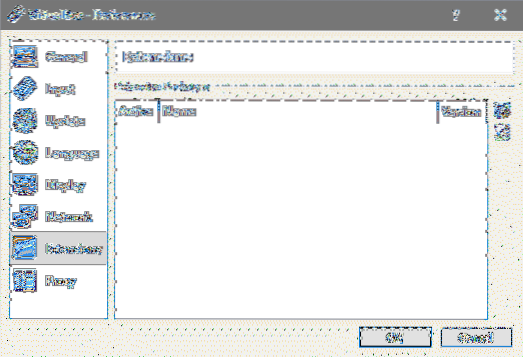
Use the icon on the right side which has a plus sign on it, to open File explorer and locate the Extension pack that we downloaded earlier, in your filesystem. Most likely, it is in your Downloads folder. Upon selecting and clicking OK, you will be informed that some of the system level software can harm your computer if they are untrusted.
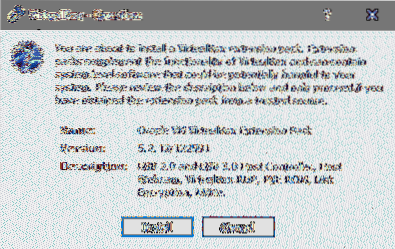
Since we obtained our extension pack from the official website, it is quite safe to install it. Click install and then Agree to the terms and services if you would like to use the extension pack.
You will then be prompted for your root or sudo password (for Linux users) and Windows users will be greeted by a familiar UAC prompt. In either case, give VirtualBox the permission to install the necessary packages.
Once the extension pack is installed, your Preferences → Extension window will show something like this.

Testing out New Features
Let's start using a few of the features that we now have at our disposal.
1. Full Disk Encryption
First and foremost would be full disk encryption. This is one of the best ways to ensure that your data inside the VM stays safe from the host.
There are cases where you may not trust the host operating system with your data or privacy, for example, if you are using a company laptop or some obscure OS with un-audited source code. Having your personal data inside a VM doesn't help very much, unless you have the entire disk encrypted, in which case, the host has fewer ways of getting that information.
To enable disk encryption select your virtual machine from the VirtualBox manager, right click and go to its settings. In the General settings you would notice that the Disk Encryption option is available. Enable it and select any of the cipher that you prefer and then set your password. Once that is done, click OK and it will encrypt the entire .vdi (virtual disk image) file where your OS resides. You can do this while creating a new VM or for your pre-existing VMs as well.
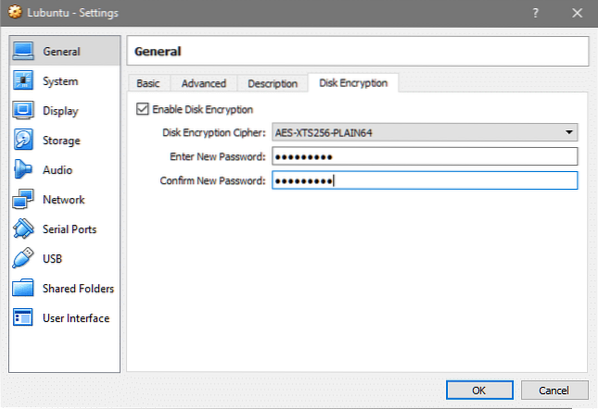
Depending on the actual size of the virtual disk it might take some time. Now everytime you boot your VM, you will be asked for a passphrase:
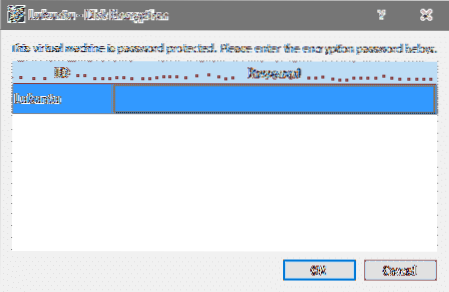
If you are already using full disk encryption from inside the VM, then this might not be necessary. But, of course, encrypting your disks in this way secures it against vulnerabilities in guest operating system as well.
2. USB 2.0 devices
If you have some data on a USB device and you want to transfer it to your VM, you would typically do that by copying the data to the host machine and then copy the data from there to the guest machine. You may also try using a shared folder to speed up the process, but there will be copying of data involved.
Wouldn't it be nice if you can just plug your USB device directly into your VM? Well this can be easily achieved once your extension packs are installed. Just go to your VM's settings as before, and select USB menu from the sidebar.
Settings → USB
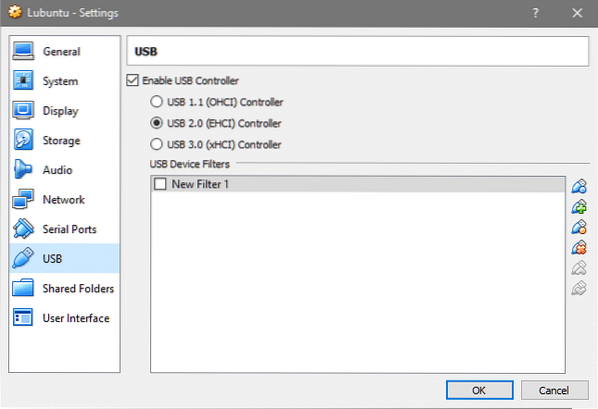
Select the kind of controller that your hardware offers. It can be USB 2.0 or USB 3.0. USB ports are backwards compatible so if you select 3.0 and use a 2.0 device that would still work.
You need not select any USB filtering for now, if you are just experimenting, but I urge you to explore further into it.Things can turn ugly if you select the wrong USB device. For example if your USB mouse is selected to be passed through to the VM, then your host machine, your main computer, has no mouse connected to it!
So for now, we shall leave the filtering part untouched and boot our VM, And once again use the Device option from the menu, go to USB option and select the USB device fitting the description of, say, our flash drive, as shown below.
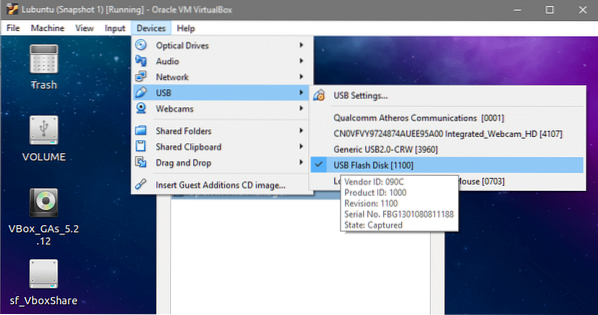
Once you select that, you will notice that a new media is mounted inside the guest operating system which contains all the data held by your flash device.
Once again, your host operating system will have no idea about the existence of this flash device plugged into its hardware. Your VM would have taken control of the USB interface completely.
Removing Extension Pack
To ensure that removing the extension pack doesn't break any of your VM, make sure that none of the feature like disk encryption or USB passthrough are actively being used.
With USB devices it is a simple matter of powering down all your VMs and none would use any physical interface avaible to them. With disk encryption, however, it is recommended that you go back to the Settings → General → Disk Encryption and uncheck the Enable Disk Encryption option. This is because your data is encrypted even at rest (on your hard disk) and if you remove the extension pack you have no way of decrypting it unless you reinstall the pack.
Once you are sure that none of the extension features are actively in use, you can go to VirtualBox Manger's File → Preferences -> Extension.
Then click on the red icon on the right-column and you are back to the vanilla VirtualBox environment.
Hope you found this article on VirtualBox extension pack helpful, informative and fun! Please let us know if there's any Linux related topic that you might want us to cover. You can reach us on Twitter, Facebook or subscribe to us via email.


