Everything, from telling the hypervisor how much resource to allocate, to managing networking interfaces and virtual adapters, to making block storage and distributed storage available. All of the functionalities are split into modular projects so cloud architects and mix and match the technologies that they need.
People who want to have a quick look at the WebUI, maybe run a few services, or contribute to the OpenStack project may not have an entire rack full of servers at their disposal just to experiment with OpenStack. We will show a way to set up an experimental OpenStack installation. It will be deployed on a single CentOS virtual machine using PackStack which automates the OpenStack installation, making it greatly accessible to individual developers and enthusiasts.
Prerequisites
If you have a beefy computer with well-over 16GB of memory and an Octa core processor you can create a CentOS VM locally with at least 16GB of memory and 4 CPUs allocated to it. Otherwise, you can use services like SSDNodes or DigitalOcean to spin up a virtual machine over cloud and use it to follow along. Cloud servers are usually billed on an hourly rate so you can spin a VM up, experiment for a couple of hours and once you are done with it, you can destroy the VM and the price would hardly touch the $2 ceiling.
To sum up, you need:
- A clean installation of CentOS on a VM with 16GB of memory and 2 or more processors.
- A network adapter with one static IP address (again usually offered by cloud service providers).
- Root privileges over the VM.
WARNING: Don't try to install OpenStack on your everyday use machines. It makes a wide array of modifications which might break your set up, if you are not careful.
Installing PackStack
PackStack project's main purpose is to test OpenStack on CentOS and/or RHEL and package it in a neat and easy to install way. It is a community-driven effort sponsored by RedHat Inc. You can read more about the project here.
To begin with, let's log in with root privileges and verify that the packages are all up to date.
$ sudo yum check-updates$ sudo yum -y update
Now we can move on to cloning the PackStack repo and installing related packages. First install OpenStack to the Extras repository which is enabled by default on CentOS.
$ sudo yum install -y centos-release-openstack-queensThis installs the queens release. Next we enable the openstack-queens repository.
$ sudo yum-config-manager enable openstack-queensAnd update one last time.
$ sudo yum updateNow we can install PackStack installer from the newly added repo, which would later install OpenStack for us.
$ sudo yum install -y openstack-packstackWe are now going to run packstack on this single node, the flag -allinone will be used as shown below, to indicate that it is installed on one node, unlike a typical OpenStack installation which may span entire an data center.
$ sudo packstack --allinoneThat's it! We have a working OpenStack installation automatically configured for us by PackStack.
Note: You may have to wait a while at certain steps like:
Testing if puppet apply is finished: 178.128.194.220_controller.pp…
Which is why we strongly recommend a VPS with 16GB or memory and more that 4 cores at least.
Using OpenStack
To use OpenStack, we can login at our server's IP as http://ip.address/dashboard as the user admin whose password can be found stored inside /root/keystonerc_admin. If you are using a public cloud server, make sure that your VPS has a public IP so you can access it via browser. If you are using a local virtual machine, we recommend using bridged adapter to get a private IP address that your browser can access.
Once you open the web page, enter the credentials as we described above:
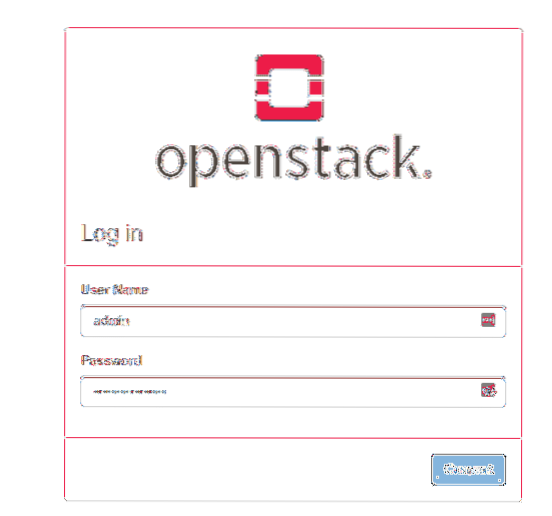
Once that is done, you will be greeted with a dashboard:
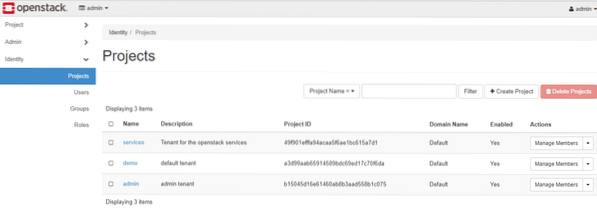
In the Identity menu you can create new users and in the Project section you can create new projects and allocate resources like Compute and Storage to that resource. However, there is already a demo user and demo project for us to use. So let's logout from the admin dashboard and log back in as demo. This user's login credentials can be found in /root/keystonerc_demo file.
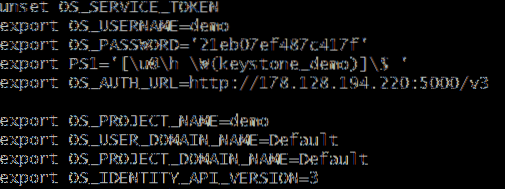
The OS_PASSWORD line shows the password and the OS_USERNAME line shows the user name (demo).Here, you can see the resources your (the demo user's) projects are taking up.
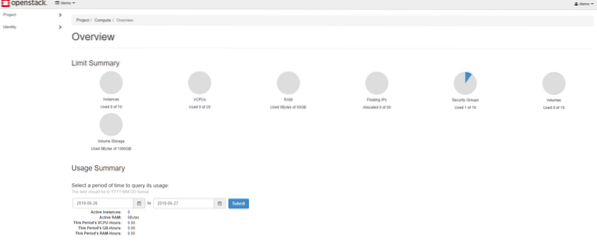
Let's create a virtual machine in the current demo project using a pre-existing CirrOS image. For those who don't know, CirrOS is a really light-weight Linux distribution which is ideal for our experimental use cases.
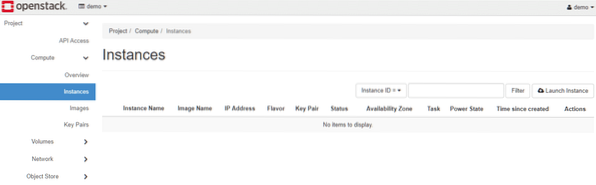
As the demo user, Go to Compute → Instances from the left hand menu. Then select Launch Instance from the right.
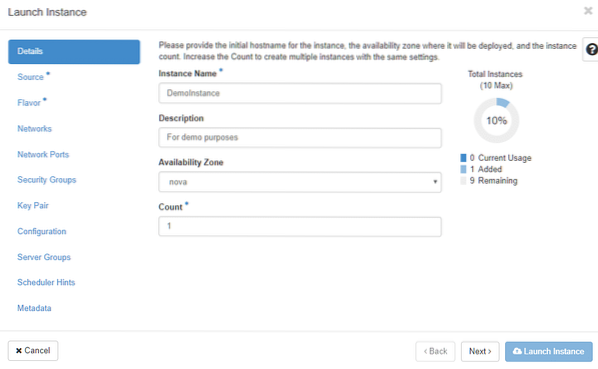
Give it a reasonable name, select the region (Since OpenStack is managing a single node, there's only one region) and select how many VMs you want to create simultaneously.
Similarly, go to the Source section from the left menu and select CirrOS as your default image with 1GB volume.

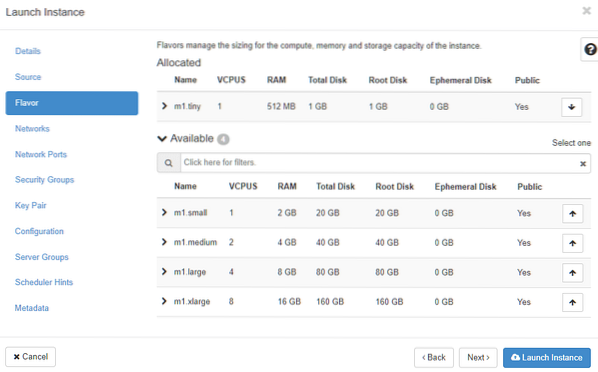
And finally for Flavor, select the memory and CPU allocation. Be careful of your VM's resource constraints in all these steps!
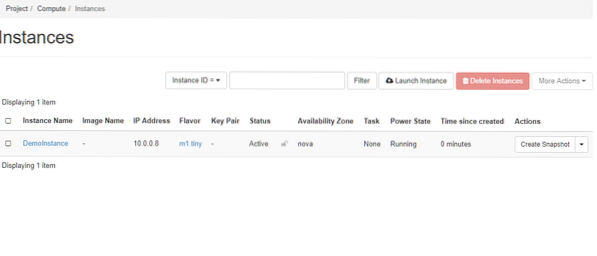
Now, we can Launch Instance. Since it is hiding inside a private network, you can't directly SSH into it, but you can attach a virtual console to it. In the Actions column select Console from the drop down menu.
The default user name is: cirros and the password is cubswin and indicated in the Log menu of the DemoInstance.
Congratulations! You just launched your first VPS on a cloud that you created using OpenStack. There are several other features including Volumes, Networking and Object Storage. Feel free to explore these once you are familiar with the environment.


