You need to perform the following simple steps to set up the email forwarding postfix server on your system:
Open the terminal window by clicking on the Activities and select terminal from the left sidebar in CentOS 8.
Install Postfix
First, ensure that postfix is installed on your system or not.using the following command you can check the installation of postfix:
$ rpm -qa | grep postfixThe following output should display on your system.

Otherwise, you will install postfix using the following command:
$ sudo dnf install postfixOnce the installation of postfix is complete, now using the following command, you can check the postfix service status:
$ sudo service postfix statusThe following output should display on your system.
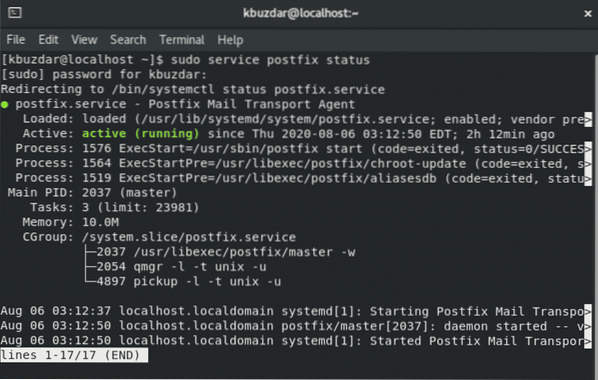
As you can see in the above screenshot, postfix services are active on this system. Now, we can further verify with the help of netstat command that postfix services are running on port 25. Type the following command to do this:
$ sudo netstat -ltnp | grep 25The following output will be displayed on your system:
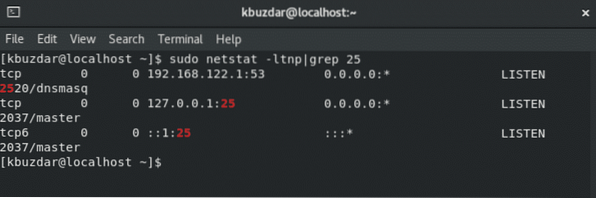
In the above output, the last column represents the PID of the processing. Here, this shows a postfix.
Configuration for postfix email forwarding
Now, start the configuration of postfix for forwarding emails. It is a simple task. First, we need to find the postfix configuration directory path by using the postconf command.
$ postconf | grep config_directoryThe following output will show on the terminal:

Now, we have an idea that all postfix configuration files located in the directory /etc/postfix, so move inside the directory and edit the 'main.cf' configuration file.
Open the file in your favorite text editor or which is installed on your system. Here, we are using a vim editor to modify the configuration files.
$ vi /etc/postfix/main.cfThe following window you will see in the terminal:
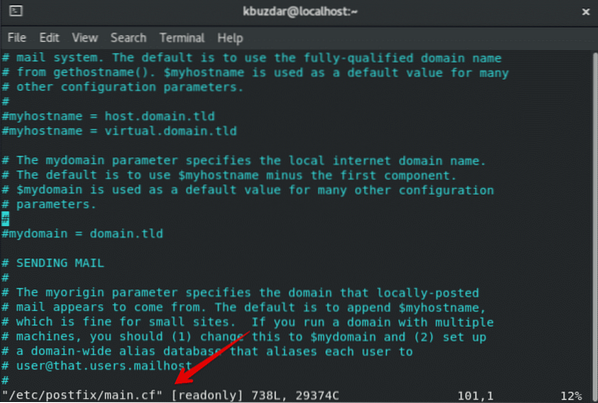
Now, you need to add the following lines at the end of the 'main.cf' file.
virtual_alias_domains = mydomain.com theanotherdomain.comvirtual_alias_maps = hash:/etc/postfix/virtual

Here, line one virtual_alias_domains is used to list the domains, for which postfix accepts the emails. More than one domain can be added which are separated by a space.
The second line virtual_alias_maps indicates the path to the file, specify the mapping for forwards domains.
Open the /etc/postfix/virtual file and add the forward emails along with the destination.
$ vi /etc/postfix/virtual
Let's assume we want to forward emails from one to another email :
[email protected] to [email protected]
In the above emails, the first email is showing at which postfix will receive emails. The second email is showing where the postfix will forward the email. The mail can be forwarded to multiple email destinations. After entering these emails, save and close the file. Now, update the postfix table using the following command:
$ postmap /etc/postfix/virtualReload the postfix
After doing some necessary changes in the postfix configuration files, reload or restart the postfix configurations by using the following command:
$ sudo /etc/init.d/postfix reload# or
$ sudo service postfix reload

Test now
Once the configurations are complete, try to forward emails on other domains.
Conclusion
In this article, we have learned how to configure the postfix mail forwarding on the Linux system. Moreover, we also learned how to edit the postfix configuration files. Test the configurations. You will notice email arrive on the forwarded destination within a minute. I hope this article will be interesting for you.


