In this tutorial, we are going to perform a complete installation of Ubuntu on a USB Flash drive. Note that this is not about just creating a bootable Ubuntu Live USB drive. Instead, we are going to help you install a full-fledged Ubuntu on a USB drive. It's like having a portable Ubuntu system!
Complete Ubuntu on a USB Flash Drive
The advantage of installing a full Ubuntu on a flash drive when compared to a live environment is the ability to have a portable and personalized Ubuntu with your choice of applications, login ID, and updatable system.
Prerequisites
- Ubuntu Live USB drive or a CD: If you don't have one, you can create one using our guide here.
- Empty USB flash drive of at least 16GB capacity where we will be installing the full Ubuntu
Installing Ubuntu on a USB flash drive
The entire process can be classified into two broad phases. First, we format and create partitions on the USB flash drive, and in the next phase, we will install Ubuntu in it.
Phase 1 - Partitioning the USB Flash Drive
Step 1. Insert the Ubuntu live USB drive or CD and boot your PC into it.
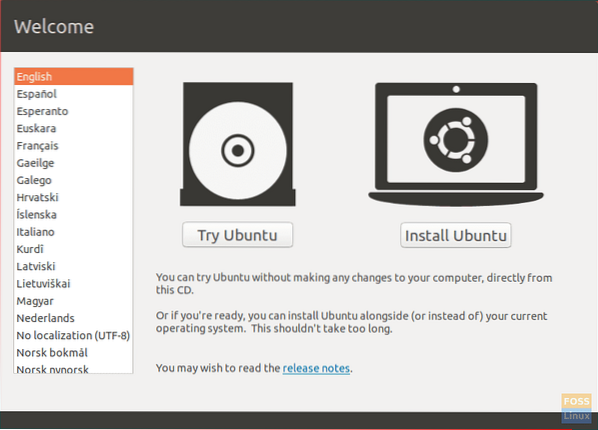
Step 2. Choose “Try Ubuntu” option.
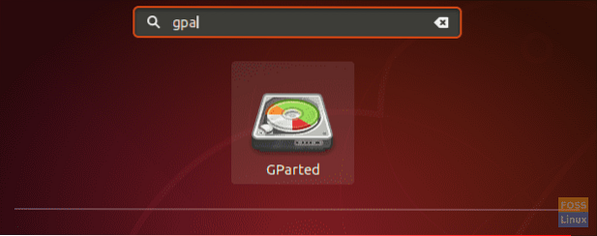
Step 3. The system will boot into the Ubuntu live desktop environment. From the left dock panel, open applications button, which is located at the bottom. Search for GParted and open it.
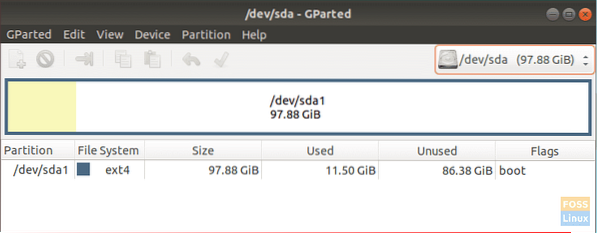
The GParted interface should look like the below screenshot.
Step 4. Insert your USB Flash Drive.
Step 5. This is the most critical step. Pay attention to the drives and make sure you are selecting the flash drive (sdb) with the correct capacity. Choosing a wrong device could destroy the data on your PC. At the right of the GParted window, select your USB from the drop-down menu.
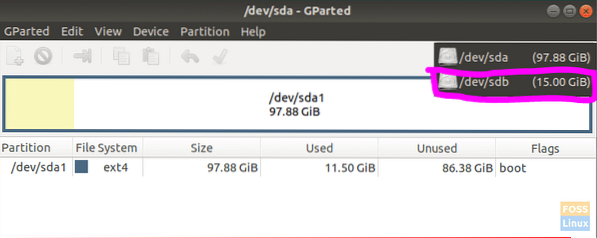
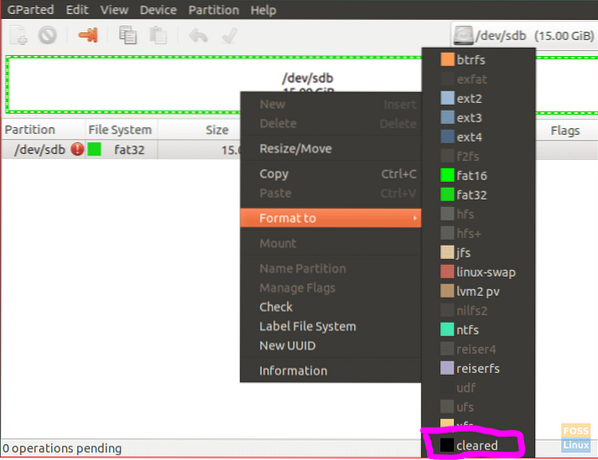
Step 6. Clear partitions on the USB drive by right-clicking on your USB, choose Format then select the cleared option.
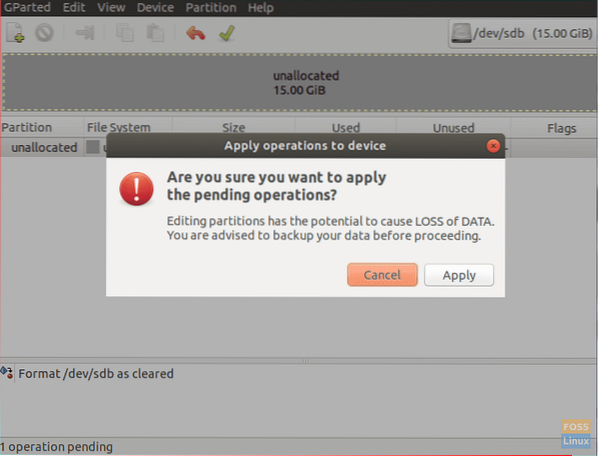
Step 7. Click the apply button that is the green colored right mark located on the top panel.

An alert message will appear warning you about losing data when formatting the USB. Click Apply on the alert message.
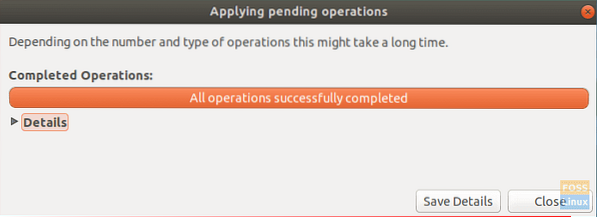
Step 8. After the operation completes successfully, click close to continue.
Step 9. The USB should be like the below screenshot.

Now you can close the GParted application. You have successfully partitioned your USB drive to be able to install Ubuntu. Let's start the phase 2 installation process.
Phase 2 - Installing Ubuntu
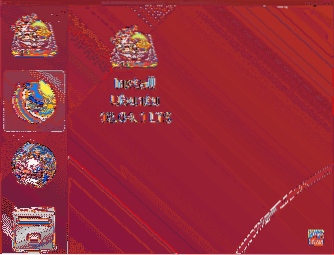
Step 1. From the desktop, click on the install Ubuntu icon.
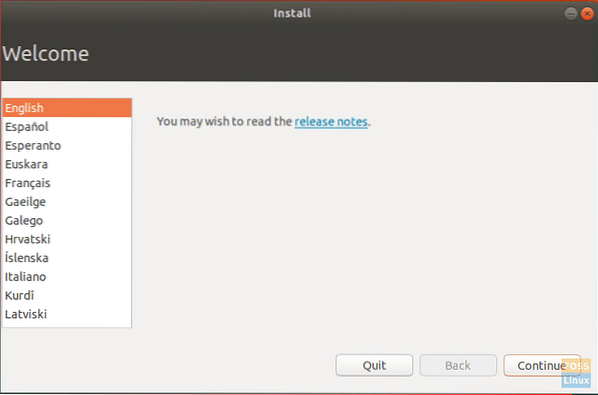
Step 2. After a moment the installation will begin with the welcome screen. Click the Continue button.
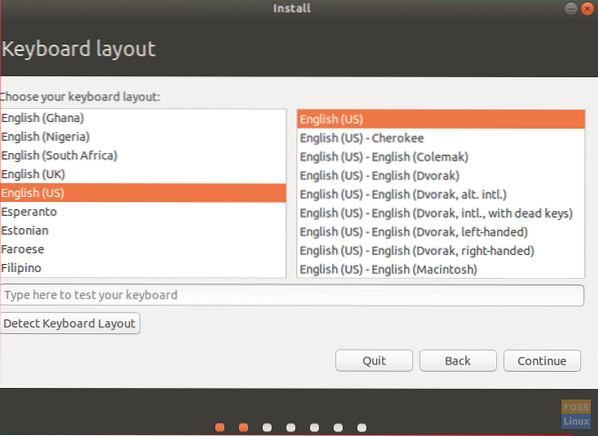
Step 3. Choose the keyboard layout then click Continue.
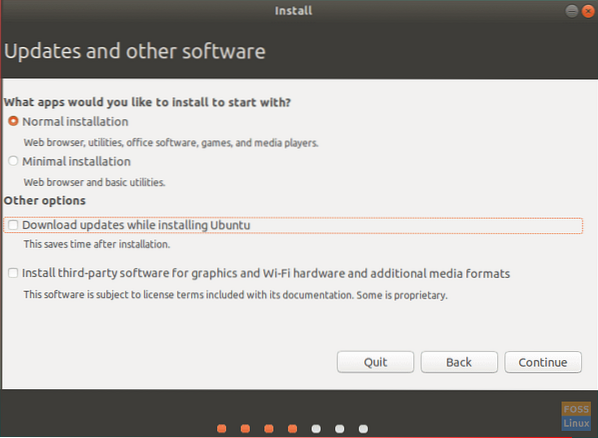
Step 4. Select “Normal installation” and then click Continue.
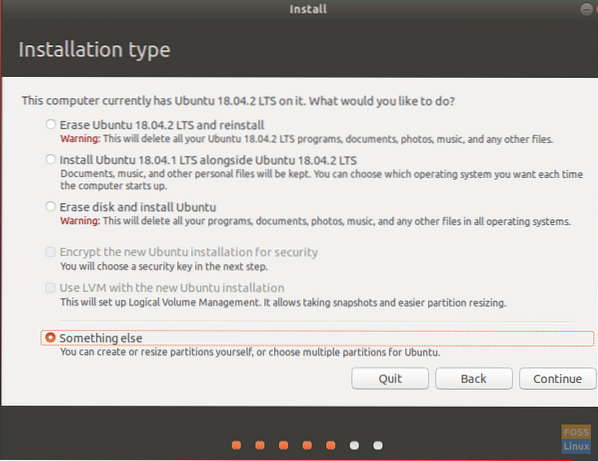
Step 5. In the installation type screen choose “something else” option then press Continue.
Step 6. Now choose the USB and next we will start creating partitions.
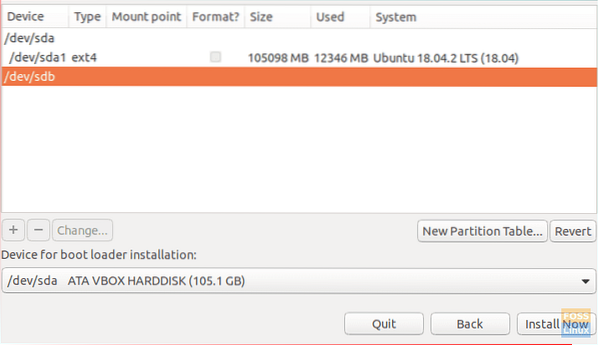
Step 7. Choose the new partition table button. Then press the plus sign to add the next 3 partitions.
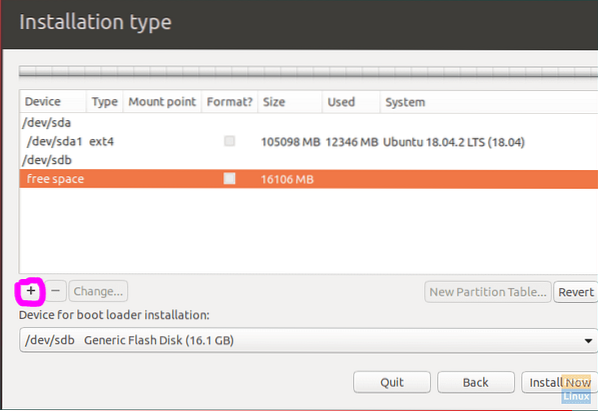
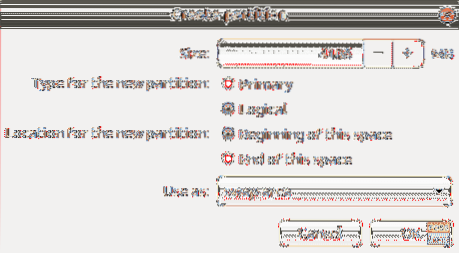
- FAT32 partition
- Set the size.
- Set the mount point to /any_name.
- EXT4 partition
- Set size not less than 4 GB.
- Set the mount point to /.
- Swap partition
- You can skip this partition if you have enough RAM and you do not need the hibernation feature.
Step 8. From the “Device for boot loader installation”, choose the USB Flash Drive.
The partition structure should look something like the below screenshot.
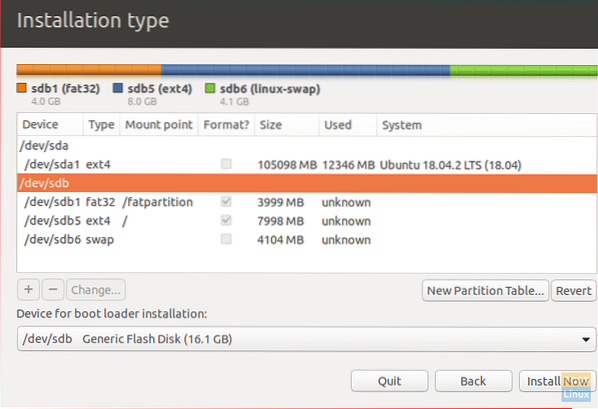
Step 9. Press Install now to start the installation.
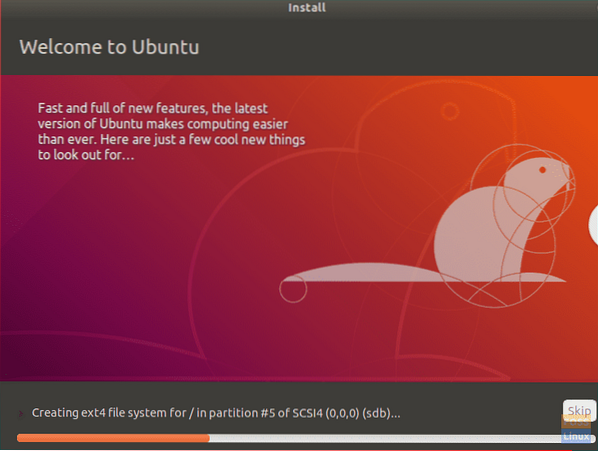
Step 10. After the installation completes successfully, click Restart Now.

Congratulations! You have now installed full Ubuntu on the USB Flash Drive. You can boot from it and enjoy a portable Ubuntu system in your pocket!
Finally, I hope you enjoyed this tutorial. Feel free to comment below if you have any questions or feedback.
 Phenquestions


