Not too long ago, we covered how to share drives/folders between XP Mode and the Windows 7 host machine to be able to access files and folders on the host machine right from the XP Mode.

In this guide, we are going to show you how to share a folder present under the host machine with the guest OS on VirtualBox.
Before you follow the procedure, please make sure that you have installed the Guest additions. Click Devices, Install guest additions option and then follow the simple on-screen steps to install it.
Method 1: To share folders between Windows 7/Vista guest OS and host machine.
1. Run the virtual machine (VM) under VirtualBox.
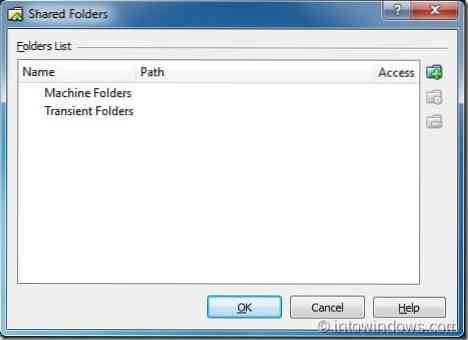
2. Click Devices under menu and then select Share folders option to open Share Folders dialog-box.

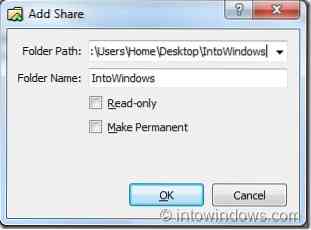
3. Click on Add shared folders button to browse to the folder (present on the host machine) that you want to share with the virtual machine. Once added, you can set the read-only permission to the shared folder so that the guest OS (virtual machine) user will not be able to write to the added folder. Click Ok button.
4. Now open the explorer in virtual machine. If you can't see the shared folder in the explorer under Networked Location category, follow the next step as well.
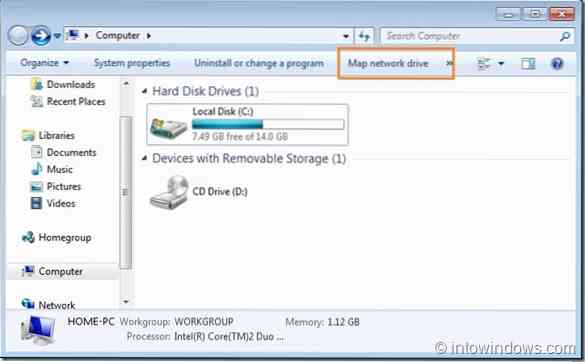
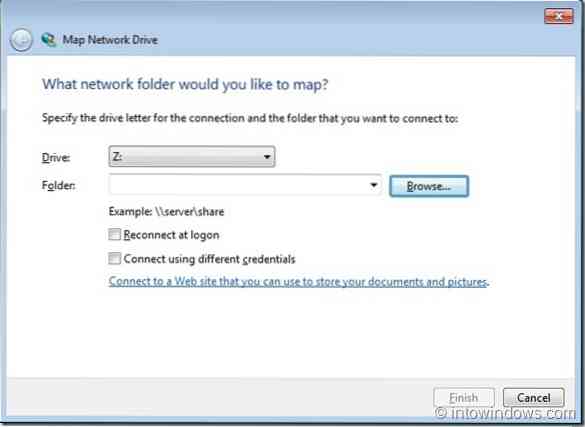
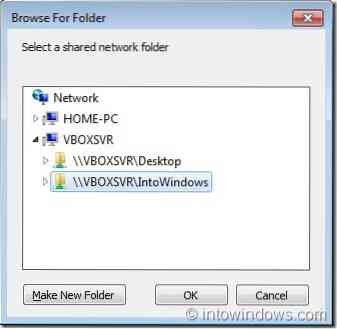
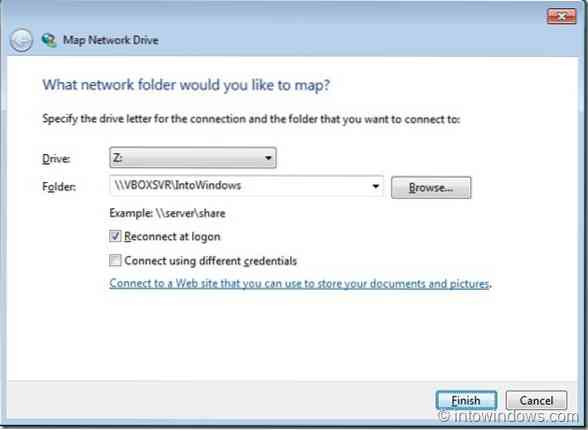
5. Click Map network drive button on the explorer tool bar to launch the Map network drive wizard. Here, click Browse button next to the folder box and expand the VBOXSVR by clicking on the arrow icon to see the folder name that you have added in step 3. Select the folder and then click Ok button. If you want to connect to the shared folder every time you logon, enable the option named Reconnect at logon option. Click Finish button to see the shared folder in the guest OS explorer.
Method 2: To share folders between XP guest OS and host machine:
1. Follow the above mentioned procedure till step 3 and then follow the below mentioned steps.
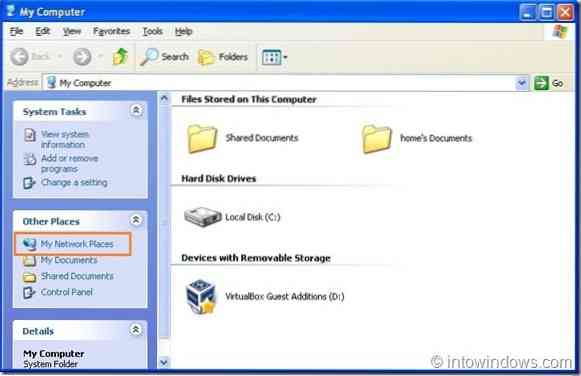
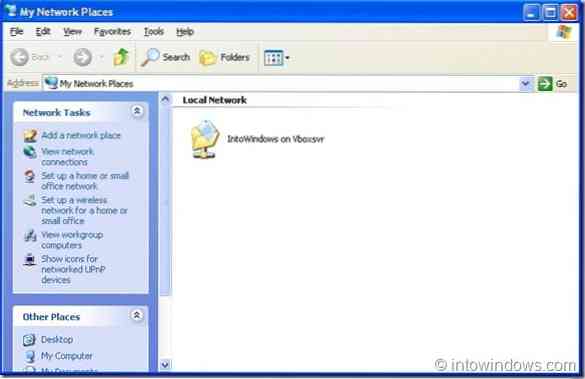
2. Open My Computer and then click My network places option present in the left pane.
3. In My Network Places window, click Add a network place option to launch Add a network place wizard.
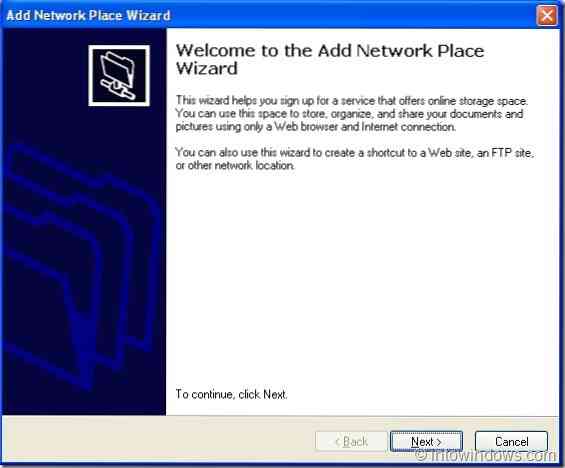
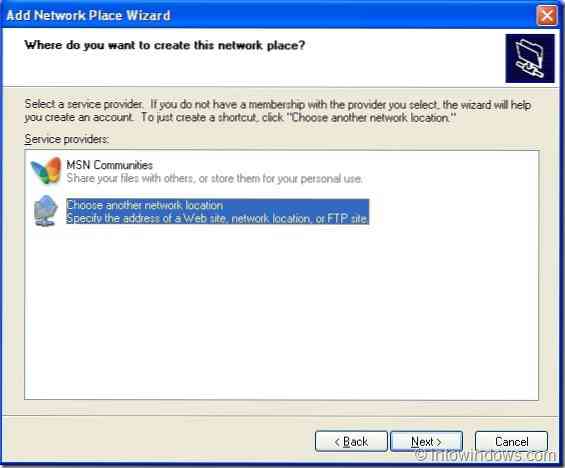
4. Click Next button, choose Another network location option and again click Next button.
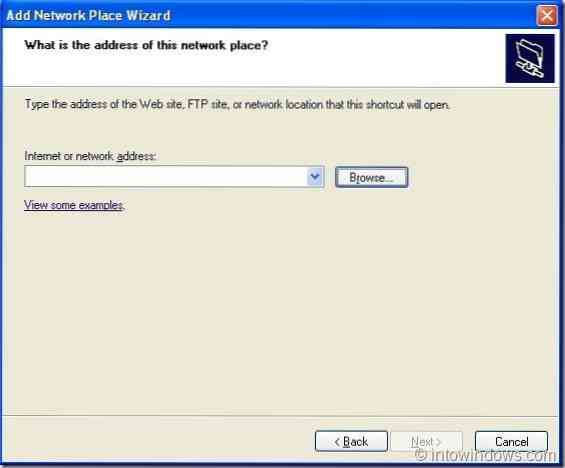
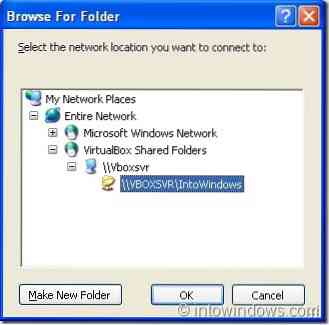
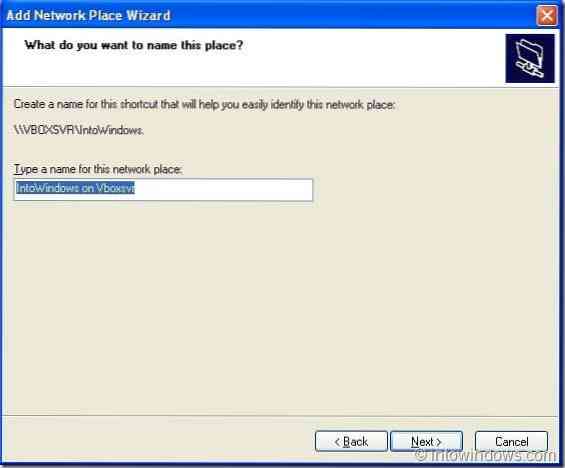
5. Here, click Browse button, expand Entire Network, and then expand VirtualBox Shared Folders to see your shared folder. Hit Next button to type a name for the new network place (shared folder). Click Finish button to complete the procedure.
6. Go to XP Start menu and then click Network places to view the shared folder.
Also read our how to install Windows 7 on netbooks guide.


