KVM has rich set of commands which is very helpful. You can write your own shell scripts to manage your KVM hosts and guests just the way you like.
KVM also has a graphical frontend called Virtual Machine Manager. With Virtual Machine Manager, you can manage your KVM guests very easily. Virtual Machine Manager can also connect to your KVM virtualization server remotely. If you're a beginner to Virtualization and KVM, then Virtual Machine Manager is where you should start.
GNOME 3 desktop environment has GNOME Boxes, which is another graphical frontend of KVM.
In this article, I will show you how to install KVM and use KVM graphically with Virtual Machine Manager (VMM) on Ubuntu. I will be using Ubuntu 18.04 LTS for the demonstration, but it should work on any modern version of Ubuntu. Let's get started.
Enabling Hardware Virtualization from BIOS:
If you're using Intel processor, then make sure your processor has support for hardware virtualization. If it does, then make sure VT-x or VT-d extension is enabled from the BIOS of your computer.
If you're using AMD processor, then make sure your processor has support for hardware virtualization. If it does, then make sure AMD-V extension is enabled from the BIOS of your computer.
If you're unsure whether your processor has virtualization support or not, please check the specification of your processor.
Checking Whether KVM Support is Available:
You can check whether KVM support is enabled in the Linux kernel from Ubuntu using kvm-ok command which is a part of the cpu-checker package. It is not installed by default. But it is available in the official package repository of Ubuntu.
First, update the APT package repository cache of your Ubuntu machine.
$ sudo apt update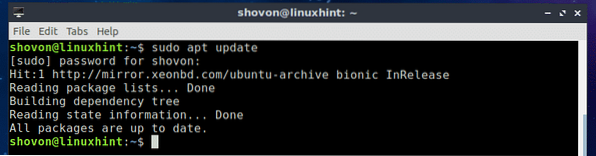
Now, install cpu-checker package with the following command:
$ sudo apt install cpu-checker
Now press y and then press
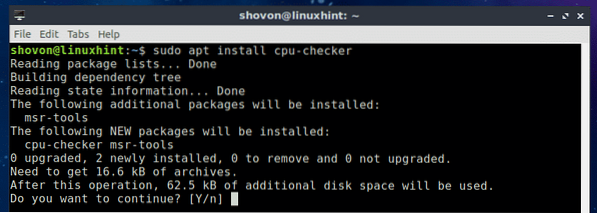
cpu-checker should be installed.
Now run the following command to check whether KVM support is available:
$ sudo kvm-okIf everything is alright, then you should see the following message KVM acceleration can be used.

Installing KVM on Ubuntu:
All the packages required for installing KVM is available in the official package repository of Ubuntu. So it is very easy to install.
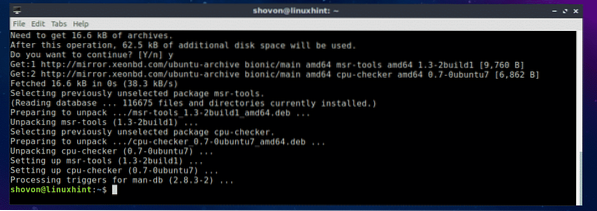
To install KVM along with Virtual Machine Manager graphical frontend, run the following command:
$ sudo apt install qemu qemu-kvm libvirt-bin bridge-utils virt-manager
If you want to run a KVM headless virtualization server, then you don't want to install Virtual Machine Manager graphical frontend. In this case, run the following command to install KVM:
$ sudo apt install qemu qemu-kvm libvirt-bin bridge-utilsI am going to install Virtual Machine Manager graphical frontend. So I ran the first command.
Now press y and then press
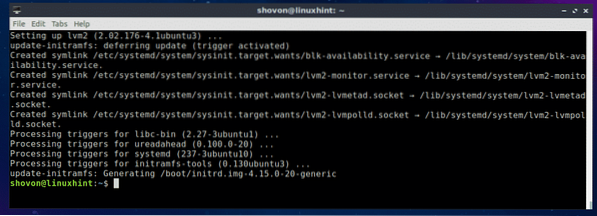
KVM should be installed.
Now you have to add your login user to the libvirt and libvirt-qemu group. To do that, run the following command:
$ sudo usermod -aG libvirt $(whoami)$ sudo usermod -aG libvirt-qemu $(whoami)

Now you reboot your computer for the changes to take effect.
$ sudo reboot
Once your computer starts, you should be able to create and manage KVM Virtual Machines using your login user. You won't need root access.
Using KVM with Virtual Machine Manager:
In this section, I am going to show you how to use Virtual Machine Manager to create your first KVM Virtual Machine. I will create a basic Alpine Linux virtual machine as it is lightweight.
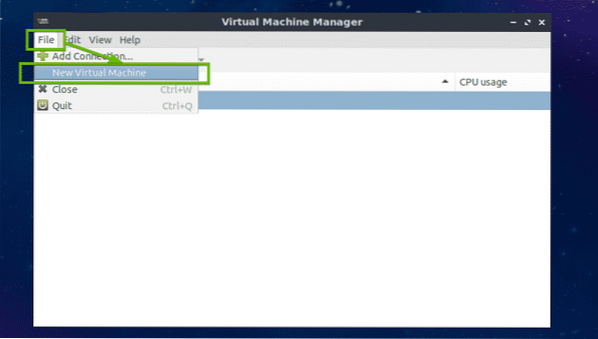
You should be able to find Virtual Machine Manager in the Application Menu of Ubuntu. Start Virtual Machine Manager and you should see the following window.

To create a new Virtual Machine, go to File > New Virtual Machine.
Now pick how you want to install an operating system. I will be installing it from an ISO image, I picked the default one Local install media (ISO image or CDROM).

You can also select an Architecture for your operating system using the dropdown menu.
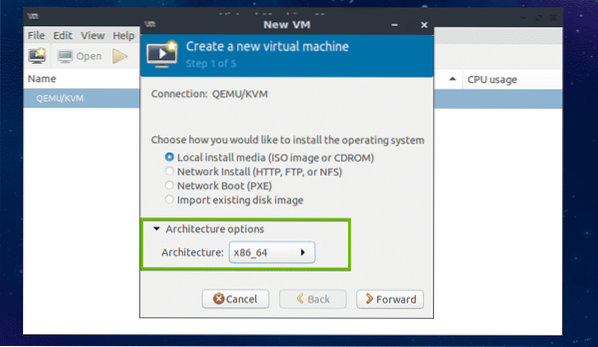
KVM supports a wide variety of hardware architecture such as x86_64, PPC, ARM and many more as you can see in the screenshot below.

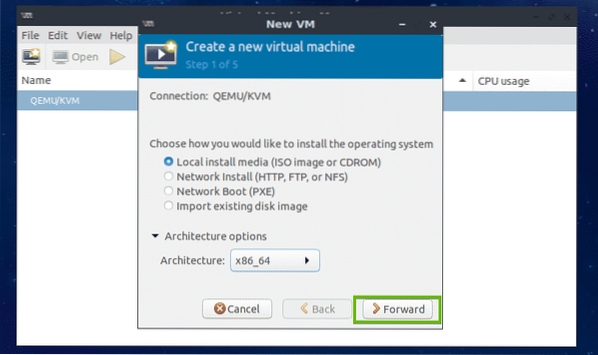
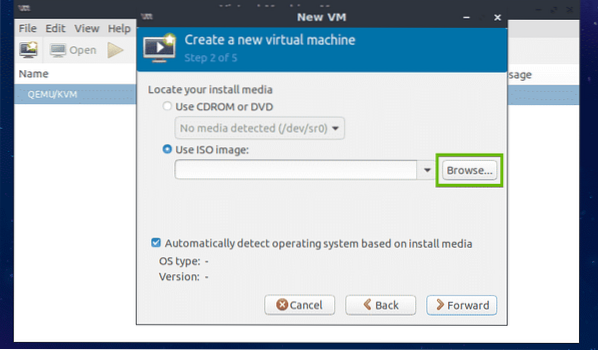
Now click on Forward.
Now click on Browse to select your ISO image.
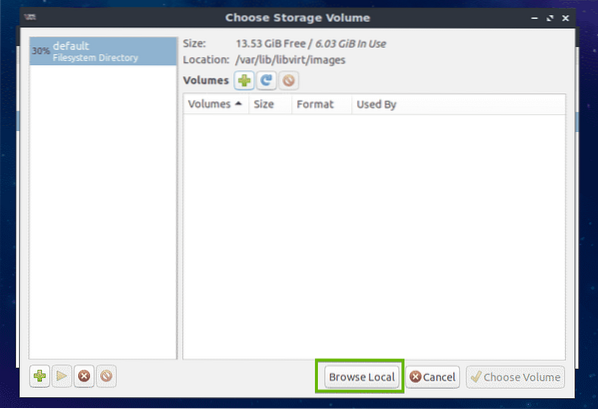
Now click on Browse Local.
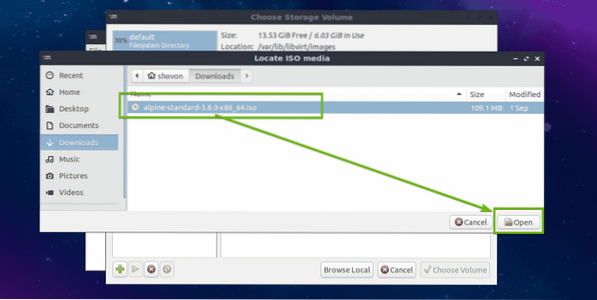
A file picker should open. Now pick your required ISO image and click on Open.
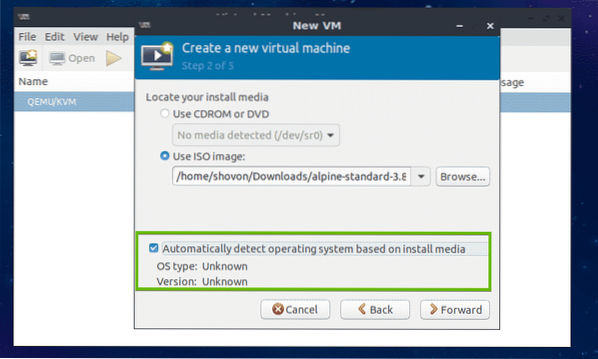
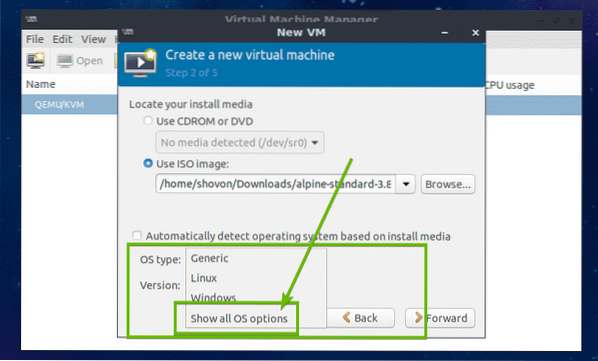
By default, KVM will detect what OS you're trying to install automatically depending on your installation media. If you want to manually select the OS you're trying to install, uncheck the marked checkbox as shown in the screenshot below.
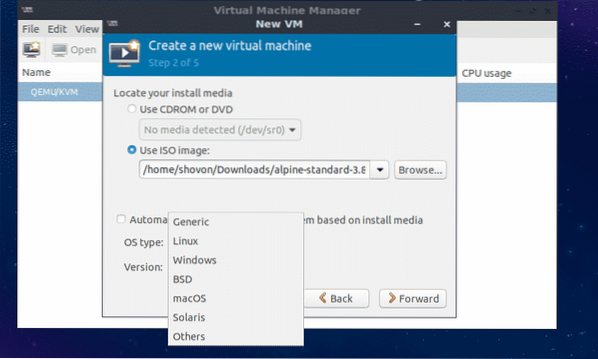
Now you can pick the operating system manually. If you want to see more options, click on Show all OS options.
As you can see, I have more options to pick from now.
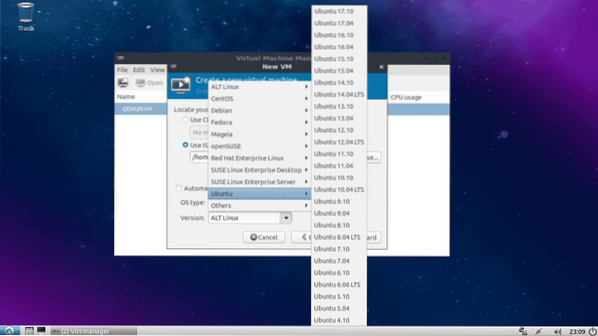
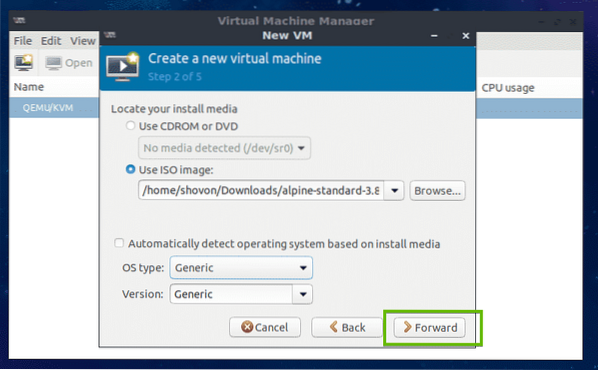
Once you're done, click on Forward.
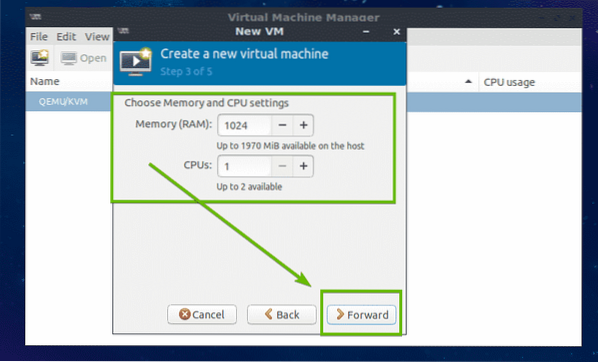
Now set the amount of RAM and number of CPU cores you want to use for this virtual machine and click on Forward.
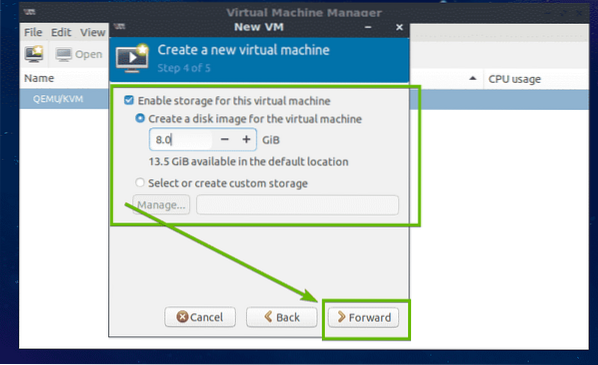
Now set the amount of hard drive space you want to use for the virtual machine and click on Forward.
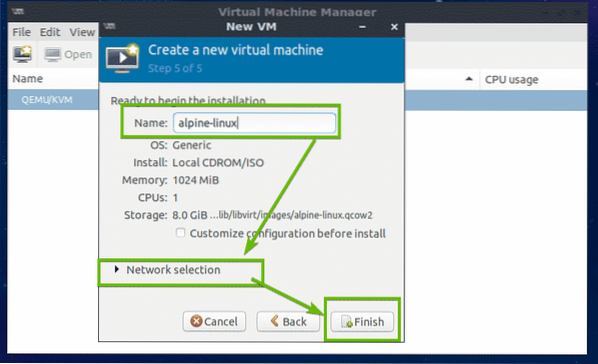
Now, type in a name for your virtual machine, configure Network and finally click on Finish.
As you can see in the Virtual Machine Manager window, a new KVM virtual machine is created. Alpine Linux is booting from the ISO image.
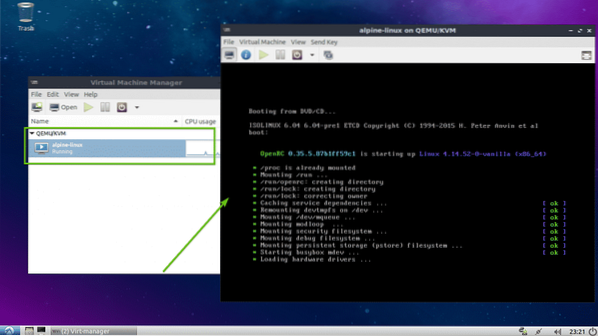
Once the installer boots up, you can easily install it on your hard drive just as you do on your computer.
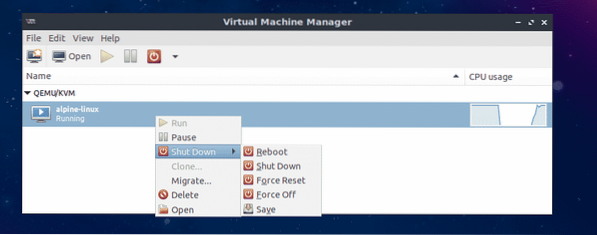
You can manage your Virtual machines from Virutal Machine Manager window as you can see in the screenshot below.
So that's how you install KVM on Ubuntu and use KVM with Virtual Machine Manager graphical frontend. Thanks for reading this article.


